Setting up the Cash Register will allow the user to manage the payments made by patients for goods and services rendered by the practice.
Benefits of using the Cash Register in the Practice:
Processing and Recording of payment transactions in the Practice to enable the tracking of Patient transactions.
Speeding up checkout time.
Save unnecessary costs of receipt books by using the receipt option of the Cash Register module.
Cash Registers can be set up per user so that each user can end his or her session and do a cash-up after ending a session and do a proper capture of the user cash-up for auditing purposes.
End the Cash Register session after collecting all the payments for the day so that the day becomes an auditable unit.
At the end of the session, the Cashier / Receptionist counts all payments received for the day for reconciliation with the system.
Log into theGoodX Desktop App with your GoodX username and password.
From theNavigator, DoubleClickon theCash Register module.
A Warning pop-up will appear If No cash registers have been set up.
Click on Ok to acknowledge the message, the pop-up will close.
Themain Cash Register screen will open.
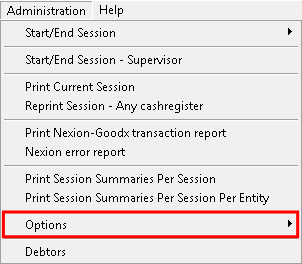
Click on Administration on the menu bar.
Click on Options on the sub-menu.
Click on Cash register profiles on the second sub-menu.
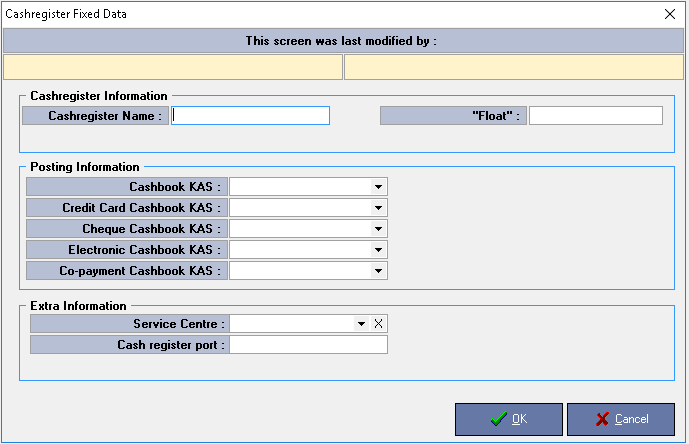
The Cashregister Fixed Data screen will open.
An explanation for each section and field will be given:
Cashregister Information:Details relating to the cash register that is being set up.
Clickon each of the following fields to input the relevant information:
Cashregister Name: A name to identify the cash register by.
"Float": A sum of money that is not part of the cash register's daily takings but will be used to start the day and to give change when a patient pays.
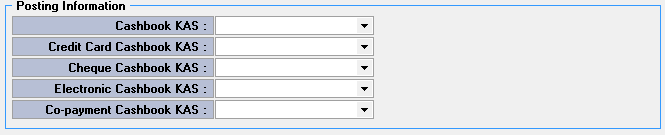
Posting Information: The information relating to where the payment will be posted.
Click on the relevant drop-down menu to select the KAS to where the specific transaction will be posted.
Cashbook KAS: The cashbook that will be used to post cash transactions.
Credit Card Cashbook KAS: The cashbook that will be used to post credit card transactions.
Cheque Cashbook KAS: The cashbook that will be used to post cheque transactions.
Electronic Cashbook KAS: The cashbook that will be used to post Electronic payment transactions.
Co-payment Cashbook KAS: The cashbook that will be used to post co-payments.
Please Note: The options available on the drop-down menu will be dependant on the setup of the practice.
Extra Information: Additional information regarding the Cash Register that is being set up.
The fields in this section will be explained:
Service Centre: The place of service to which the cash register will be linked.
Click on the Service Centre dropdown menu to select the applicable Service Centre.
Please Note: The service centres that have been set up by the practice will be available to make a selection from.
Click on the X to clear the Service Centre field.
The service centre field will be cleared.
Cash register port: The port number when the cash register is integrated with external hardware.
Click on the Cash register port field to input the port information.
Click on Cancel to close the screen without saving and return to the Cash Register screen.
Click on Ok to save the set-up that has been done.
The screen will close and the newly set up cash register will be added to the All Cashregisters screen.
Click on Cancel to exit the All Cash Registers screen.
Click on Ok or press F2 on the keyboard to select the Cash Register as the default cash register that will be used. The screen will close and return to the main cash register screen.
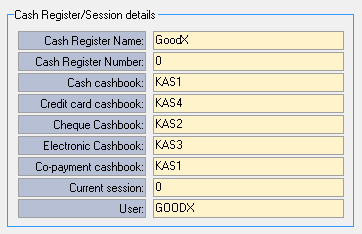
The details of the default Cash Register will display on the main Cash Register page.