Journals: Old Screens
PLEASE TAKE NOTE: Some practices still use the old journal screen. This screen sometimes creates data issues, so please change over to the new journal screen. Contact the client service centre for more information.
Journals are done to:
- Create Opening balances in new GoodX systems
- Grant Discounts
- Allocate Write-offs
- Shift amounts between documents
Take note: A Journal is never done to correct an error as journals will not correct your turnover and cash flow reports.
Option 1: Debtor Journals: Single
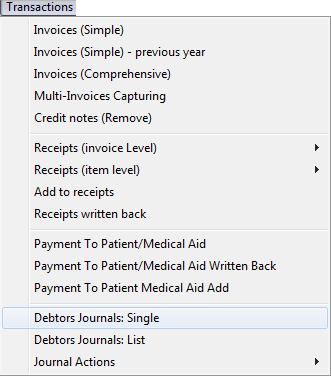
Select Debtor Journals: Single from the dropdown menu under Transactions on the menu bar.
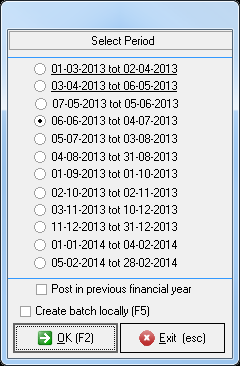
Select the Period the transaction should be posted into and click on OK or press F2
To post into the previous financial year, click the tick box.
The open periods of the previous year will be visible from which you can make a selection
Please take note that the amounts reflected in the Financial Reports for the previous year will change due to this transaction and all reports will have to be reprinted. If you have already lodged your reports with your auditors, you should carefully consider posting back into the previous financial year as your balances brought forward will not be the same.
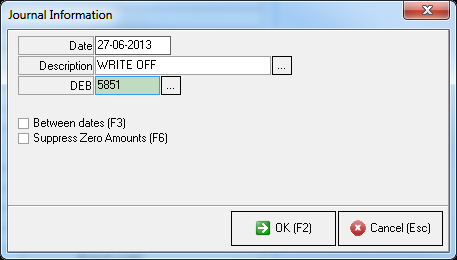
Enter the Date, Description and Debtor number
Select Between dates or press F3 if you only want to view transactions for a certain period
Select Include (0) amounts or press F4 if you want to view zero amounts as well
Click on Ok or press F2
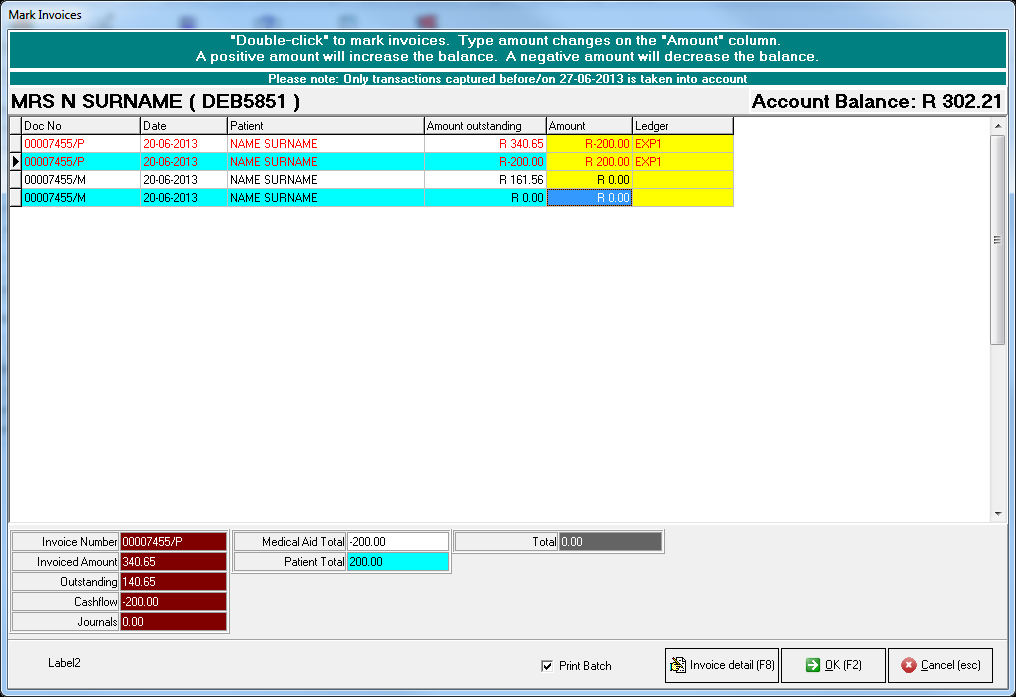
Select the invoice and enter the Amount as well as the Ledger account
Note that a Positive amount will increase the balance and a negative amount decrease the balance
Click on OK (F2) or press F2
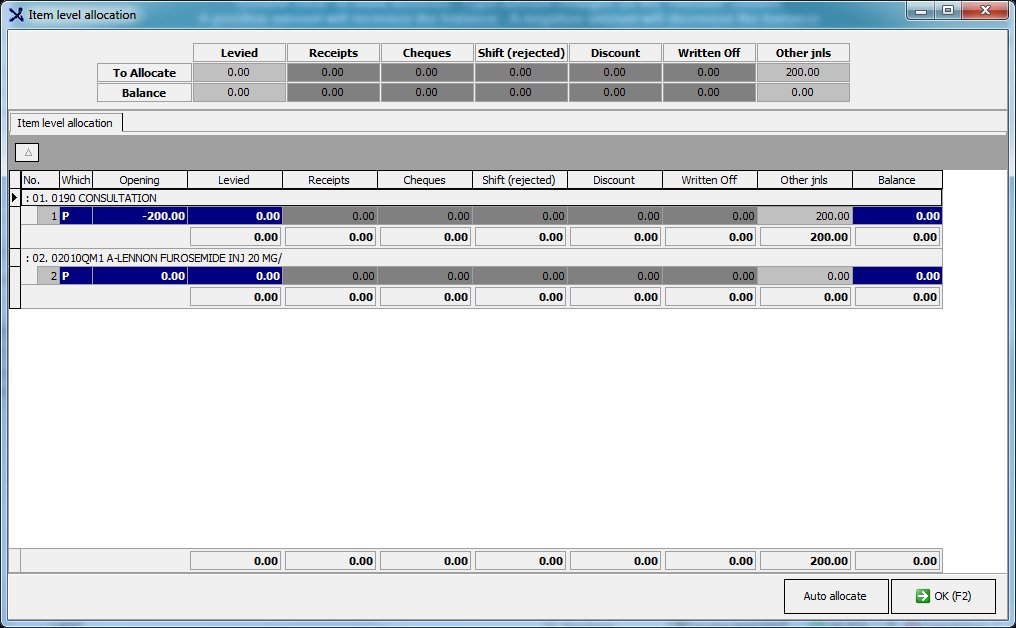
The journal can also be done on Invoice detail level
Click on the button or press F8
![]()
Capture the amount in the Blue field of the Other jnls column against the correct item
Click on OK (F2) or press F2
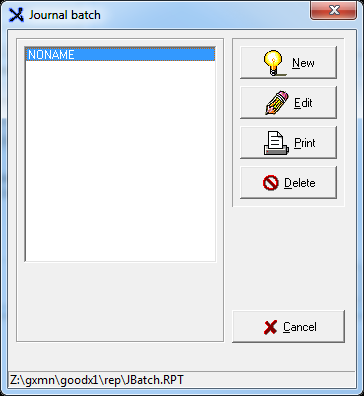
Print the Journal Batch if required
Click on Cancel
Option 2: Debtor Journals: List
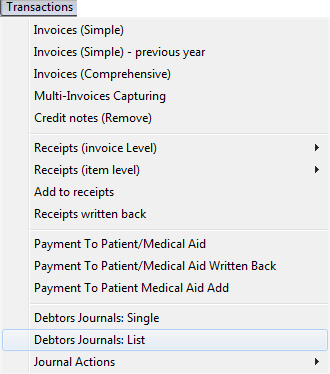
Select Debtor Journals: List from the dropdown menu under Transactions on the menu bar.
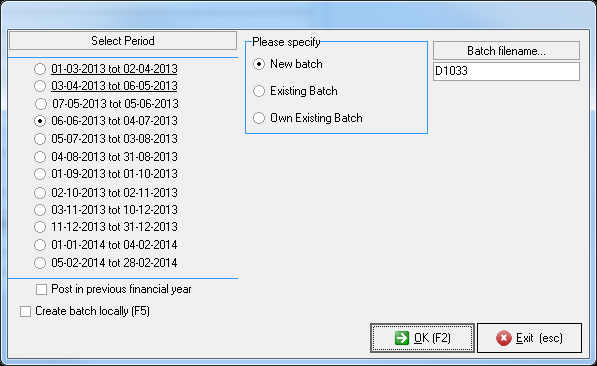
Select the Period the transaction should be posted into and click on OK or press F2
To post in the previous financial year, click the tick box.
The open periods of the previous year will be visible from which you can make a selection
Please take note that the amounts reflected in the Financial Reports for the previous year will change due to this transaction and all reports will have to be reprinted. If you have already lodged your reports with your auditors, you should carefully consider posting back into the previous financial year as your balances brought forward will not be the same.
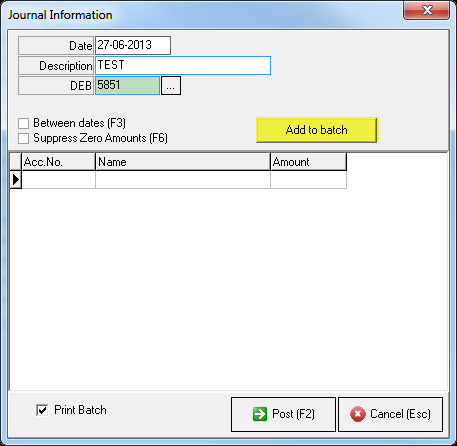
Enter the Date, Description and Debtor number
Select Between dates or press F3 if you only want to view transactions for a certain period
Select Include (0) amounts or press F4 if you want to view zero amounts as well
Click on the Add to Batch button
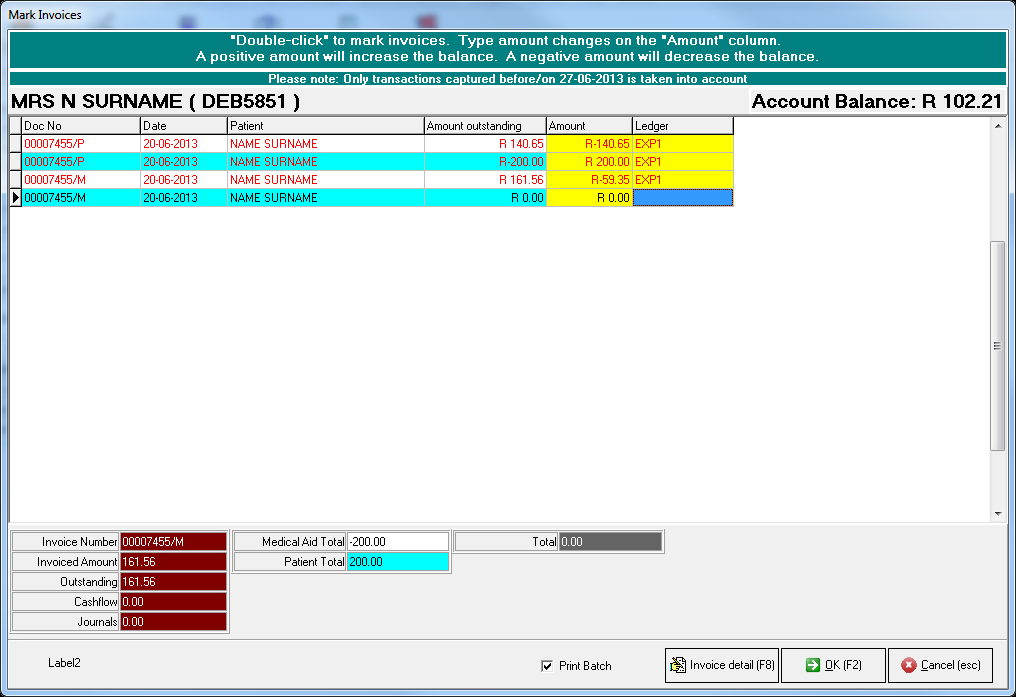
The Mark Invoices screen will be displayed
Select the invoice and enter the Amount as well as the Ledger account
Note that a Positive amount will increase the balance and a negative amount decrease the balance
Click on OK (F2) or press F2
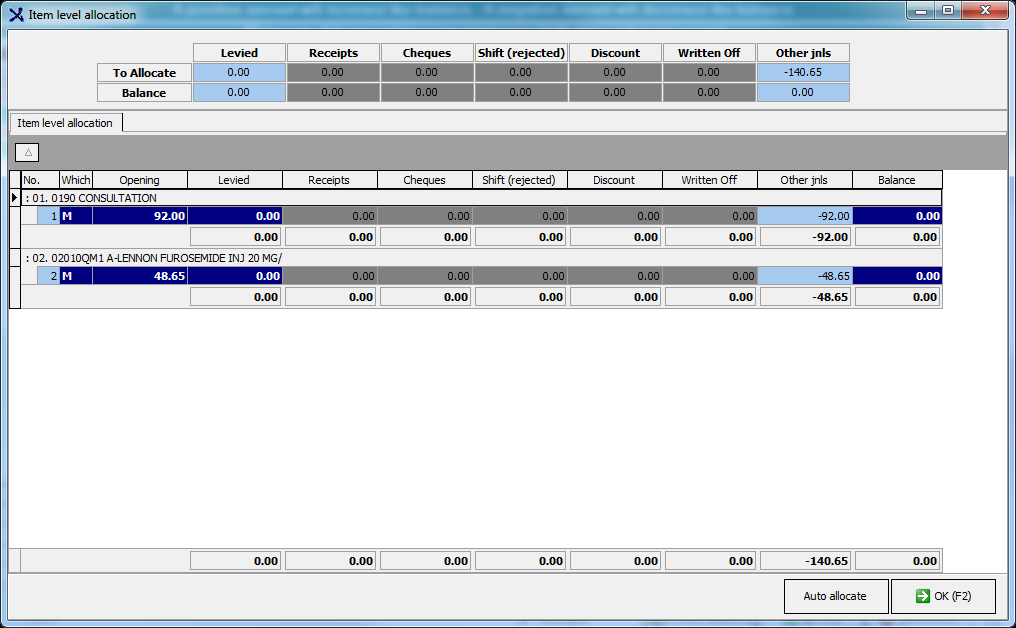
The journal can also be done on Invoice detail level
Click on the button or press F8
![]()
Capture the amount in the Blue field of the Other jnls column against the correct item
Click on OK (F2) or press F2
Click on OK (F2) or press the F2 shortcut key
The Journal Information screen is displayed again with the Description and Debtor fields
empty
Enter another Description and Debtor number
Click the Add to batch button and repeat the above process
The second Debtor will also be added to the list
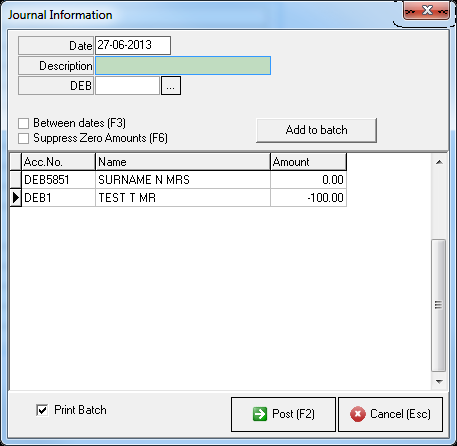
Repeat the process until all the applicable debtors have been added
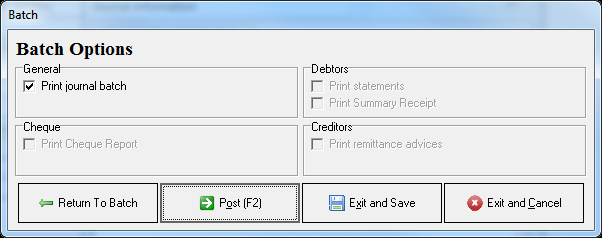
Click on Post (F2)
![]()
Print the Journal Batch if required (the batch will only print once the batch is posted)
Return to Batch will let you return to the batch and proceed with capturing more Debtors
Exit and Save will let you Exit the batch and return to it at a later stage to proceed with
capturing or posting
Click on Post (F2)
Journal Actions
To make use of this function, the Journal Actions have to be set-up first
Setup of Journal Actions
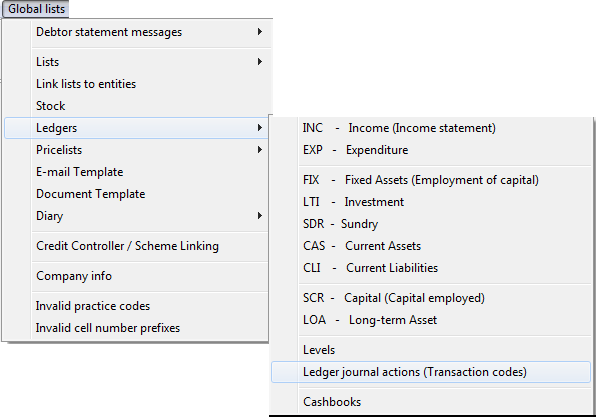
Open the GX Manager module in the Navigator
Select Ledgers from the dropdown list under Global lists on the menu bar
Click on Ledger Journal Actions (Transaction codes)
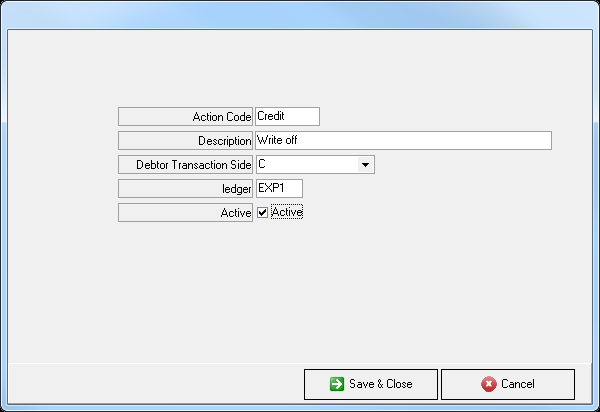
Click on Add code

Enter the required information in the fields provided
Action Code : Free text - enter your own information
Description : Free text - enter your own information
Debtor Transaction Side : C = Credit Debtor account (decrease the balance of the account)
D = Debit Debtor account (increase the balance of the account)
Ledger : The Ledger the amount should be posted to
Active : Tick = Active
Un-tick = Inactive
Click on Save & Close
The Journal Action will be added to the list
The Action can also be edited
Click on OK

Capturing a Journal Action
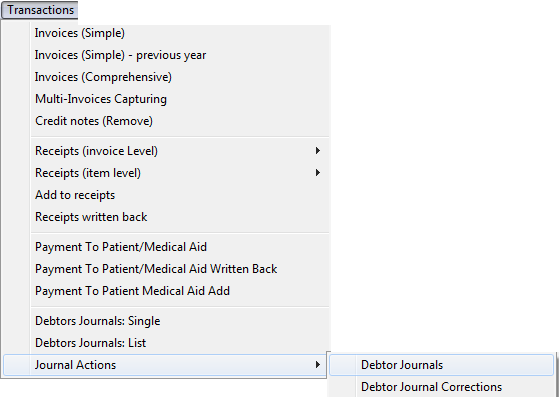
Select Journal Actions from the dropdown list under Transactions on the menu bar
Click on Debtor Journals
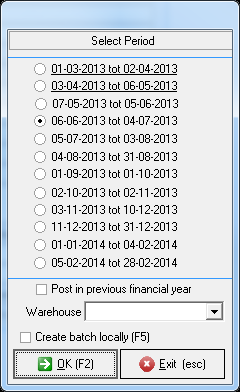
Select the Period the transaction should be posted into and click on OK or press F2
To post in the previous financial year, click the tick box.
The open periods of the previous year will be visible from which you can make a selection
Please take note that the amounts reflected in the Financial Reports for the previous year will change due to this transaction
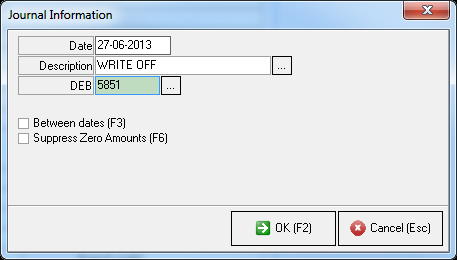
Enter the Date
Click on the ellipse next to the Description field and select the Journal Action from the list
Click OK
Enter the Debtor number
Click on OK or press F2
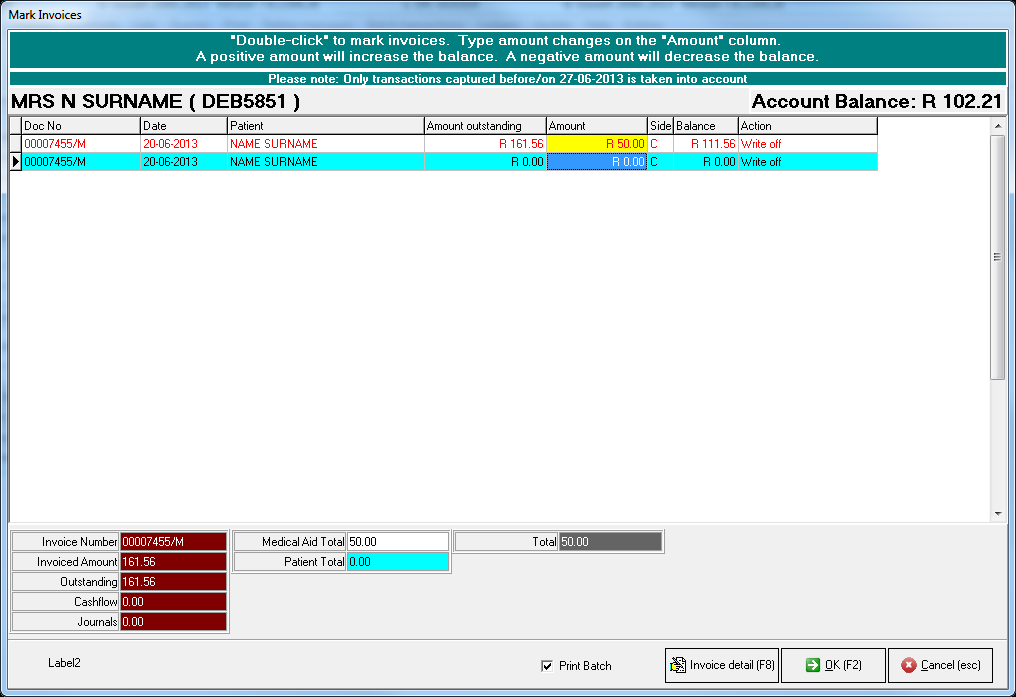
Select the transaction from the list

Only transactions applicable to the Action will be taken into account and displayed on the screen
Double click in the Amount column to mark the invoice or enter the amount
There is no need to use a negative or positive amount as the Journal action has already been set up to perform the correct transaction.
The Invoice detail (F8) can also be used with this Journal
Click on OK or press F2
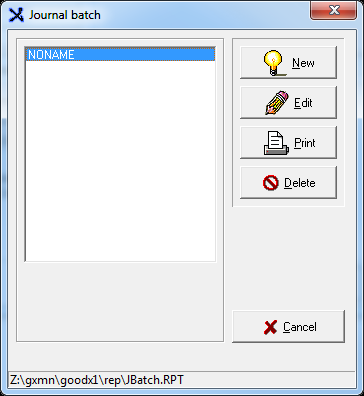
Print the Journal Batch if required
Click on Cancel
System Journals
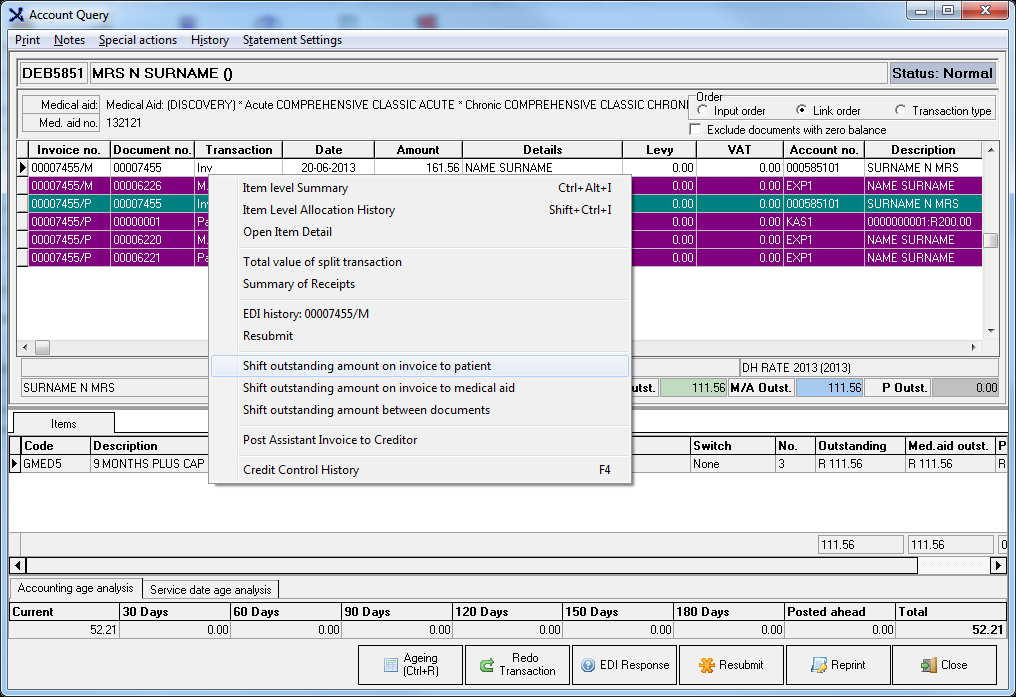
Shift outstanding amount on invoice to Patient / Medical Aid
Open an account queryRight click on the Invoice and select Shift outstanding amount on Invoice to Patient /Medical Aid
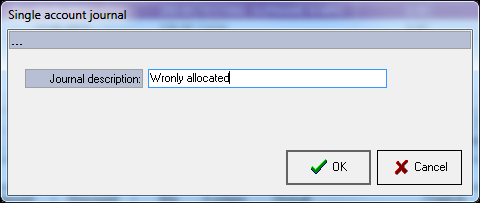
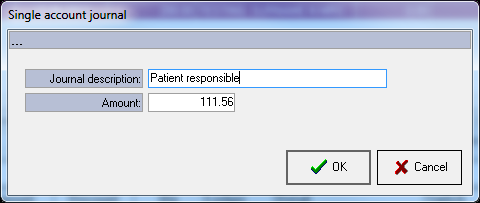
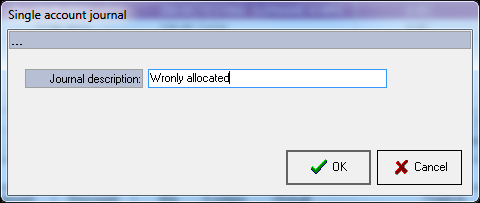
Enter the Journal description (Reason for the Journal) and the Amount
Click on OK
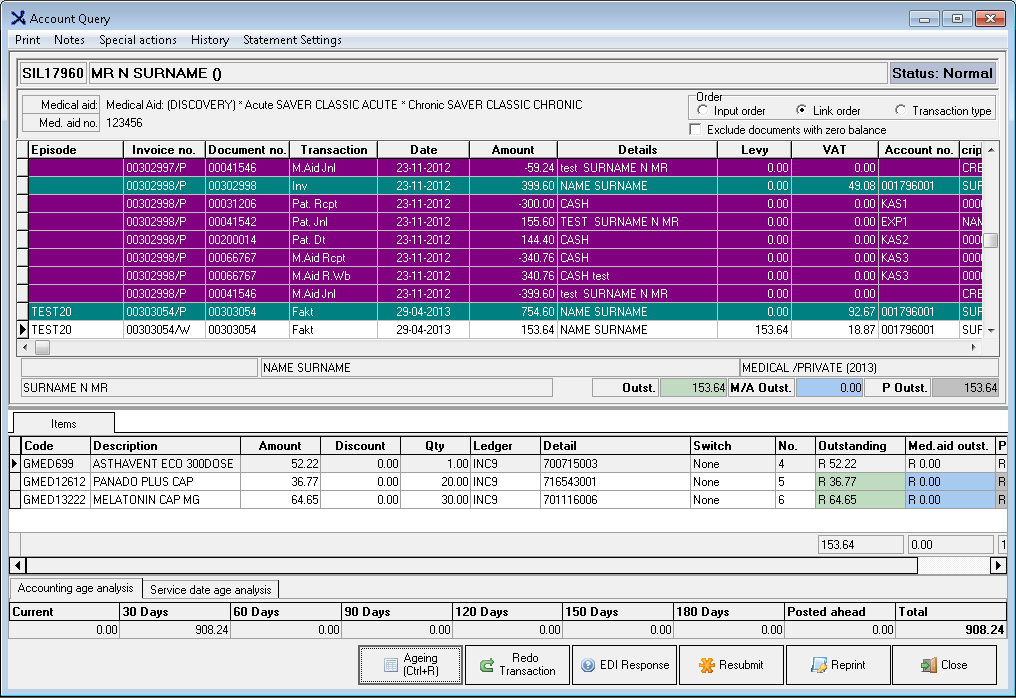
The journal can be viewed on the System Journal tab on the account query screen
Shift outstanding amount between documents
Open an account query
Right click on the Document (in this case an unlinked Receipt) and select Shift outstanding amount between documents
Enter the Journal Description
Click on OK
Shift the amounts between the applicable documents on the Mark Invoices screen
Click on OK (F2)

Print the batch if required
Click on Cancel