Topic outline
Billing to Debt Management (Desktop App)
The Desktop App user manuals under this section of the Learning Centre are for functions that are used in the business processes from Billing to Debt Management.Billing: Episode Management
The GoodX Episode Management option is available in the MedDebs Module. The function gives Bureaus the following ability:- The bureau can issue and book a series of numbered billing templates / template books for a medical practice, which will be logged on the system.
- As soon as the template books have been completed with billing codes by the medical practice and handed back to the bureau, the template book will be marked as received by the bureau.
- As soon as the received template book's billing is captured on the system, the template status will change to "Invoiced", which indicates that the billing instruction has been received and billed.
The result of this process is that the Bureau has a full report of:- the status of all templates issued to medical practices, warning the bureau of issued templates that are outstanding; and
- all instructions received by the bureau and if all have indeed been captured on the system.
- The bureau can issue and book a series of numbered billing templates / template books for a medical practice, which will be logged on the system.
Billing Corrections


There are different Functions that can be used to do corrections. This is a short Summary of which Function to use for which type of correction:
Credit Note:
- Reversal of an Incorrect Invoice.
Redo-Transaction: (Credit the Invoice and create a new Invoice)
- To change the Tariff code,
- To change the Quantity, or
- To change the Amount.
Receipt Written Back:
- Reversal of an Incorrect Receipt (see under Receipt Corrections heading).
Payment to Patient / Medical Aid:
- Refund for overpayment (see under Debt Management heading).
Receipting
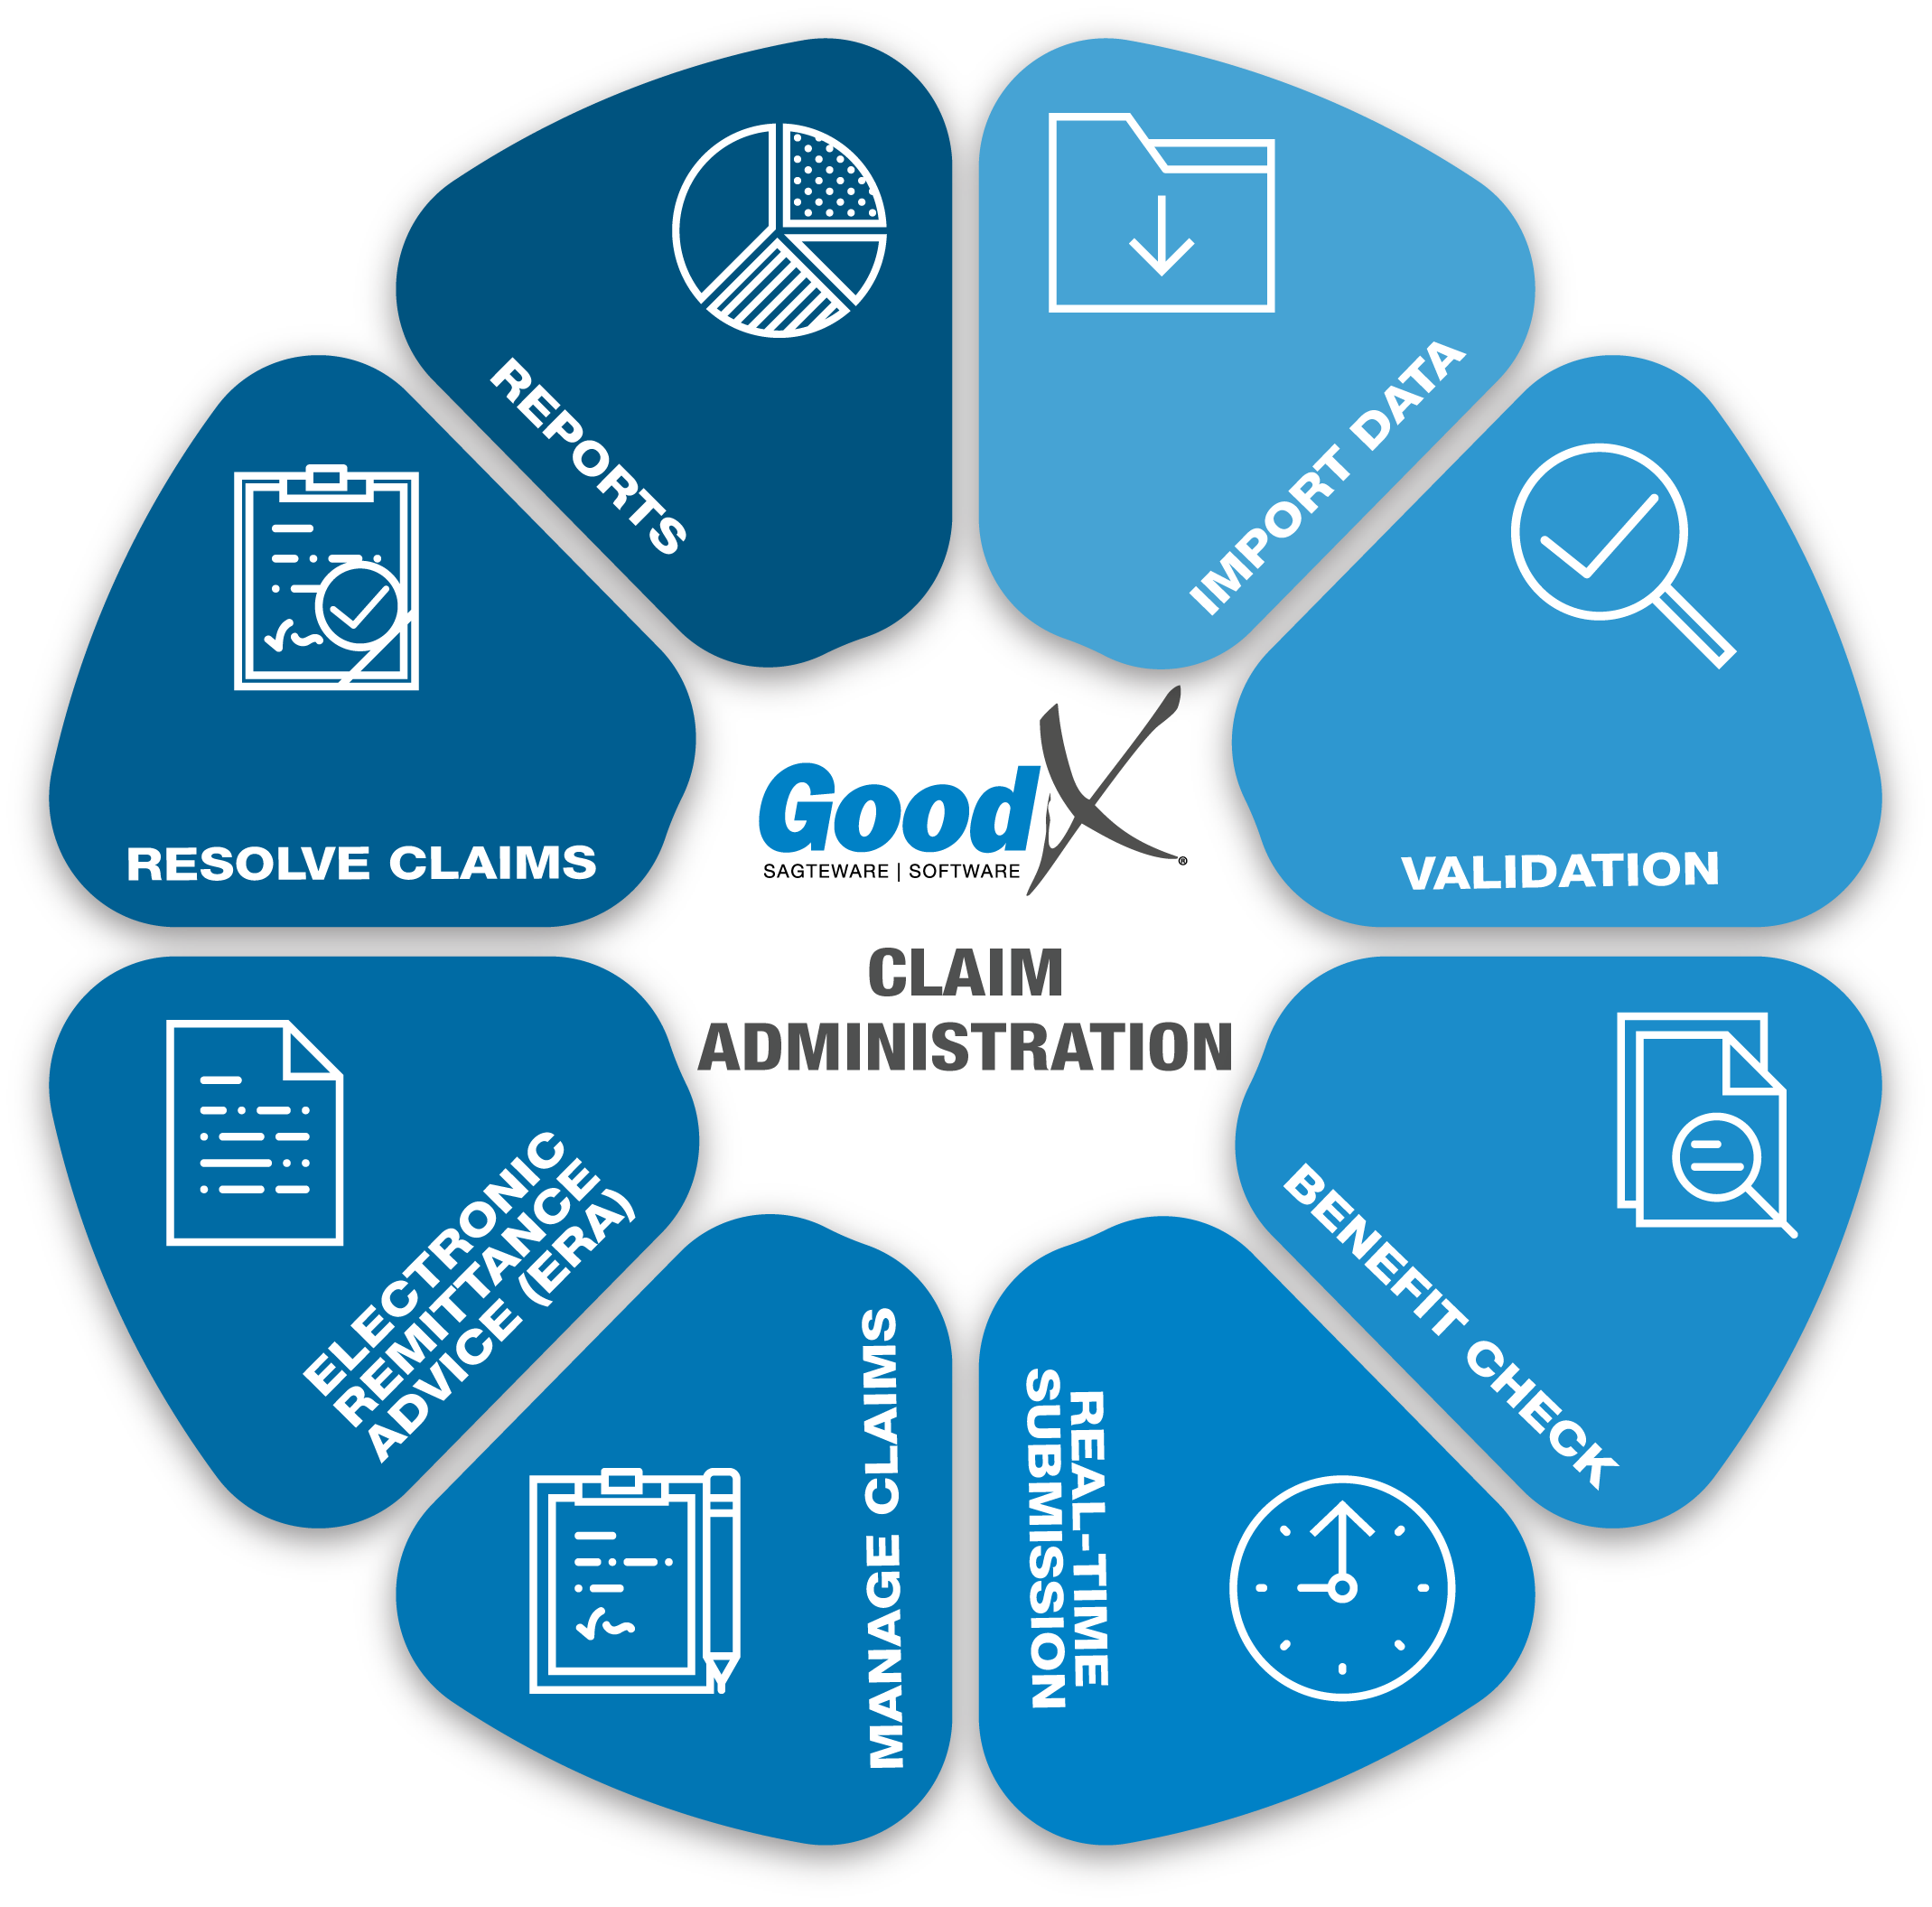
All Electronic Remittance Advice (ERA) information can be found under the Switching: Claim Administration book on the book case.


Receipting: The Cash Register


Benefits of using the Cash Register in the Practice:
- Processing and Recording of payment transactions in the Practice to enable the tracking of Patient transactions.
- Speeding up checkout time.
- Save unnecessary costs of receipt books by using the receipt option of the Cash Register module.
- Cash Registers can be set up per user so that each user can end his or her session and do a cash-up after ending a session and do a proper capture of the user cash-up for auditing purposes.
- End the Cash Register session after collecting all the payments for the day so that the day becomes an auditable unit.
- At the end of the session, the Cashier / Receptionist counts all payments received for the day for reconciliation with the system.
The Cash Register is listed as the second Module on the Navigator.
Debt Management: General


Before starting with Debt Management, Journals can be used for the following:- Small balance Write Off
- Settlement Discount
- Bad Debt Write Off
- Bad Debt Recovered
- Hand Over
- Interest
Debt Management: The Credit Control Assistant (CCA)


In modern medical practice, providing comprehensive healthcare to people in need of it is not the only important function that takes place. An equally important function, which actually has an effect on the financial survival of a practice if it is not managed efficiently - the effective control and administration of patient accounts.
GoodX's Credit Control Assistant (CCA) assists the practice to manage the business processes within the practice that are associated with the collection of outstanding debt from Medical Aids and/or patients. The function will be used for assisting in Credit control/Deb collection, SMS, Emails and cycle steps are pre-defined. The CCA keeps all communication in connection with the account of the patient between a patient/medical aid and practice.
If you would like to use the CCA, please contact GoodX so that the set up can be done by our consultants and training can be booked at our offices. Please read the notes below and follow the instructions for the setup of the CCA. The information that we need from your practice, is described in the business process design link below.
The example in excel is provided as a guideline. In order for GoodX to set up the CCA, please comply with the following procedure:
1. Download the example, change or add the processes you require and indicate your time frames and which steps you want to be taken with each collection process. The clearer your instructions, the easier the setup will be.
2. Send the document back to help@goodx.co.za so that GoodX can do your setup according to your needs.
3. Make arrangements for training at the GoodX offices.
Note: the CCA setup should be done once, so it is imperative that the business process setup is decided on in advance.
Month-end


The reports for the Desktop App can be found under the Desktop App Reports book on the home page of the Learning Centre. Before reports can be generated, clients who use the month end functionality, must first do a Debtors month end.
Practices that use the GoodX Month-end system have to do the Debtors month-end at the end of each month.
Practices that use the Accounting Module must also complete a Financial Month-end in the GX Manage Module. Click here for instructions.


