Multiple Debtors Actions
Multiple Debtor Actions is used to manage the CCA (Credit Control Assistant) for a list of Debtors at once instead of having to individually do every Debtor. The Credit Control Assistant assists the Practice to manage the business processes within the Practice that are associated with the collection of outstanding Debt from Medical Aids and/or Patients. The function will be used for assisting in Credit Control / Debt Collection, SMS, Emails and cycle steps are pre-defined. The CCA keeps all communication in connection with the Account of the Patient between Patient / Medical Aid and Practice.
The Credit Control Assistant is accessible in the MedDebs Module.
- The contents of this User Manual will comprise of the following information:
- Set-Up
- Add Notes for all Accounts
- Send E-mails to all Accounts
- Change Debtor Status for all Accounts
- Print List
- Send Payment request to all
- Sign in to the GoodX Desktop using your GoodX user name and password.
From the Navigator Double click on the MedDebs Module.
Set-Up
- You will be directed to the main MedDebs Screen.

- From the Menu Bar, Click on Batch Transactions.
- From the Drop-Down Click on Multiple Debtors Actions.

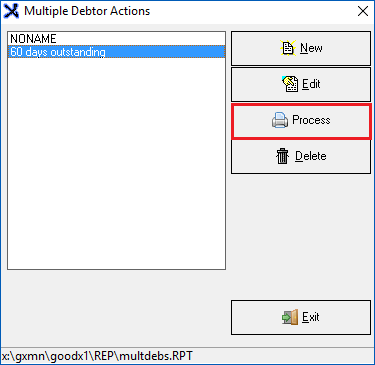
- A pop-up box will open, Multiple Debtor Actions.
- You can set up a Report according to what information you want to see eg. 30 days, 60 days, 90 days etc. outstanding, by clicking on new (to add a new selection) or on edit to edit an existing selection option.
- Click on the appropriate Report in this case 60 DAYS OUTSTANDING ACCOUNT and click on Process.
- From this screen, you have Multiple Actions that you can utilise.
- Send Payment Request: You can select a debtor from the list and automatically request payment.

- Actions: There are many features -explained below.

- Account (F9): You can access the Account screen directly.

- Debtor List (F6): You can access the Debtor List directly.

- OK: Saves and continues.

- Exit: Returns to the main screen.

- All the Accounts with 60 days outstanding accounts will be displayed. It can be under Medical Aid or Private and the Total Balance Outstanding.
- Click on the Actions button on the bottom of the Screen:

- When clicking on the Actions button you will have options to :

- An explanation of each function will be given below.
Add Notes for all Accounts:
- You are able to create a Note that will be posted and saved on ALL Debtor Accounts that is listed with outstanding amounts.
- This will reflect in their Notebook.

Send E-mails to all Accounts
- You are able to send a Text Message to the Debtors on the list from the system as a reminder to settle their outstanding debt.

- You are able to select the SMS Template for the reminder SMS and click on Send.
TAKE NOTE: You are able to set up SMS Templates specifically for this reminder in the GX Manage Module. Follow the link SMS Template Setup to see how to create and save it.

Send E-mails to all Accounts
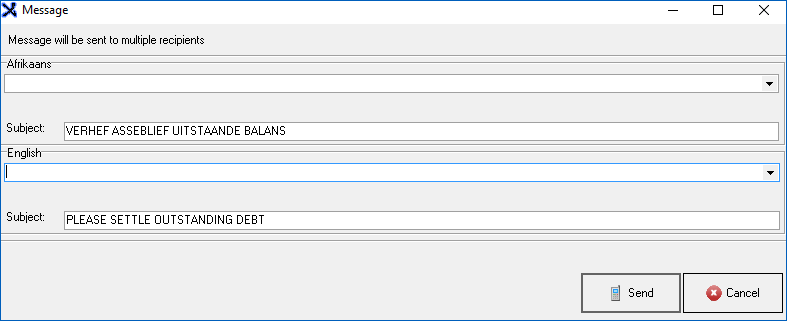
- You are able to send the Debtors on the list an email from the system as a reminder to settle their outstanding debt. The email will be sent to the email address that's saved on the Debtor Account.
- Select the Email Template in Afrikaans or English. In the Subject field type what the email is about, in this case, Debt Collection or Outstanding Account with Dr . . .
- Click on Send.
TAKE NOTE: You can set up Email Templates specifically for this reminder in the GX Manage Module. Follow the link Email Template Setup to see how to create and save it.
Change Debtor Status for all Accounts
- Select to which Debtor status the selected accounts on the list should change to.
- You are able to create more account status' by clicking on the link, find out how: Debtor Status.
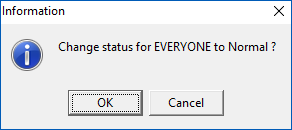
- Click on OK to make the changes.

- Click on OK to confirm whether you want to change selected accounts status' to Normal/Discontinued(as in the example)
- This will allow the user to change debtor statuses for all accounts at once.
- Click on Cancel to cancel the action.
- By clicking on the buttons the bottom of the screen you are able to:
- Export: Exports the list to an excel spreadsheet.

- Print: Prints the list.

- Ok: Applies the changes you have made.

- Close: Closes the screen and returns to the previous screen.


Print List
- This enables you to Print a summary list of the outstanding amounts.
- You are able to select the information you would like to Print by ticking the checkboxes.
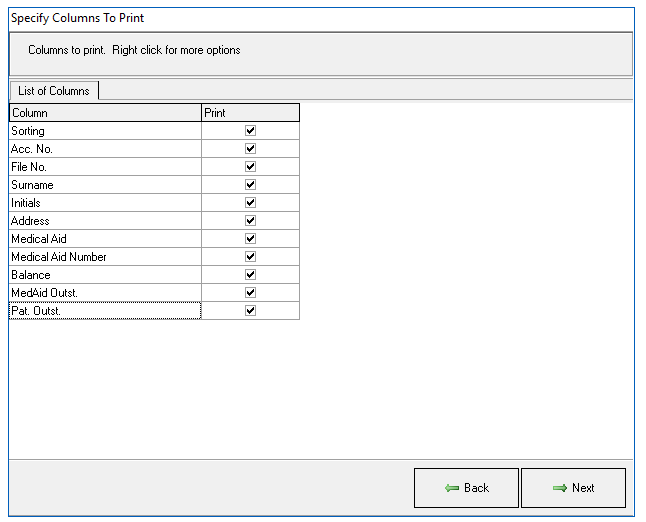
- Click Next to generate the list.

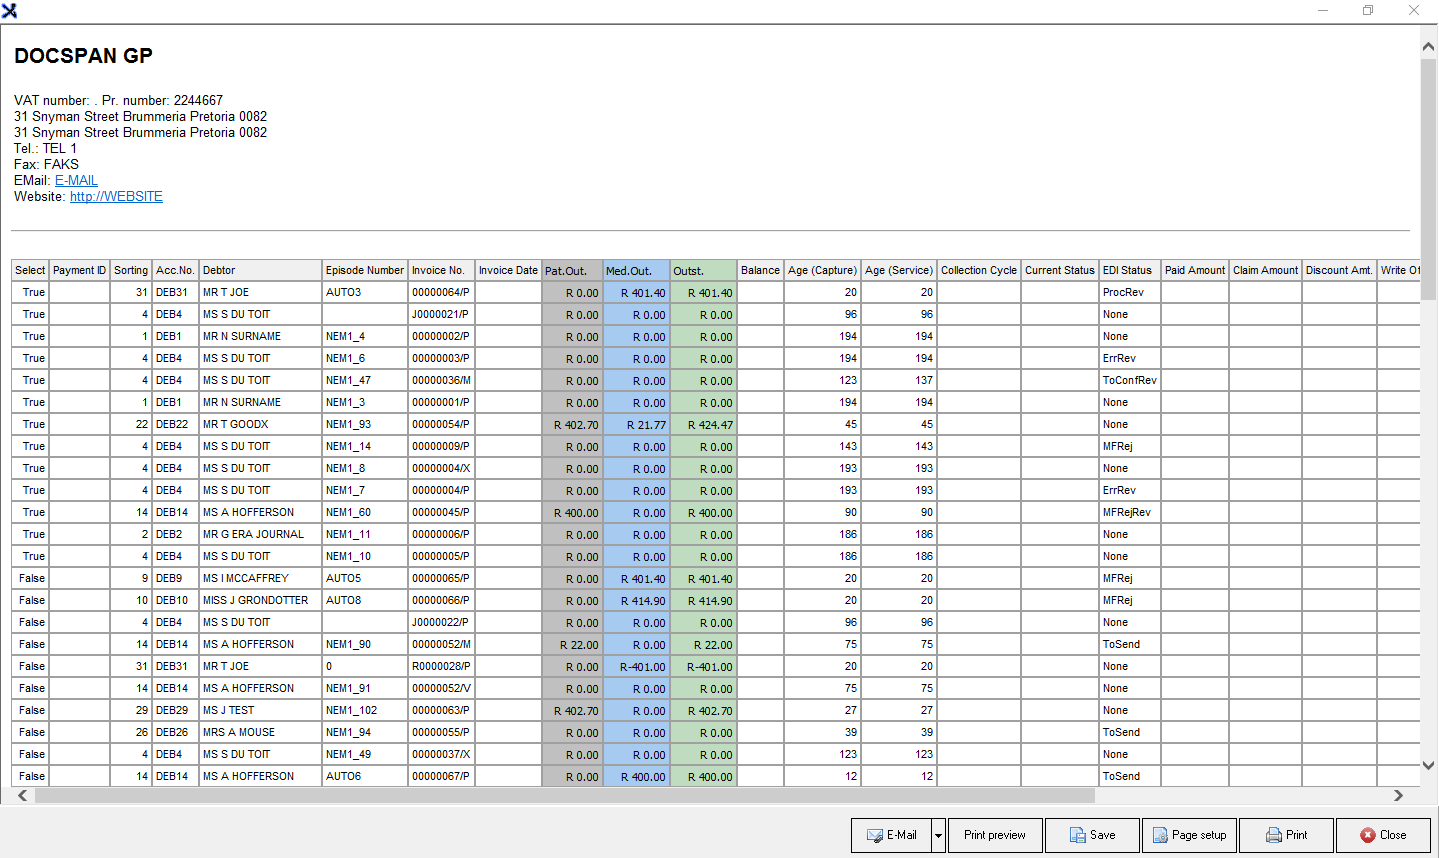
- You will then have options of what you would like to do with the list:
- Email: Email the report.

- Print Preview: How it will look before you Save or Print.

- Save: Save to your computer.

- Page Set-Up: Set up how to view the report.

- Print: Send it to your printer to print a hard copy.

- Close: Closes the screen.

Send Payment request to all
- Will automatically send a payment request via email and SMS to all debtors on the list.
- Please Note: that nothing will happen on the screen and the request will happen in the background.