DA: Allocating a Medical Aid Rejection Message
By Allocating a Medical Aid Rejection Message, the user is able to manually add a rejection message to entire Invoices or individual Invoice Lines so that the user can indicate the reason for the invoice line rejection and thereby inform the Debtor why the account was not settled by the Medical Aid.
- The contents of this user manual will consist of the following information:
- Set Medical Aid Rejection Code at Invoice Level
- Set Medical Aid Rejection Code at Item Level
- Log in to the GoodX Desktop App with your username and password.
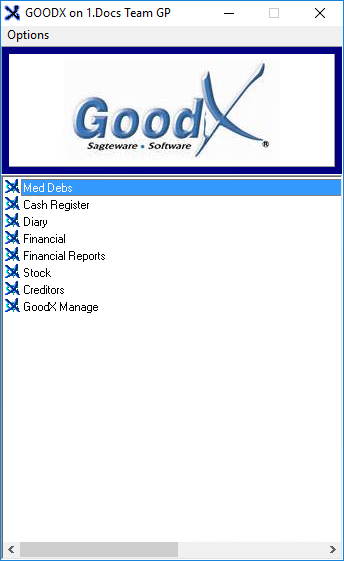
- From the Navigator, Double Click on the Med Debs Module.
- The Debtor Manager screen will open.
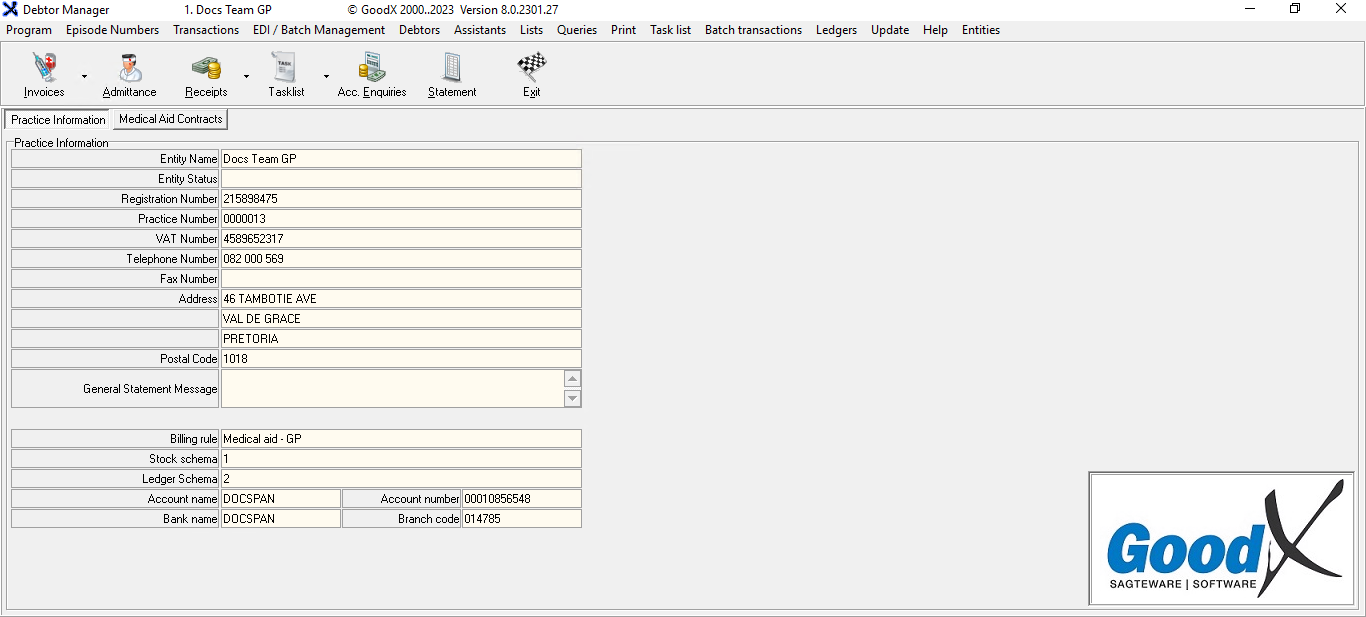
- Click on the Admittance button on the Toolbar.

- The Main Member Input screen will open.
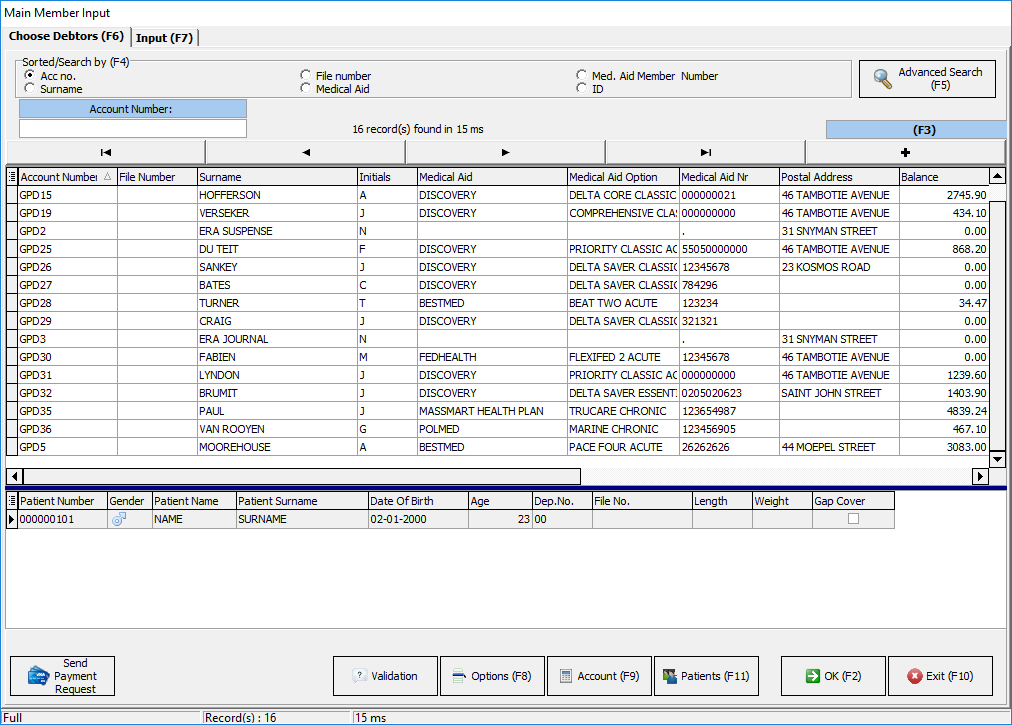
- Click on the Debtor which had a rejection from the Medical Aid.
![]()
- For more information on to see if an Invoice was rejected please, refer to the user manual: DA: Claim History.
- Click on the Account button or the F9 key on the user's keyboard.
![]()
- The Account Query screen will open.
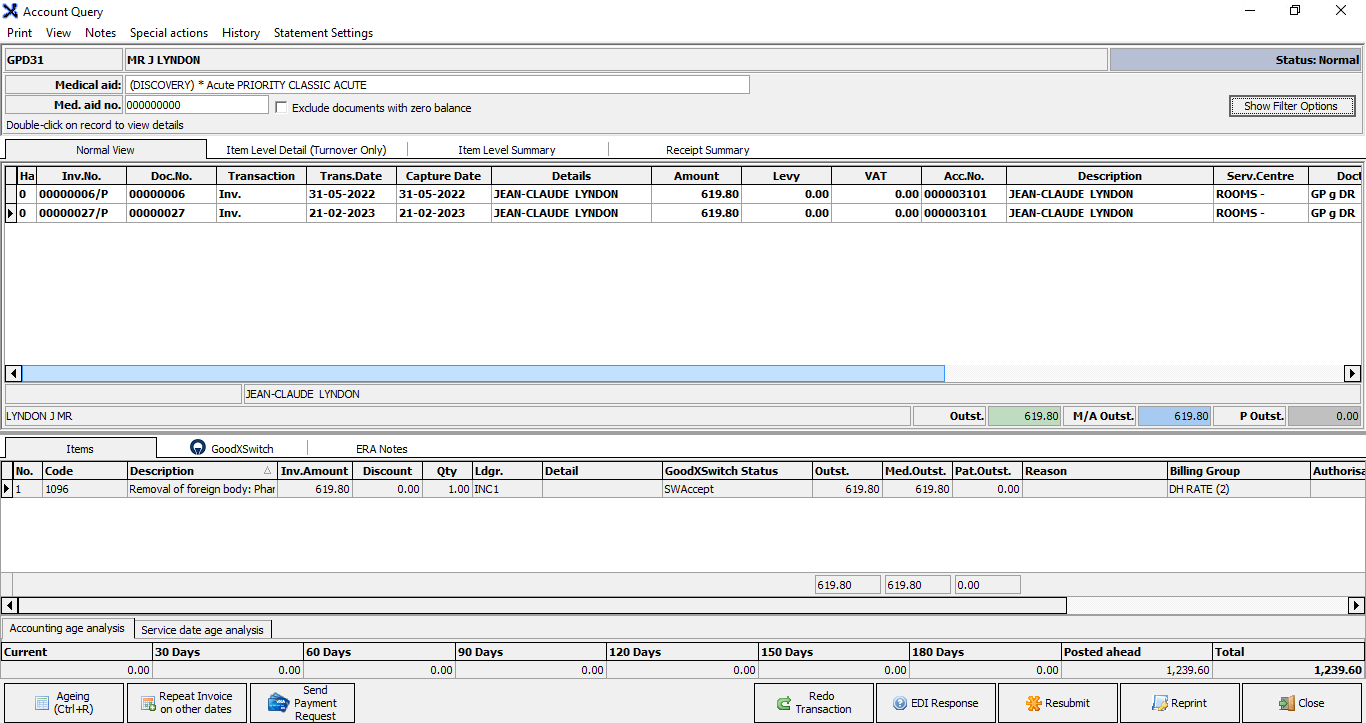
Set Medical Aid Rejection Code at Invoice Level
The user is able to set an individual Medical Aid Rejection Code for the entire Invoice.
- Double Click the Invoice that the Medical Aid rejected.
![]()
- The Invoice Details screen will open.
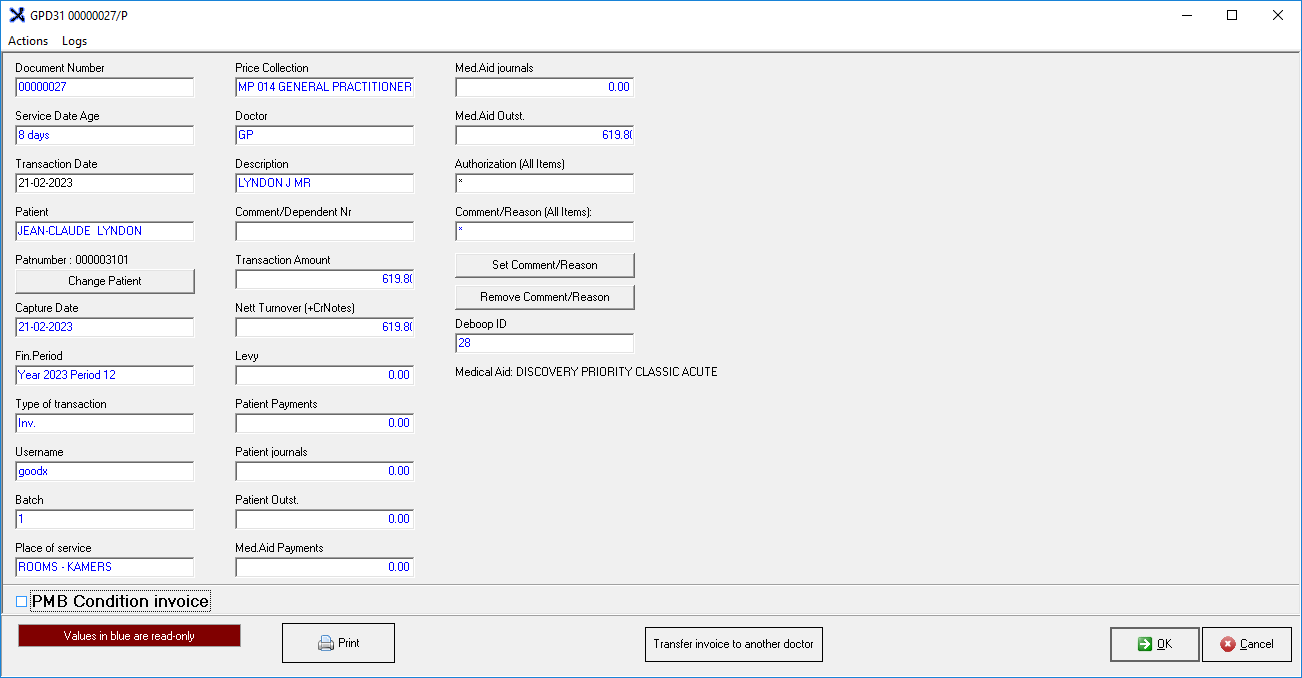
- Click on the Set Comment/Reason button.
![]()
- The Medical Aid Rejection Codes screen will open.

- Double Click on the code that best suits the reason for the Medical Aid claim rejection.
Please Note: The Medical Aid Rejection codes are custom codes set up by the user in the GoodX Desktop app. For more information regarding the setup of Medical Aid Rejection codes, please refer to the user manual: Setup of Medical Aid Rejection Message.
- The Invoice Details screen will open.

- The selected Medical Aid Rejection Code will be filled in the Comment/Reason (All Items) field.
![]()
- Click on the Cancel button to exit the Invoice Details screen without allocating the Medical Aid Rejection Code to the Invoice.
![]()
- Click on the OK button to allocate the Medical Aid Rejection code to the Invoice and exit the Invoice Details screen.
![]()
Set Medical Aid Rejection Code at Item Level
A user is able to set Medical Aid Rejection Codes for individual Invoice Lines on an Invoice.
- Click on the Invoice that contains the Invoice Line which the Medical Aid rejected.
![]()
- Double Click on the Invoice Line that was rejected.
![]()
- The Edit Transaction Detail screen will open.
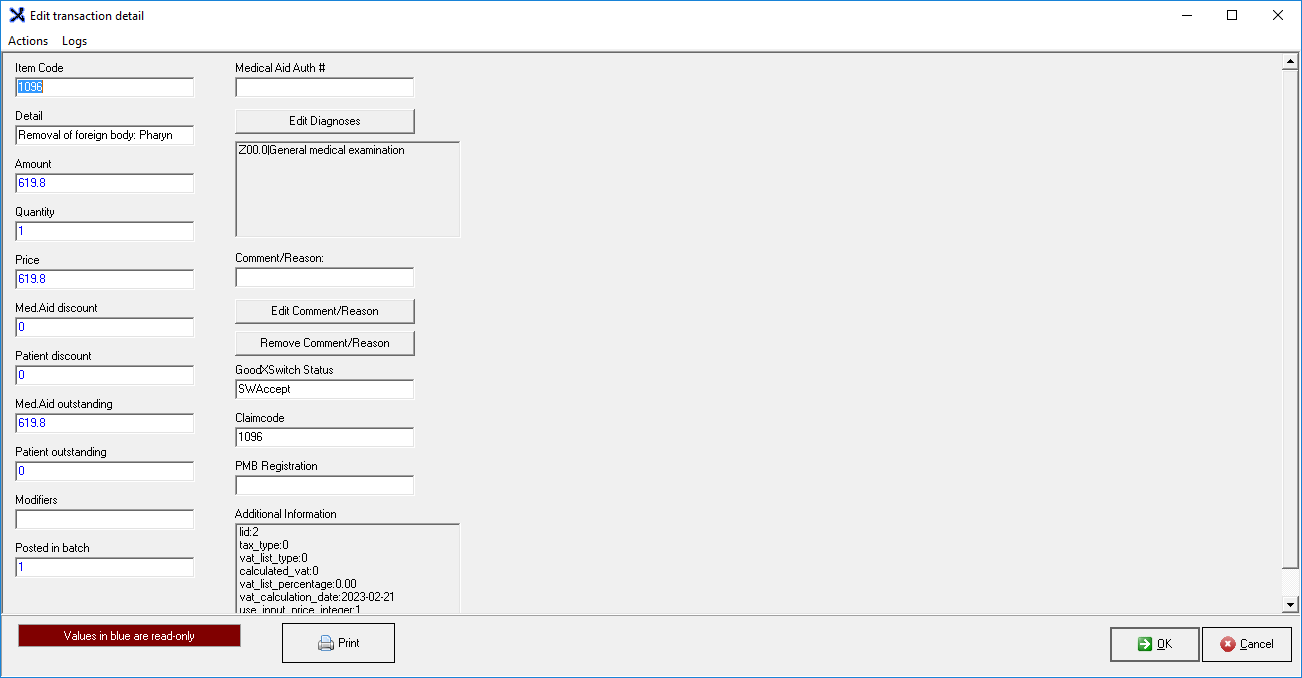
- Click on the Edit Comment/Reason button.
![]()
- The Medical Aid Rejection Codes screen will open.
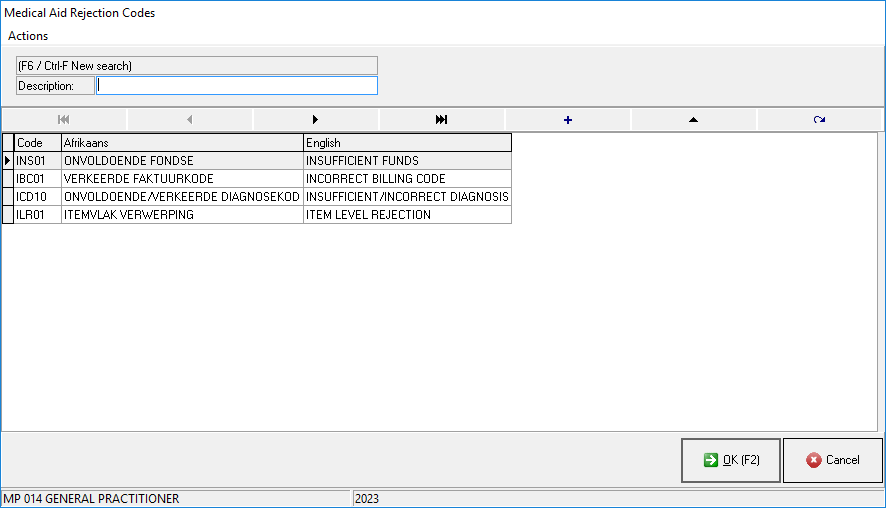
- Double Click on the code that best suits the reason for the Medical Aid claim rejection.
Please Note: The Medical Aid Rejection codes are custom codes set up by the user in the GoodX Desktop app. For more information regarding the setup of Medical Aid Rejection codes, please refer to the Set Medical Aid Rejection Code at Invoice Level section of the user manual.
- The Edit Transaction Detail screen will open.
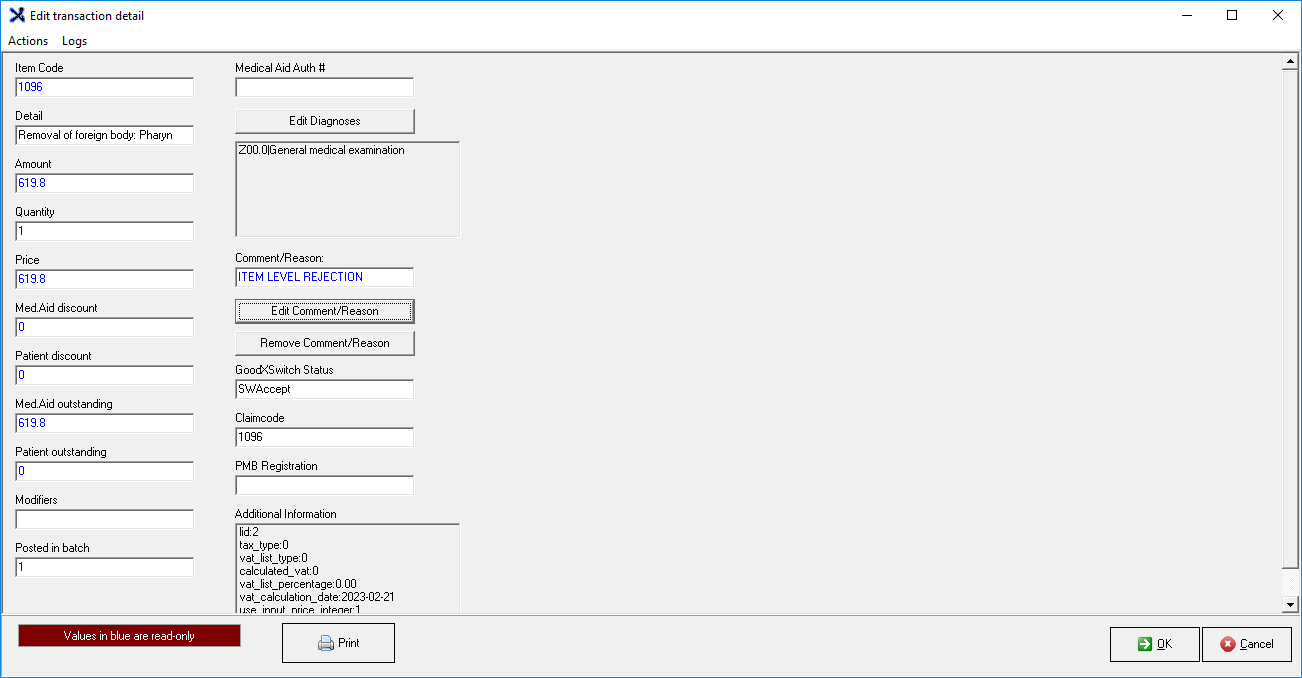
- The selected Medical Aid Rejection Code will be filled in the Comment/Reason field.
![]()
- Click on the Cancel button to exit the Edit Transaction Detail screen without allocating the Medical Aid Rejection Code to the Invoice Line.
![]()
- Click on the OK button to allocate the Medical Aid Rejection code to the Invoice Line and exit the Edit Transaction Detail screen.
![]()
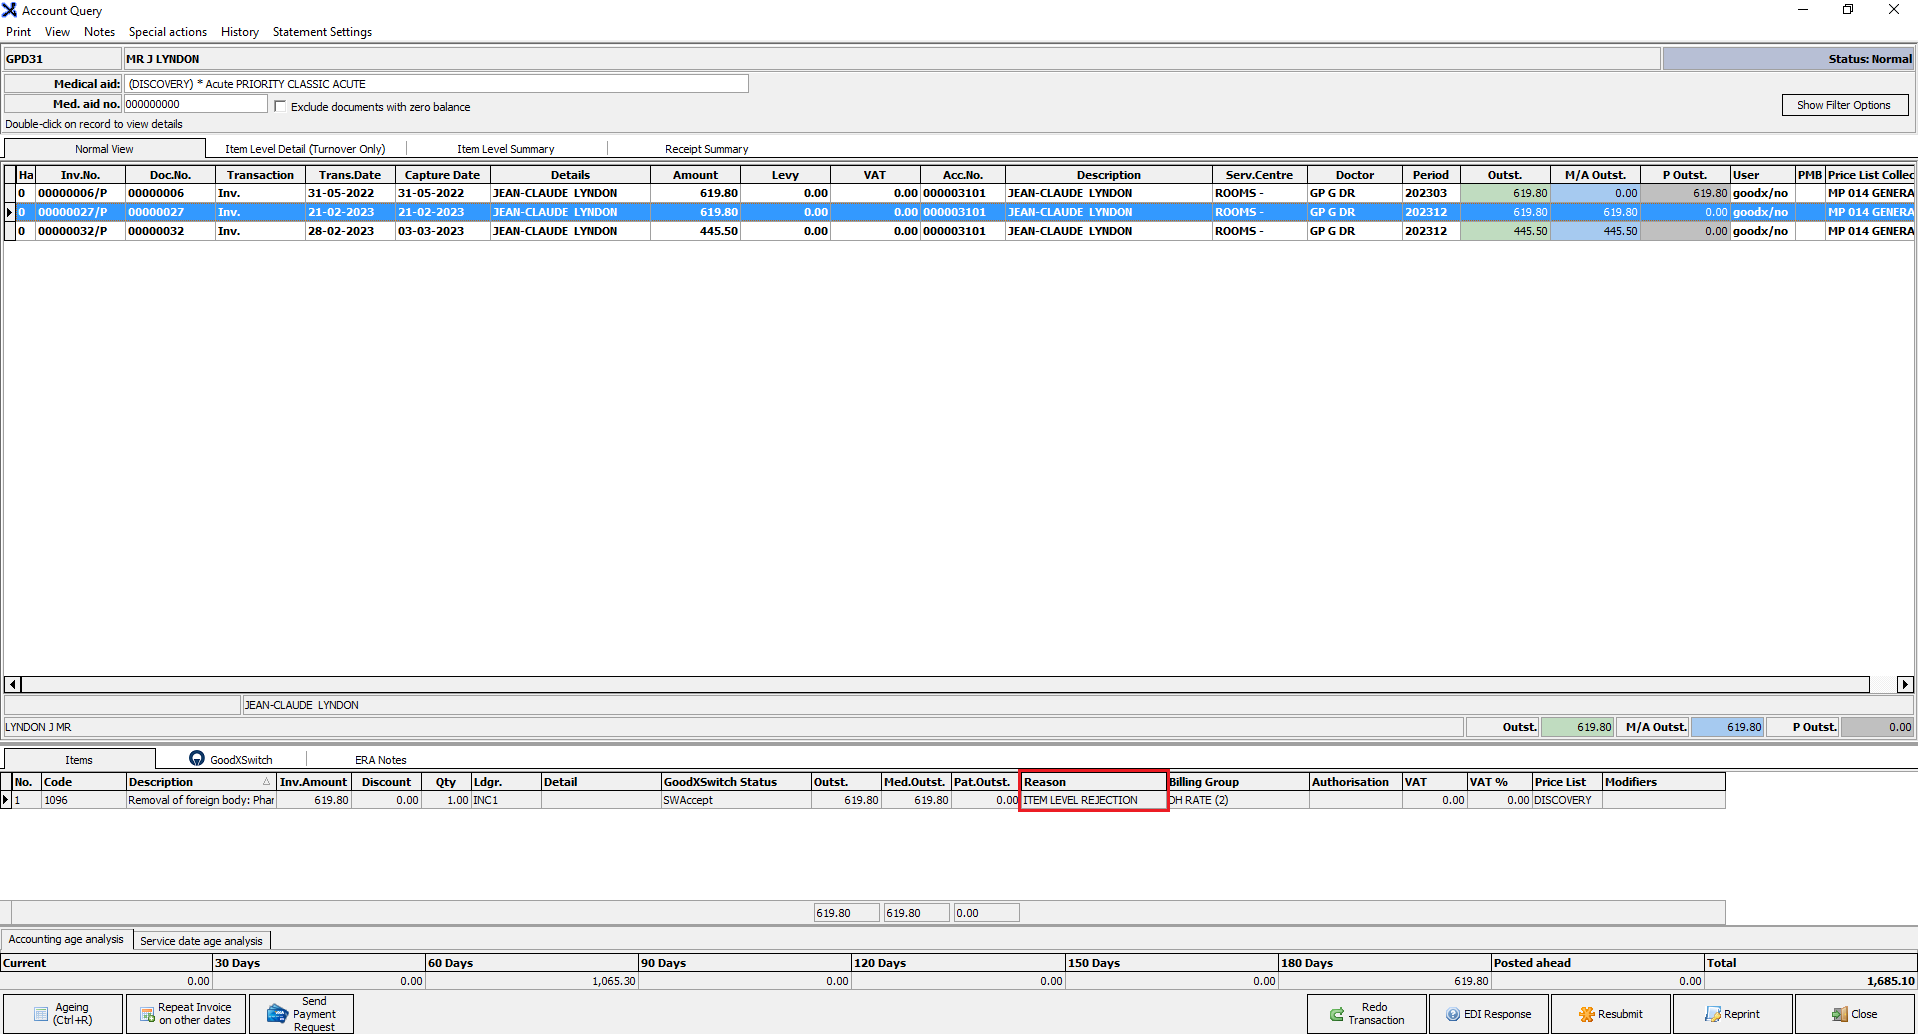
- The Account Query screen will open with the selected Medical Aid Rejection Code's description in the Invoice Line's Reason field.
