Adjustment Journals per Invoice
The Adjustment Journals per Invoice enable the user to do a specific journal on a range of Invoices and a specific range of amounts. The function will normally be used at the end of a financial period to assist in small balances written off on all the invoices.
- Sign in to the GoodX Desktop using your GoodX user name and password.
From the Navigator click on the MedDebs Module
- On the main MedDebs Screen, from the menu bar at the top of the screen:
- Click on Batch Transactions
- Click on Adjustment Journals per Invoice

- You will be directed to the Adjustment journal setup- per invoice screen

Journal Information

- Date: Select the preferred transaction date
- Description: Add the description of the transaction
- Jnl Action: By pressing the Tab
key on your keyboard, you can select the type of journal from the selection list screen Click on the reason for the journal

- Click on OK to proceed

- To Cancel and return to the previous screen Click on Cancel

Specify extraction amounts

- Type the amount which you would like to journal in one of the following fields
- Greater than or equal to: This will be the invoice amount rand value
- Smaller than or equal to: This will be the invoice amount rand value
Specify Debtor Accounts

- Select the range of debtors you would like to perform journals on
- From DEB: From and including this specific debtor number
- To DEB: To and including this specific debtor number
- Specify list of debtors check box: Will allow you to choose a list of debtors when checked
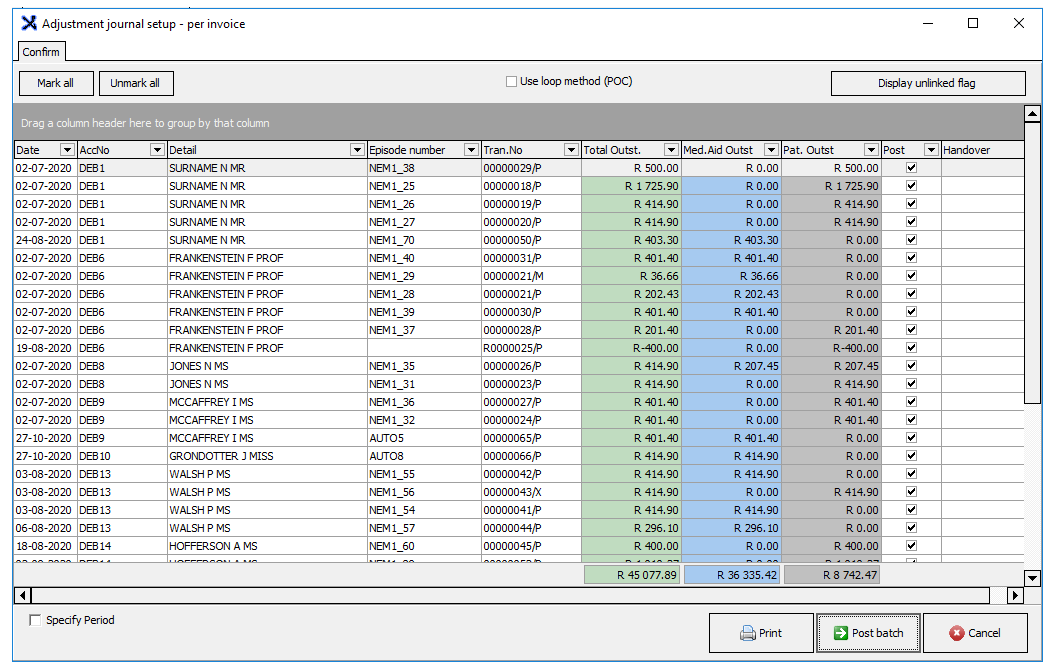
- Mark the invoices you want to include in your selection in the post, column
- Mark All : Allows you to check all the invoices on the list
- Unmark All: Unmarks all the marked invoices on the list
Specify dates of transactions to take into consideration

- Select the date range of the transactions to do the actions on
- From: Start Date including the date selected
- To: End Date including the date selected
Specify list of invoices

- Click on the Elipse ... to upload a .csv file from your computer
- In an excel spreadsheet/google sheet, type your list of the invoice number you would like to apply actions on, in the first column
- When satisfied with your list save as a .csv file in order for you to be able to upload your list

- When you are done and satisfied with your selection Click on Continue to proceed

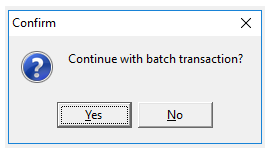
- You will be asked to confirm whether you would like to Continue with the Batch Transaction
- Click on Yes to continue
- If you wouldn't like to confirm or make changes Click on No
- You will be directed to the Adjustment journal set up- per invoice screen
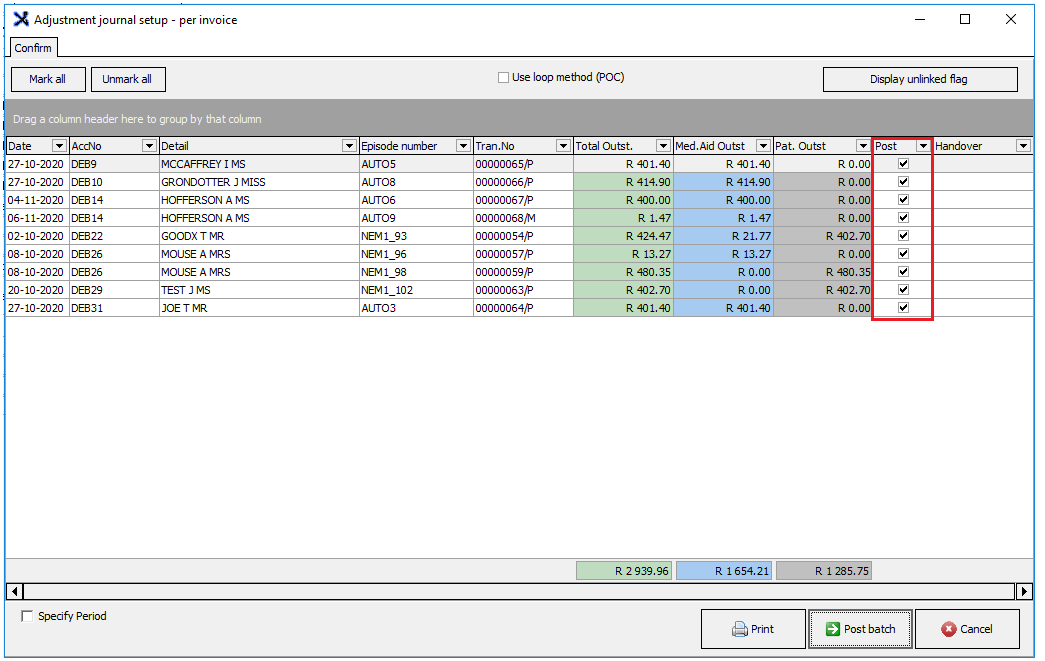
- Here you will have a list of all the invoices that meet the criteria as selected
- You are able to still select which journal actions you would like to post by checking the check boxed in the Post column
- When you are done and satisfied with your selection Click on Post Batch
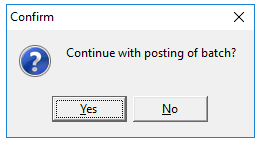
- You will be asked to Confirm whether you would like to Continue with posting of batch?
- Click on Yes to continue
- If you do not want to continue, click on Cancel
Other options available on the screen
- Mark All: Click on mark all to select all on the list
- Unmark All: Click on unmark all to deselect all on the list
- Use loop Method (POC) : To post invoice adjustments faster -Proof of Concept: This function is still in the testing phase
- Display unlinked flag: Displays if there are unlinked receipts and this will display in the Unlinked Exists Column

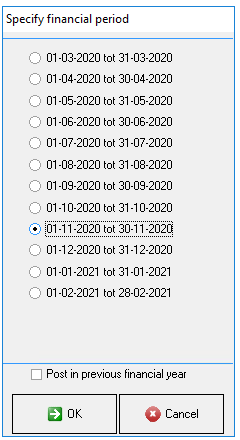
- After clicking post and confirming that you would like to continue, you will be directed to the Specify Financial Period Screen
- Specify Period: Specify in which financial period this batch transaction is taking place
- Select the period Click on Ok
- If you do not want to continue, Click on Cancel to return to the previous screen
- A report will be generated with the Adjustment Journals per Invoice on it
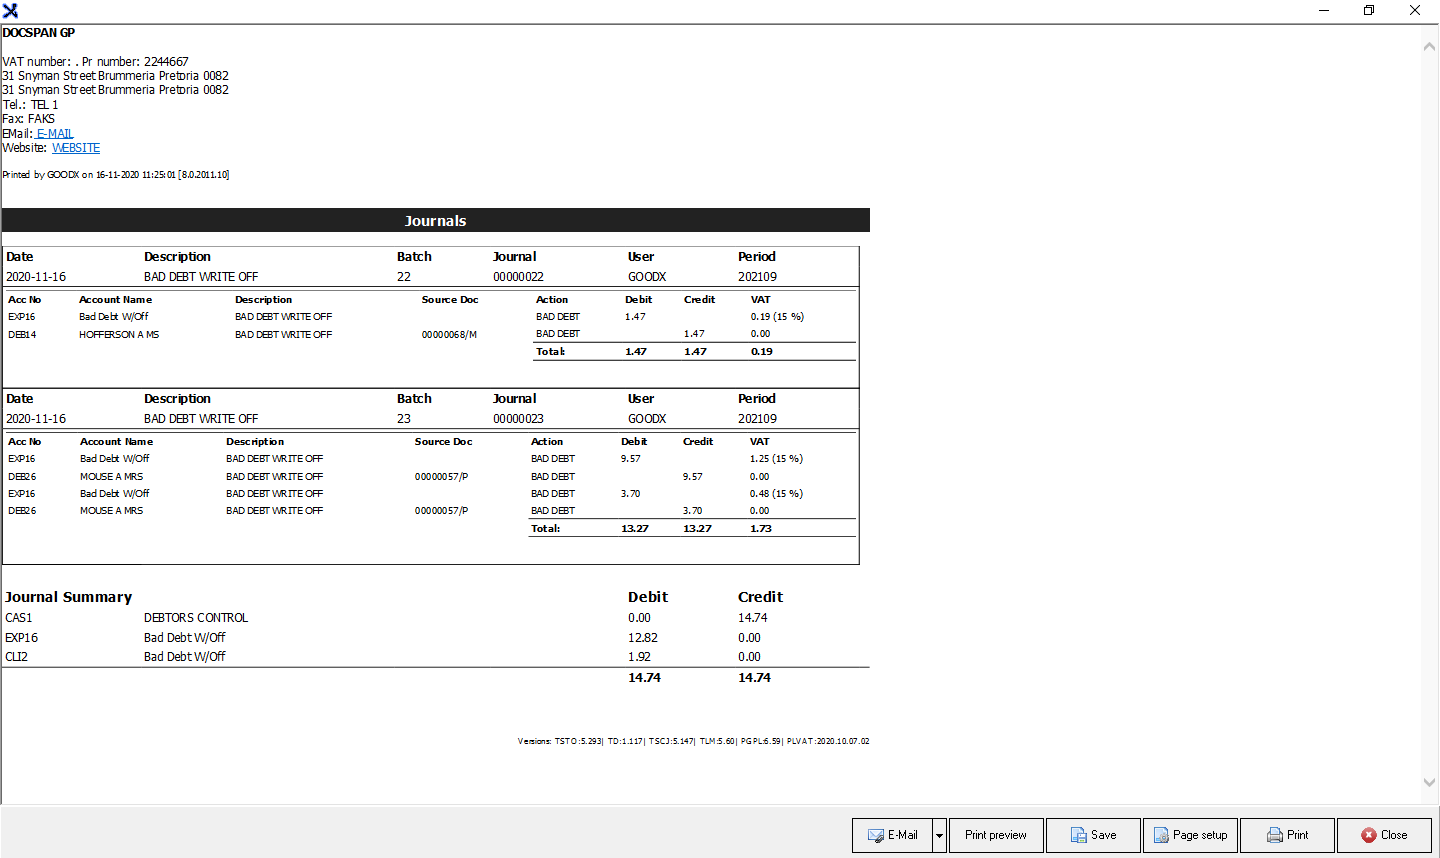
- You will then have options of what you would like to do with the report
- Email: Email the report

- Print Preview: How it will look before you Save or Print

- Save: Save to your computer

- Page Set-Up: Set up how to view the report

- Print: Send it to your printer to print a hard copy

- Close: Closes the screen and return to the Main MedDebs screen

Last modified: Wednesday, 2 December 2020, 10:58 AM