The Multi Invoice screen is used to create batches that contain multiple Invoices. The batches may have Invoices for the same Debtor but for multiple days or for multiple Debtors or both, which is mostly used by Bureaus for faster billing.
Different
Dates, Times, Service Centres, Doctors and Billing Ratescan be invoiced at the same time for the same Debtor. It can be seen as a combination of the Simple, Comprehensive and Treatment plan Invoices.
The contents of this user manual will consist of the following information:
Log into the GoodX Desktop using your GoodX username and password.
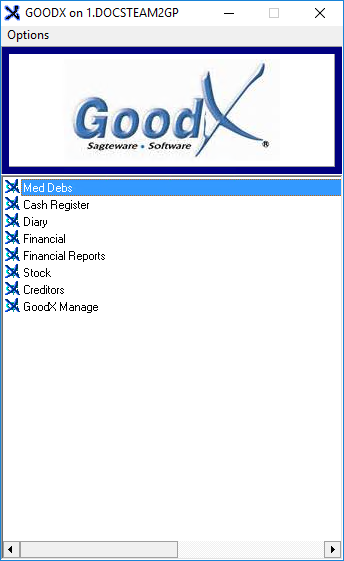
From the Navigator,Double Click on the Med Debs Module.
The Debtor Managementscreen will open.
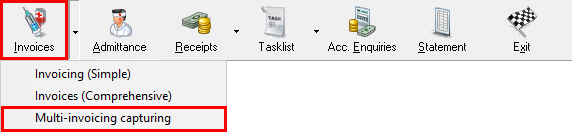
Click on the Invoices drop-down menu on the Toolbar.
Click on Multi-Invoicing Capturing.
Please Note: The default Invoice method can be set up to suit the needs of the user. Please refer to the user manual: User Preferences: General Tab.
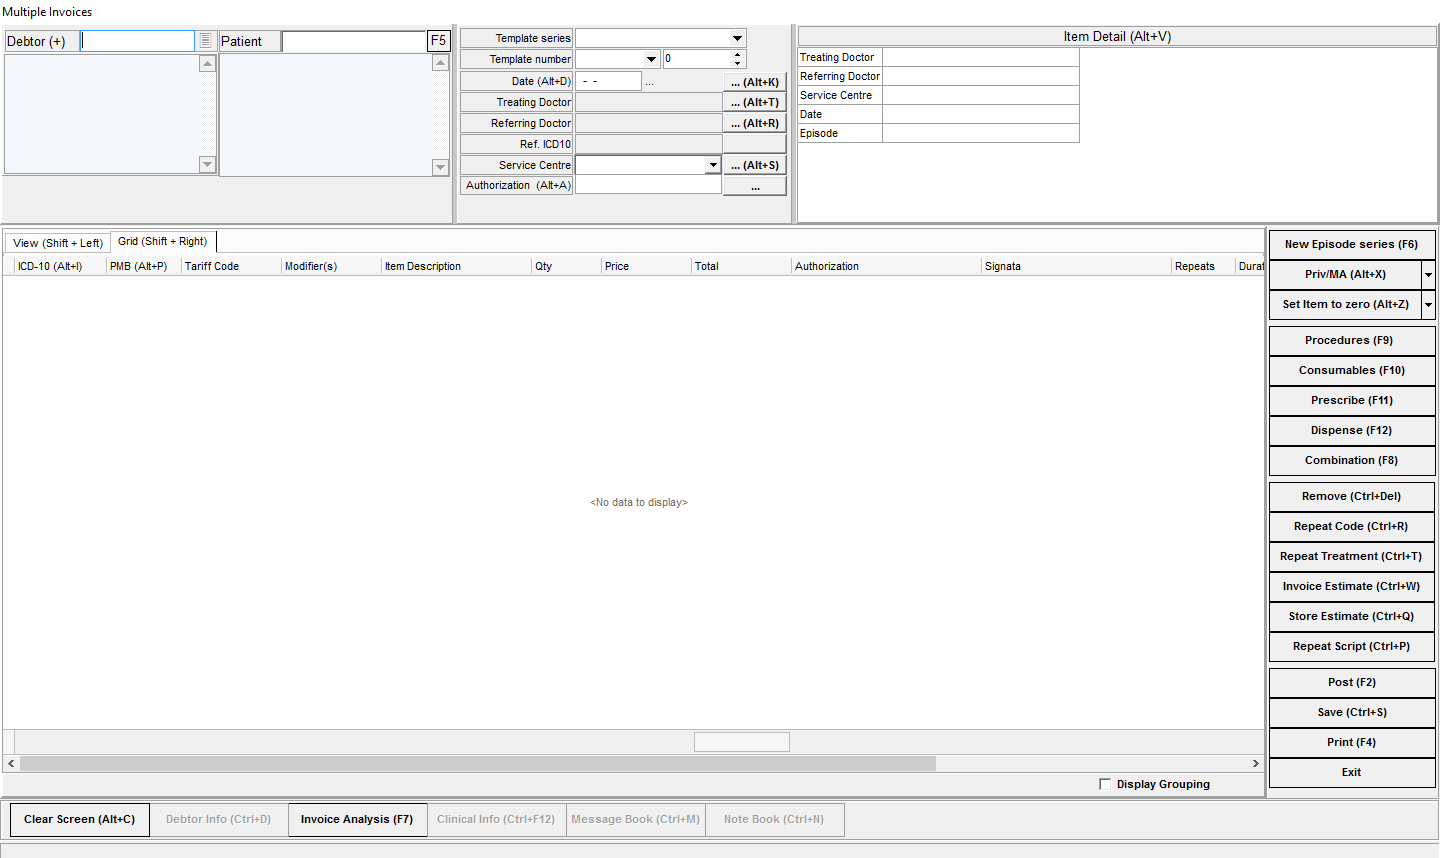
The Multiple Invoices screen will open.
Enter the Debtor Number or press the Tab key on the keyboard to select the Debtor from the Debtor Fixed Data List. If you want to use your own file number system, you can insert a star * before your own file number and then press the Tab key on the keyboard to navigate to the correct Debtor.
The Episode screenwill open and it is possible to override the Billing Rates from this screen by clicking the Override Billing Rate checkbox.
Please Note: The Billing Rates that appear on the list can be set up to suit the needs of the user.
After clicking on Continue the Account Summary screen will appear with the account history details, as well as a list with previous transactions on it.
The information of the selected Debtor will be generated at the top of the Invoice.
Columns
All items that are added to the invoice will be divided into columns according to the following criteria:
From Time: The time when the procedure started.
ICD-10(Alt+I): ICD-10 codes are used to indicate the diagnosis of the Patient's illness or problem.
Type the diagnosis code, if unsure of the code press the Tab key to open the ICD-10 Direct Search screen and search and select the code. For more information, please refer to the user manual: ICD-10 Code.
This only has to be done on the first line item, the code will carry through to the next lines.
PMB Alt+P: A PMB is a condition that a Patient has that must be paid for by the Medical Aid. These codes are linked to the ICD-10 code.
Tariff Code: The code linked to the item or procedure.
Modifier(s): If a modifier is applicable to the item.
Item Description: A detailed description of the item.
Qty: How many of this specific item will be added to the Invoice.
Price: The price that is linked to the specific item.
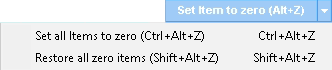
Please Note that the Fixed Price of an item or procedure can be set to 0.00. This is a setting that will need to be turned on. For more information regarding how to set prices to 0, please refer to the user manual: Setting Prices to Zero.
Total: The total line amount.
Authorisation: The authorisation number as received from the Medical Aid.
Repeats: If the item needs to be repeated, add the number of repeats, this will automatically change the item to chronic, this can only be done for Medicine Items.
Duration: If a time is linked to the use of an item or the procedure, for example, anaesthetics and other gasses.
Date: The date that the item was added to the Invoice.
Tariff Column: The price list number that has been used.
Select the item to be repeated by Clicking on the item.
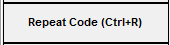
Click on the Repeat Code button to repeat the selected item on a past or future date on the Invoice.
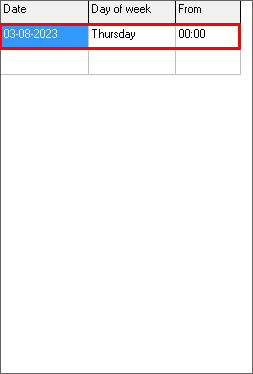
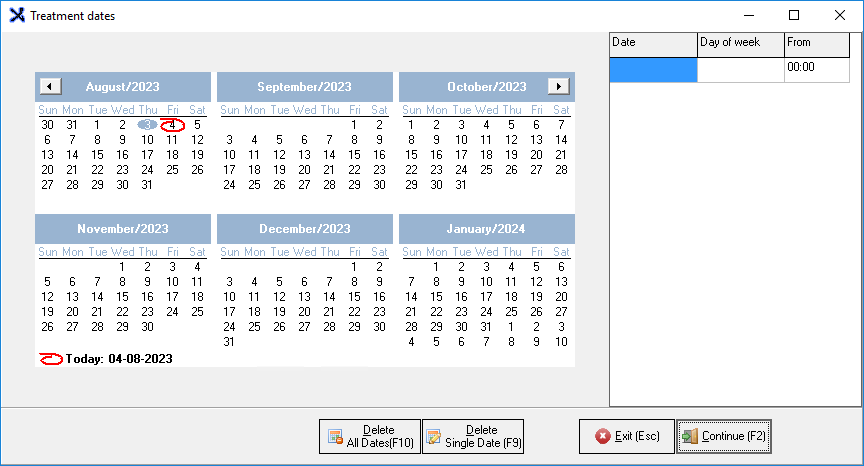
The Treatment Dates screen will appear, to select a date from a previous or future treatment to add a specific code to the chosen date.
Double Click on the selected date make a selection.
Click on the Continue (F2) button.
Please Note: The Date on the Invoice will be from the date that was selected and the items will be billed for that specific date.
Repeat Treatment (Ctrl+T)
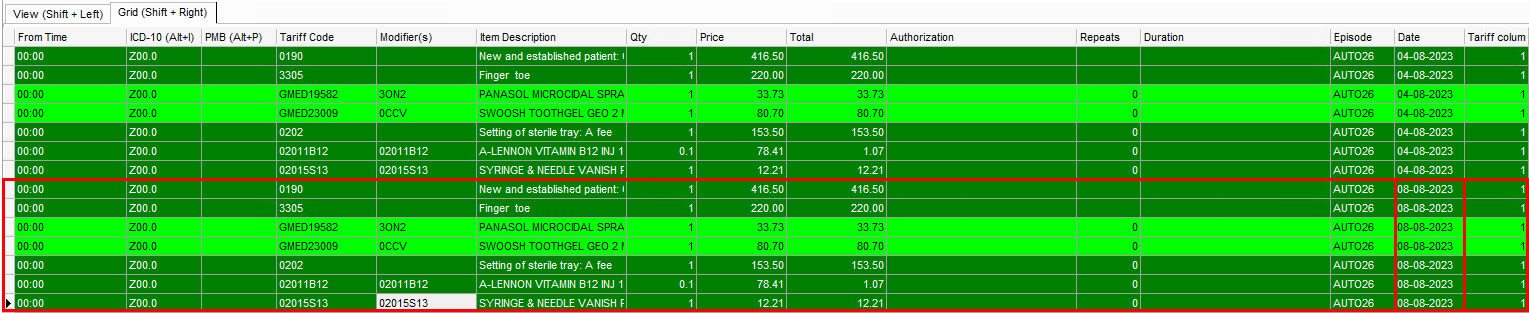
Click on theRepeat Treatmentbutton to repeat all items on the Invoice on past or future dates.
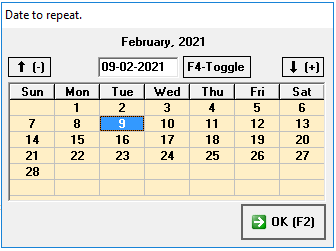
The Dates to Repeat screen will appear.
Click on the OK button when done making a selection.
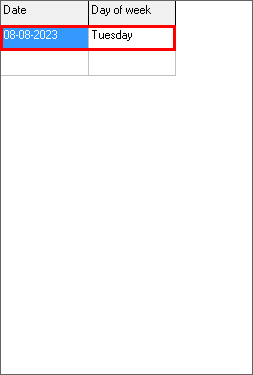
Select the date that the treatment needs to be repeated for a previous date. This will allow for past and future visits to be billed on the same date.
Double Click on the selected date to add the Date, more than one date can be selected.
Click on Continue.
Please Note: The Date on the Invoice will be from the date that was selected and the items will be billed for that specific date.
Store Estimate (Ctrl+Q)
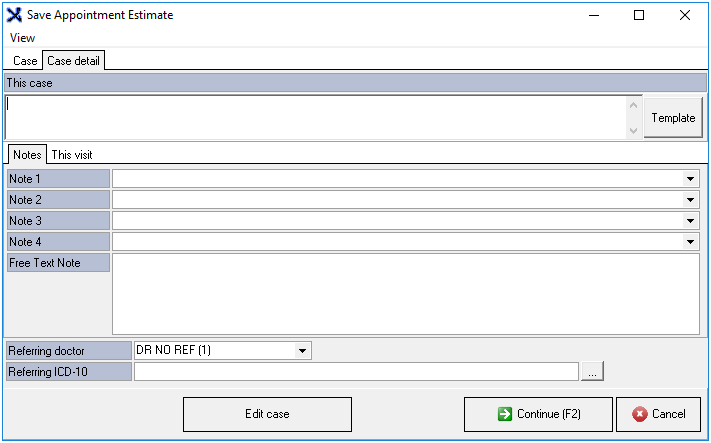
Click on the Store Estimate button.
The Save Appointment Estimate screen will appear.
For an extensive explanation of how this function works, please refer to the user manual: Save an Estimate.
Invoice Estimate (Ctrl+W)
Clickon theInvoice Estimatebutton to Invoice a previously created estimate.
For an extensive explanation of how to create an estimate please refer to the user manual: Invoice an Estimate.
Repeat Script (Ctrl+P)
Click on Repeat Script to repeat a script from a previous visit.
Post (F2)
Click on the Post button to post and save the Invoice to the account.
An Invoice analysis will appear.
Select options that the user would like to print by ticking the relevant checkboxes.
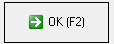
Click on OK to proceed.
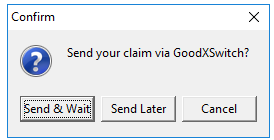
A Confirm pop-up will appear: Send your claim via GoodXSwitch.
Send & Wait: Send the invoice to the medical aid and wait for a response to advise whether the claim was rejected or approved.
Send Later: The invoice will post to the account but will not be switched and the user will be able to send the invoice for switching at a later stage.
Cancel: Posts the Invoice to the account without switching. This will be used for private Patients.
Save (Ctrl+S)
Click on the Save button, this saves the Invoice to the Patients' account.
The Episode screen will close and open a blank Invoice.
Print (F4)
Prints the Invoice to the screen and allows for the Invoice to be printed as a hard copy, emailed and stored on the computer.
Click on the Print button to Print a hard copy of the Invoice.
Exit
Click on the Exit button to close the Invoice screen and return to the Debtor Manager screen.
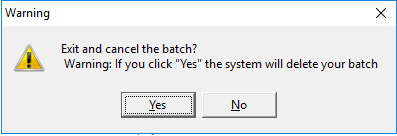
A Warning pop-up will appear to ask if the user wants to Exit and cancel the batch.
Click on No to stay on the screen.
Click on Yes if sure, Warning: If Yes is clicked the system will delete the batch.
Display Grouping
Tick the Display Grouping checkbox to change the display of the screen to group all the same types of billing lines together.
The items will be grouped according to the service date, if more than one service date was billed.
Other Options
On the bottom of the Invoice screen, extra options are available to assist with efficient billing. An explanation will be given for each option:
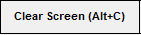
Clear screen (Alt+C): Clears all the information on the Invoice screen, in order to restart.
Debtor Info (Ctrl+D): Opens the Main Member Input screen to view or edit the Debtor's information.
Invoice Analysis (F7): Opens a compressed version of the Invoice to view a summary of what has been billed per category.
Clinical Info (Ctrl+F12): Opens the Patients' Clinical Informationand gives a Practitioner access to the Patient's Medical History, Chronic Conditions, Allergies etc.