A Tax Invoice is a legal document that a Practice supply to a patient or company (if the company settles the patient's account) in which the tax is shown (Depending on whether the practice is VAT registered or not). The patients or an insurance company
may ask for an invoice to submit to SARS, or for payments to be made instead of the usual statements that are provided.
The E-mail Invoice option will allow the user to E-mail the Tax Invoice to the Patient if they prefer receiving it electronically.
Please Note: The Practice can set up a General Invoice, Quick Invoice and E-mail Invoice profile. If the Invoice E-mail Setup is not done correctly, the user will not be able to send out the correct information on the Invoices. The Practice can decide what they want to display on the Invoice according to their own preferences.
Log in to the GoodX Desktop with your GoodX username and password.
From the Navigator, Double Click on the MedDebs Module.
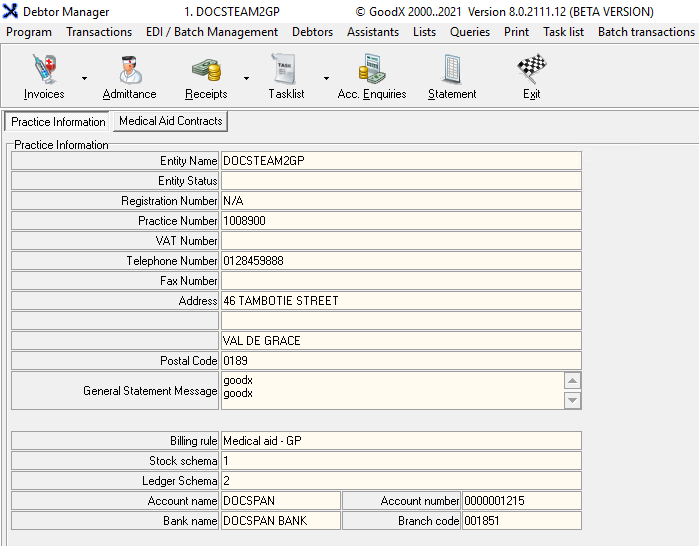
The Debtor Manager screen will open.
Click on the Admittance button, on the Toolbar.
The Main Member Input screen will open.
For more information on how the Main Member input screen works, please refer to the user manual: Debtor List.
Click on the Search field textbox to search for the desired Debtor by typing in their Name, Surname, ID, Medical Aid number, Debtor Account Number, File Number or Address. The Debtor List will shorten as the user types.
Select the correct Debtor from the Debtor list.
Click on the Account (F9) button.
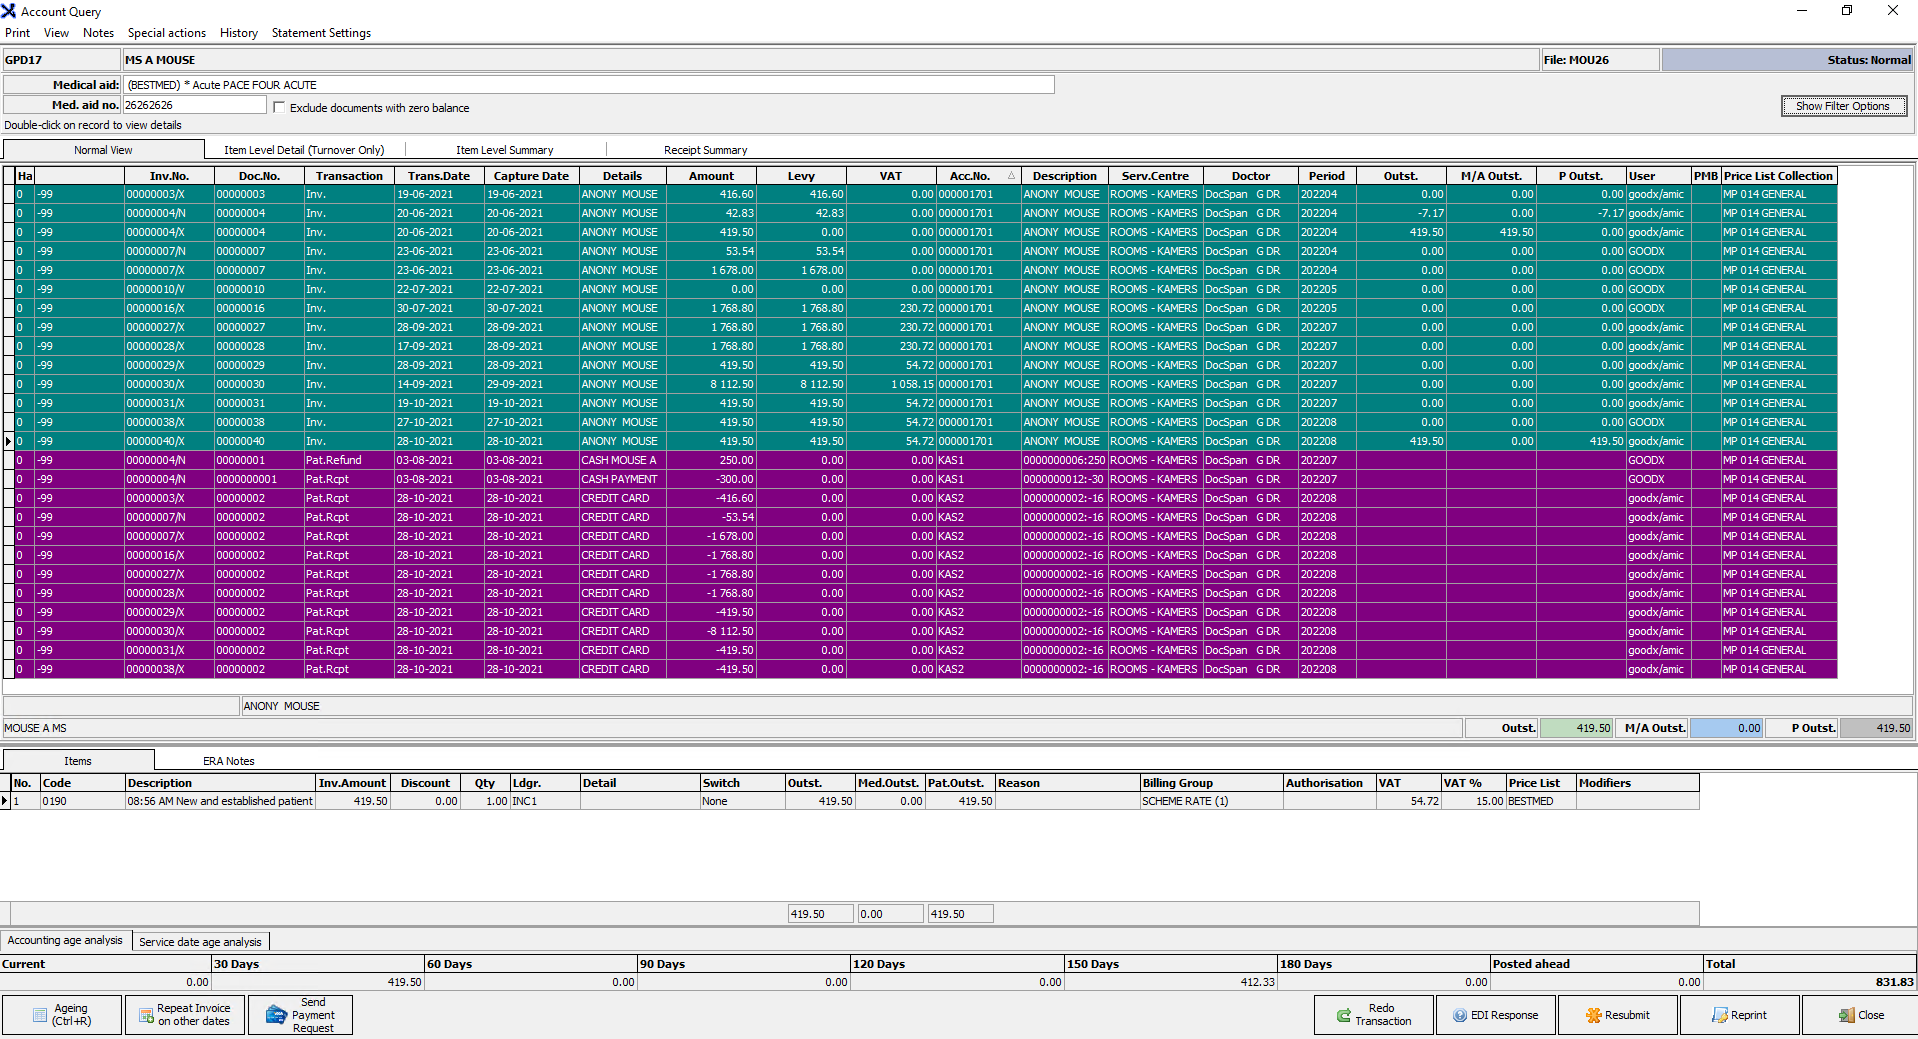
The Account Query screen of the selected Debtor will open. All the Account related details such as Invoices/Receipts/Journals/Credit Notes will display on the Account Query screen.
For more information regarding how the Account Query screen works, please refer to the user manual: Account Query Screen.
Select the desired Invoice that the user would like to E-mail to the Patient.
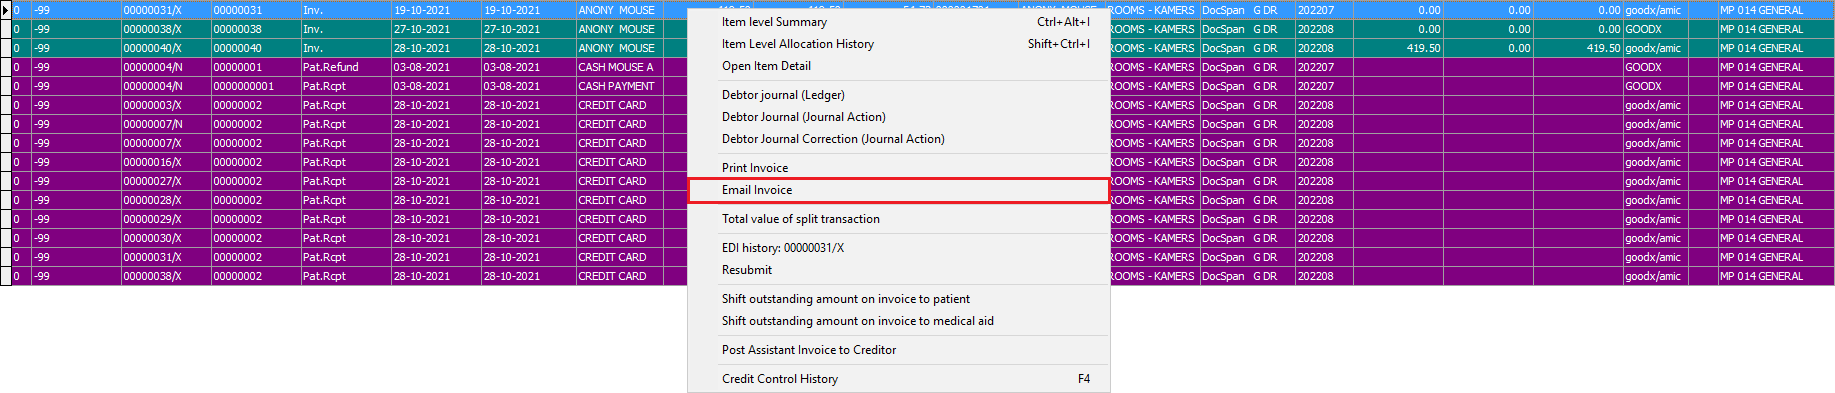
Right-click on the selected Invoice to E-mail the Invoice to the Patient electronically.
Click on the E-mail Invoice on the drop-down menu.
The Query screen will open. The default option as set up with the install, will automatically send the E-mail to the E-mail address of the Main Member.
For more information on what information and details can be chosen to display on the E-mail, please refer to the user manual: Invoice E-mail Setup.
An explanation of the screen will be given:
E-mails information (Afrikaans): An Afrikaans description to advise the recipient of what the E-mail is regarding.
Click on the Subject text field to type in an Afrikaans subject for the Invoice E-mail.
E-mails information (English): An English description to advise the recipient of what the E-mail is regarding.
Click on the Subject text field to type in an English subject for the Invoice E-mail.
Click on the Back button to return to the Account Query screen.
Click on the Continue button to proceed to send the Invoice by the means of an E-mail.
A Confirm pop-up will open to ask the user whether they would like to send the generated invoice via E-mail
Click on the Cancel button to ignore the request and return to the Account Query screen.
Click on the Send Later button to send the E-mail at a later stage, the pop up will close and return to the Account Query screen.
Click on the Send Now button to send the Invoice to the patient.
An Information pop-up will appear to advise the user that the E-mail will be sent shortly.
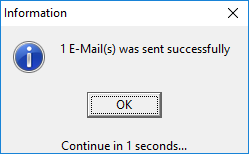
A second Information pop-up will appear to advise the user that the E-mail was sent successfully. The pop-up will close automatically after 5 seconds and return to the Account Query screen.
Click on the Close button on the Account Query screen to return to the Main Member Input screen.
Click on the Exit button or press the F10 key on the keyboard to return to the Debtor Manager screen.