How to Complete the Diagnosis Section
Once the Practitioner has examined the Patient, and an identification of the illness has been made, then the Diagnosis is finalised in the form. The ICD 10 Builder is used to assist the Practitioner with finding the correct diagnosis code, which allows for the planning of any further Clinical Procedures necessary.
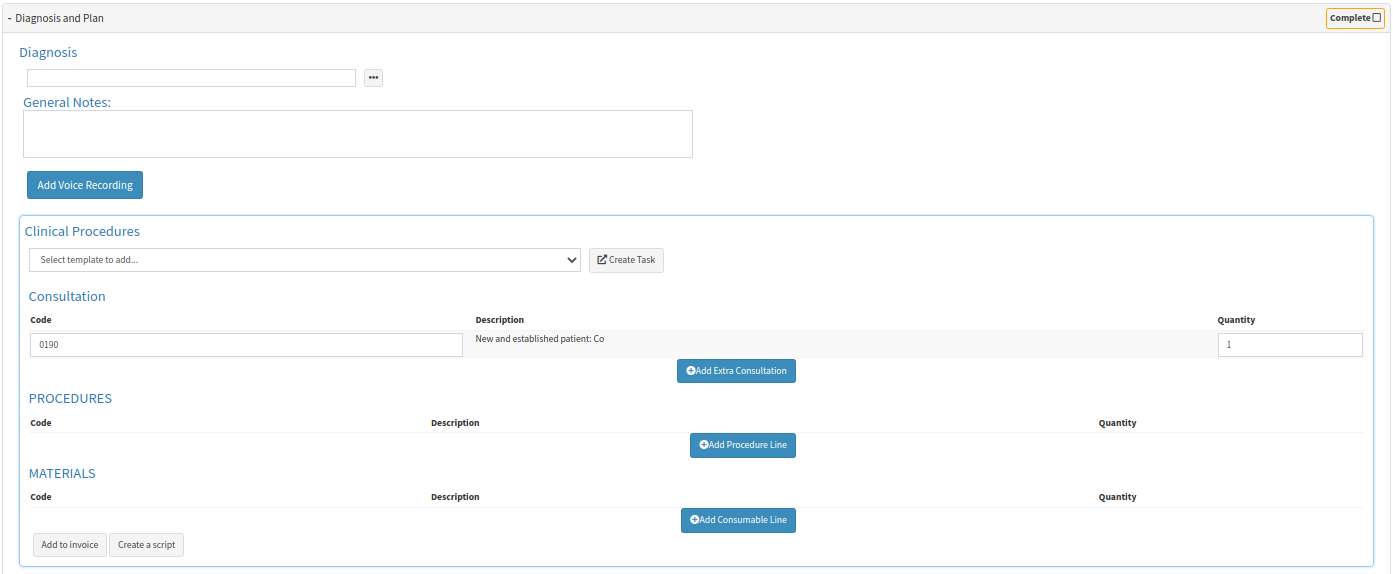
- This user manual will start on the General Examination form, Diagnosis and Plan panel.

- To access Diagnosis and Plan, the user will need to open a General Examination form. For more information regarding the General Examination form, please refer to the user manual: General Examination Overview.
- Click on the Diagnosis and Plan panel.
- The Diagnosis and Plan panel will expand.


- Navigate to the Diagnosis portion of the panel.

- An explanation will be given for each available option:

- Diagnosis: The Diagnosis is the medical issue detected by the Practitioner by performing various tests and procedures.
- Click on the ... (ellipse) button to add an ICD 10 Code.
![]()
- The ICD 10 Builder screen will open.

- Select the applicable ICD 10 Code to add to the Diagnosis field.
- Click on the Close button to return to the Diagnosis and Plan panel.
![]()
- The selected ICD 10 Code will appear below the Diagnosis field.

- For more information regarding ICD 10 Codes and how to add them, please refer to the user manual: ICD-10 Codes.

- General Notes: Any notes can be made regarding the Patient, or any information the Practitioner wants to type for their own record.
- Click on the General Notes free text field to start typing a note.
- Click on the Add Voice Recording button.
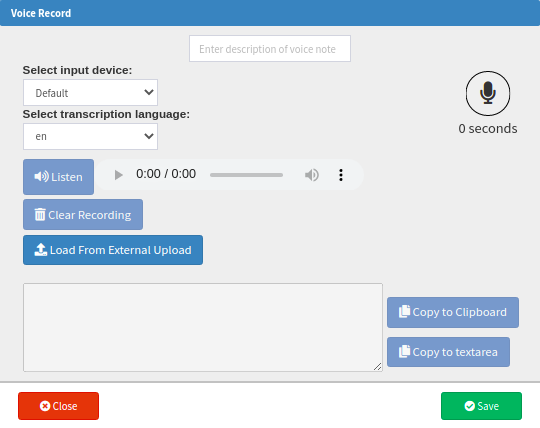
- The Add Voice Recording button gives the user the ability to add a voice recording to the examination form.
![]()
- A Voice Record screen will open, which can be used to make, upload, transcribe and listen to audio recordings.

- For more information on how to make and upload a voice recording, please refer to the user manual: Add Voice Recording.
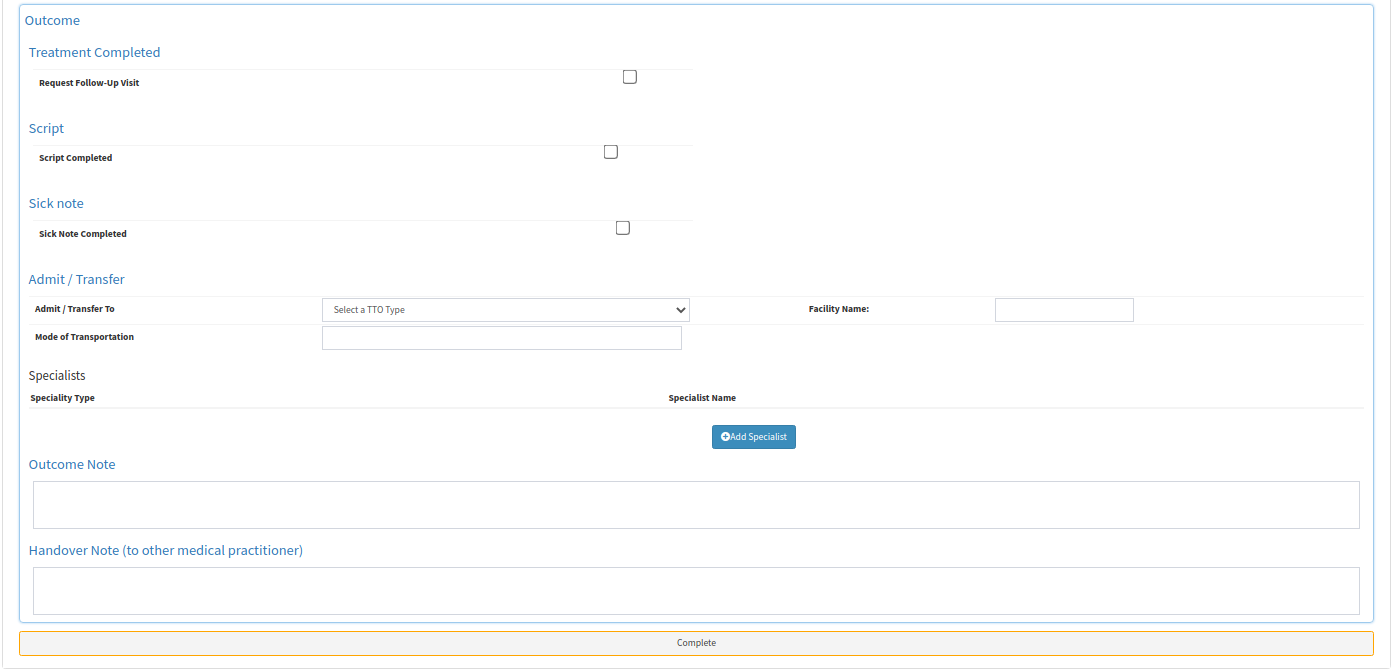
- Click on the Close button to exit the Clinical Case screen without saving.
- Click on the Save and Close drop-up menu for more options:

- Click on the Save button to save the information captured on the form.
- Click on the Save Lines To New Macro button to save the lines captured as a Macro.
- Click on the Save and Close button to save the form or the changes made.
![]()
Last modified: Thursday, 21 December 2023, 3:27 PM