Examination Form: Panel Buttons
Panel Buttons are action buttons located within a panel. They provide additional options specific to the panel on which they are located.
- The contents of this user manual will consist of the following information:
- R:
- L:
- All Normal
- History
- Machine Integration
- Reset/Clear
- Remove
- This user manual will start on the Examination form.

- For more information regarding how to navigate to the Examination form, please refer to the user manual: Examination Form: Navigation and Use.
- An explanation will be given for each button that is available on the panel:
![]()
R:
Indicates that all the tests for the Right side within the specific panel are within the Normal range.
- Tick the R: checkbox to indicate that all the tests which have been performed on the Right side are within Normal range.
- The desired panel and all sections within the panel will be highlighted green to indicate Normal results on the Right side.

- Untick the R: checkbox to revert the changes and to uncheck all the fields of the Right side within the desired panel.

L:
Indicates that all the tests for the Right side within the specific panel are within the Normal range.
- Tick the L: checkbox to indicate that all the tests which have been performed on the Left side are within Normal range.
![]()
- The desired panel and all sections within the panel will be highlighted green to indicate Normal results on the Left side.

- Untick the L: checkbox to revert the changes and uncheck all the fields of the Left side within the desired panel.

All Normal
Indicates that all the tests within the specific panel on which the All Normal button is located are within normal range.
- Tick the All Normal checkbox to indicate that all the tests which have been performed are Normal.
![]()
- The panel will be highlighted green to indicate All Normal results.
![]()
Please Note: Only the panel that was marked as All Normal will be highlighted green. To mark all panels as All Normal, please refer to the user manual: Examination Form: Systems Selector.
.- Untick the All Normal checkbox to revert the changes and to uncheck all the fields within the desired panel.
![]()
History
A record of all previous data which was filled in on the specific panel.
- Click on the History button to see any past information which was previously filled in, in the specific panel.
![]()
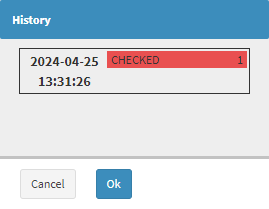
- The History screen will open when the Practitioner is able to see past records of any findings which have previously been added to the panel.

- Click on the Ok button to close the History screen and return to the Examination screen.
![]()
Machine Integration
Allows the user to access equipment which GoodX software has been integrated with.- Click on the Machine Integration button to open the software of the external imaging machine which has been set up for the Practice.
![]()
Please Note: Practices will need to contact GoodX to set up the integration at the Practice. Machine Integration is a supplementary service, which has additional fees. Please contact your FCL (First Client Liason) for more information on how to set up Machine Integration.
Reset/Clear
Allows the user to remove all information from the panel, clearing all the fields within the desired panel, in order to start over.
- Click on the Reset/Clear button to remove all information from the panel.
![]()
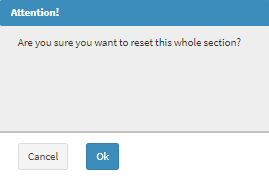
- An Attention! pop-up will appear to ask the user whether they are sure that they would like to reset the entire section.

- Click on the Ok button to go ahead and remove all the information from the section. The Attention! pop-up will close and the section will be cleared.
![]()
Remove
Allows the user to delete the desired panel from the Examination form.
- Click on the Remove button to completely delete the panel from the form.
![]()
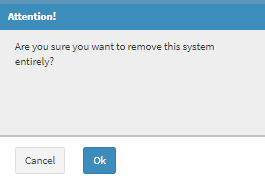
- An Attention! pop-up will appear to ask the user whether they are sure that they would like to remove the entire section from the form.

- Click on the Ok button to go ahead and remove all the information from the section. The Attention! pop-up will close and the section will be cleared.