How to Use the Lymphatic Subpanel
The Lymphatic system consists of a network of glands, tissues and Lymphatic vessels that aid the body in fighting off infections, and removing unwanted toxins. The bone marrow, tonsils and appendix are also an important part of the Lymphatic system.
- The contents of this user manual will consist of the following information:
- Inspection
- General Notes
- This user manual will start on the General Examination form, Review of Systems panel.

- For more information on how to access the General Examination form, please refer to the user manual: General Examination Overview.
- Click on the Review of Systems panel.
![]()
- The Review of Systems panel will expand.

- Click on the Lymphatic sub-panel.

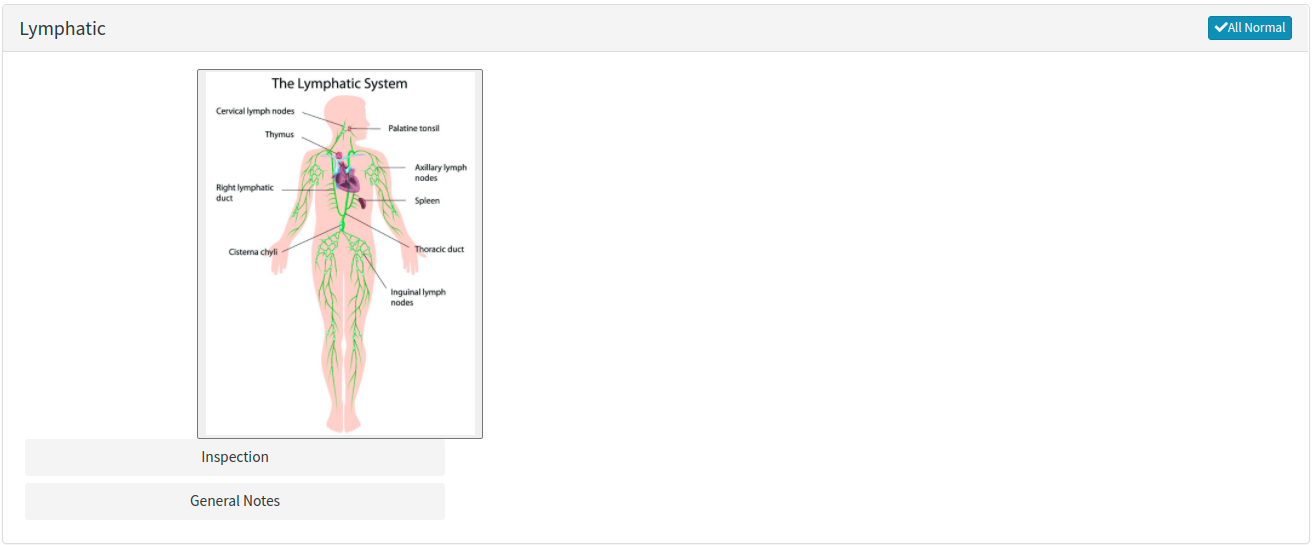
- The Lymphatic sub-panel will expand.

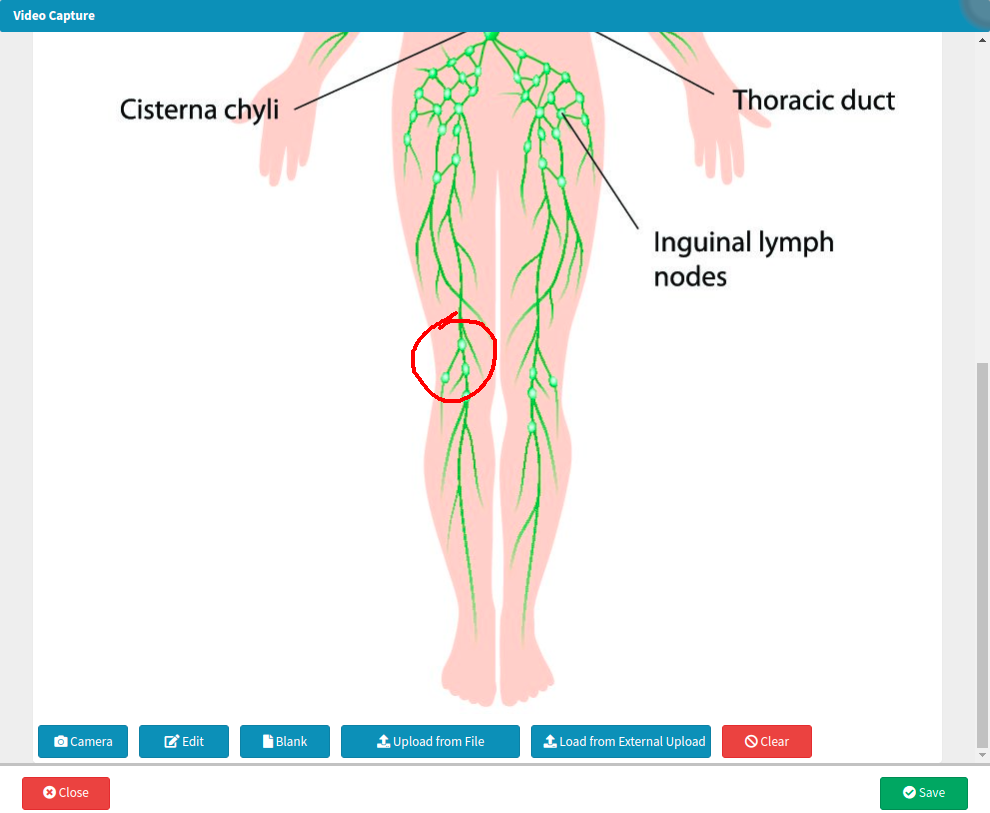
- Click on the image of the Lymphatic System to open the Video Capture screen.

- A Practitioner is able to edit the provided image to make any necessary notes, such as pointing out problem areas. For more information regarding the Video Capture screen, please refer to the user manual: How to Upload an Image/Photo.
- Click on the Close button to return to the Lymphatic panel.
![]()
- Click on the Save button to save any changes made to the image.
![]()
Inspection
The Practitioner will perform an inspection of the lymph nodes by applying gentle pressure, in a circular motion, on and around affected lymph nodes. The shape, density and various other aspects of the lymph nodes are examined for swelling, and the Practitioner is able to make note of any findings.- Click on the Inspection button once to indicate that an inspection has occurred.
- The Inspection button will turn green, which is an indication of normal results.
- Click on the Inspection button a second time, which turns the button red. The red is an indication that results were logged within the button, and is not within normal range.

- Click on the General Notes text box to make any necessary notes. The General Notes field is a free text field.

Please Note: Click on the Inspection button for a third time to deselect the button, and collapse all of the information found within.
General Notes
Any additional notes can be made within the General Notes button.- Click on the General Notes button once to indicate that notes have been made.

- The General Notes button will turn green, which is an indication that no changes were made.

- Click on the General Notes button a second time, which turns the button red. The red is an indication that notes were logged within the button.

- Click on the General Notes text box to make any necessary notes. The General Notes field is a free text field.

Please Note: Click on the General Notes button for a third time to deselect the button, and collapse all of the information within.
- Click on the Close button to exit the Clinical Case screen and return to the Diary screen, without saving.
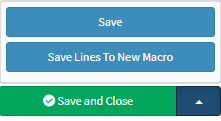
- Click on the drop-up menu next to Save and Close for more saving options.

- Save: The user is able to save the changes made to the form without closing the form.
- Save Lines To New Macro: Allows the user to create a New Macro.
- For an extensive explanation of the New Macro feature, please refer to the user manual: Macros (Billing Combinations).
- Click on the Save and Close button to save the General Examination form and close the screen to return to the Diary screen.
![]()
Last modified: Thursday, 21 December 2023, 3:25 PM