How to Use the Chronic Items Panel
Why Use This Function:
Knowing how to use the Chronic Conditions Panel is essential for accurately capturing long-term or recurring illnesses that affect a Patient’s health over time. Keeping an up-to-date record of these conditions helps Practitioners make informed clinical decisions, manage ongoing care effectively, and plan appropriate treatment strategies. It also ensures that critical information is readily available in emergencies where the Patient is unable to communicate, allowing for safer and more informed care.
The Contents of This User Manual:
- Chronic Item Specifications
- This user manual will start on the Medical History screen.
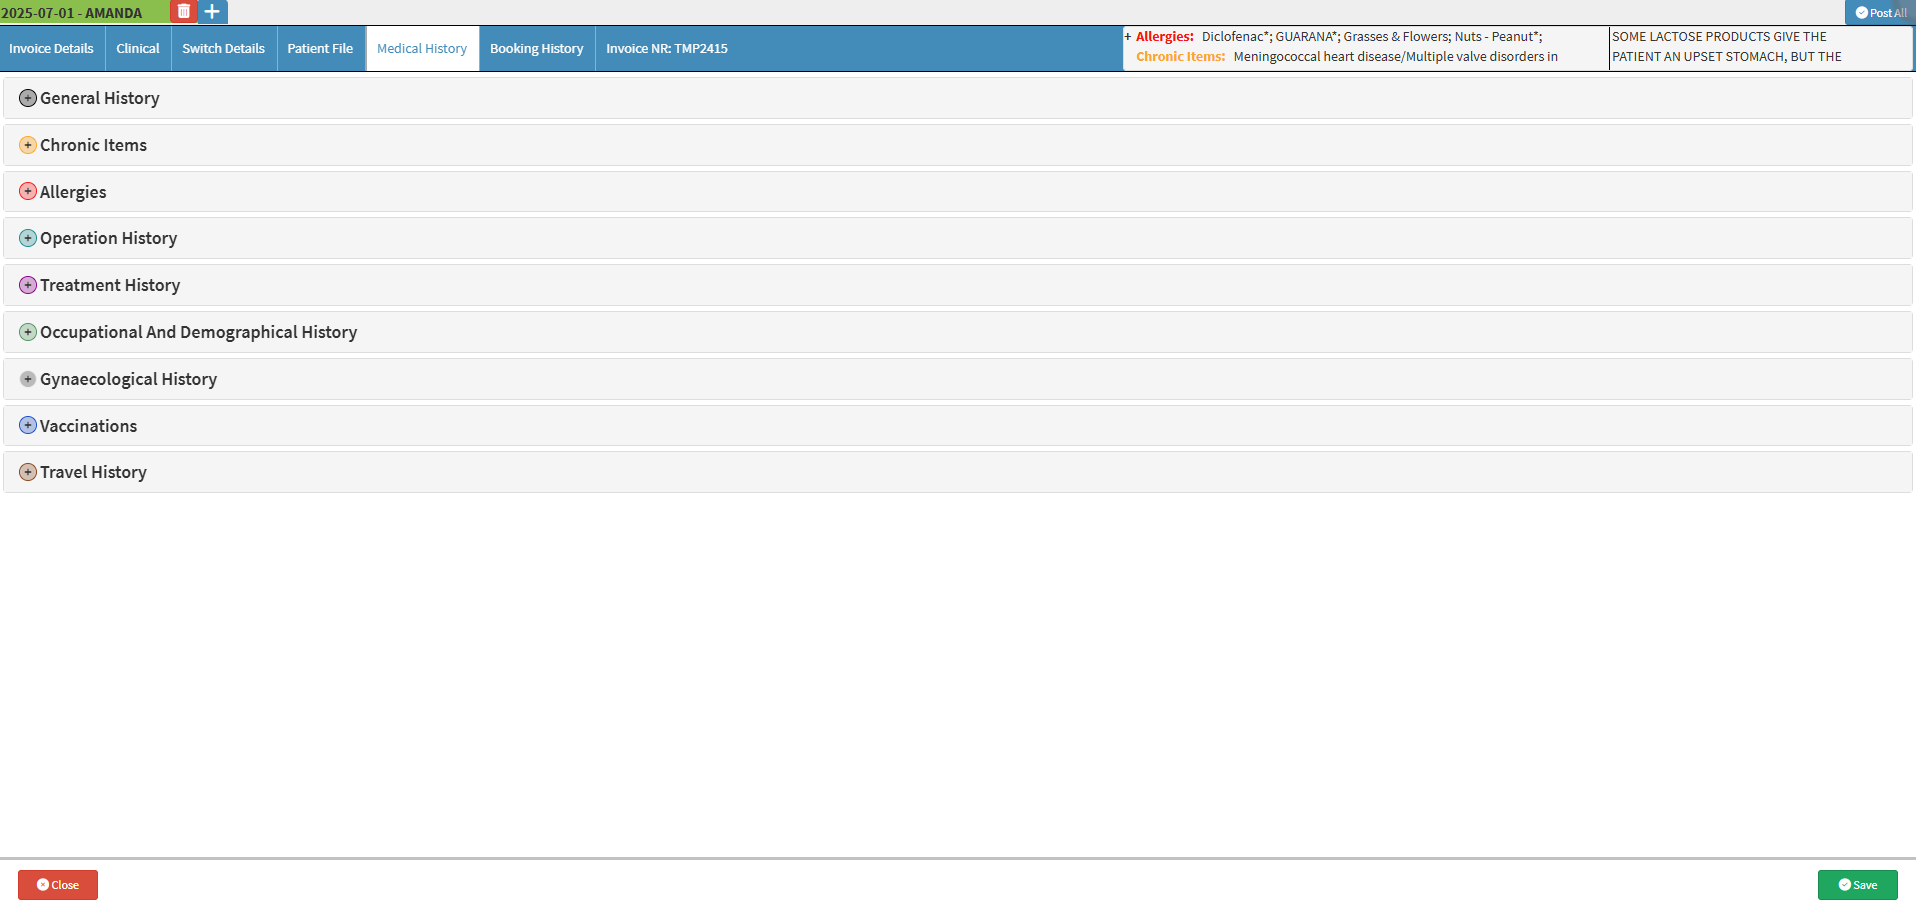
- For more information on how to navigate to the Medical History screen, please refer to the user manual: Clinical Screen: Navigation and Use.
- Click on the Chronic Items panel.

- The Chronic Items panel will expand.

- Click on the Search for a Chronic Diagnosis field and start typing to select the chronic item from the list that becomes available

- The Chronic Item will be added that you selected.
![]()
- Click on the Remove button to remove the Chronic Item.
![]()
Chronic Item Specifications
Each field in the Chronic Conditions Panel plays a vital role in ensuring prescriptions are recorded in detail. Accurate input helps streamline Invoicing, improves treatment clarity, and supports safe dispensing and administration of medication, especially in long-term care scenarios.
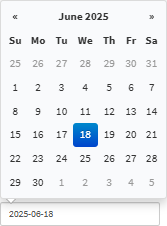
- Click on the Date field to select the date the Chronic Item was prescribed from the date picker that becomes available.
- Tick the Auto Add to Invoice checkbox to add the prescribed Chronic Item date to the Invoice.
![]()
- Tick the Include Consumables checkbox to include the consumable medicine.
![]()
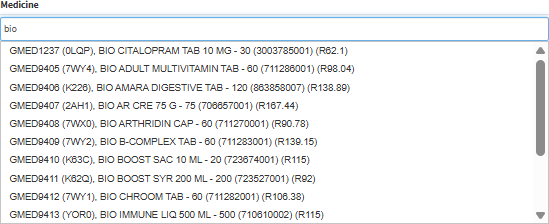
- Click on the Medicine field, start typing the prescribed medicine and select from the options that become available.
- Hover over the Gear button to select the relevant option.
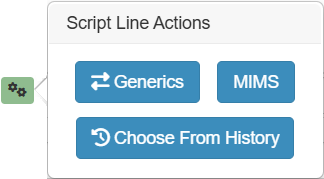
- For more information on the Gear button, please refer to the user manual: Advanced Scripting & Generic Medicine.
- Click on the Dosage field to fill in the dosage for the prescription.
![]()
- Click on the Route field to select the option in which the medication should be consumed.

- Click on the Frequency field and select the frequency the medication should be taken.
![]()
- Click on the Period field to select when the medication should be taken from the list that becomes available.

- Click on the Amount Supplied field to input the amount that was supplied to the Patient.
![]()
- Click on the Total Quantity field to input the total quantity of medication.
![]()
- Click on the Time of Day drop-down menu to select the time of day the medication should be consumed.

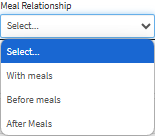
- Click on the Meal Relationship drop-down menu to select meal relevance.
- Click on the Repeat field to indicate how many times the script repeats before needing to be renewed.
![]()
- Click on the Directions field to enter any additional notes.

- Tick on the Mark as not Substitutable checkbox if the medication should not be substituted if the original is not available.
![]()
- Click on the Add button to add another line exactly the same as the current one.
![]()
- Click on the Remove button the the script.
![]()
- Click on the Add Script Item button to add another script line identical to the current one.
![]()
- Click the Save button.
![]()

Last modified: Thursday, 17 July 2025, 8:26 AM