How to Upload an Image from the Capture App
Images are a beneficial tool to the Practitioner for documentation of physical symptoms in a quicker and easier way. Practitioners are able to capture images by use of a web camera linked to the Practitioner's computer, and save these images for future reference. These images can be uploaded into active forms.
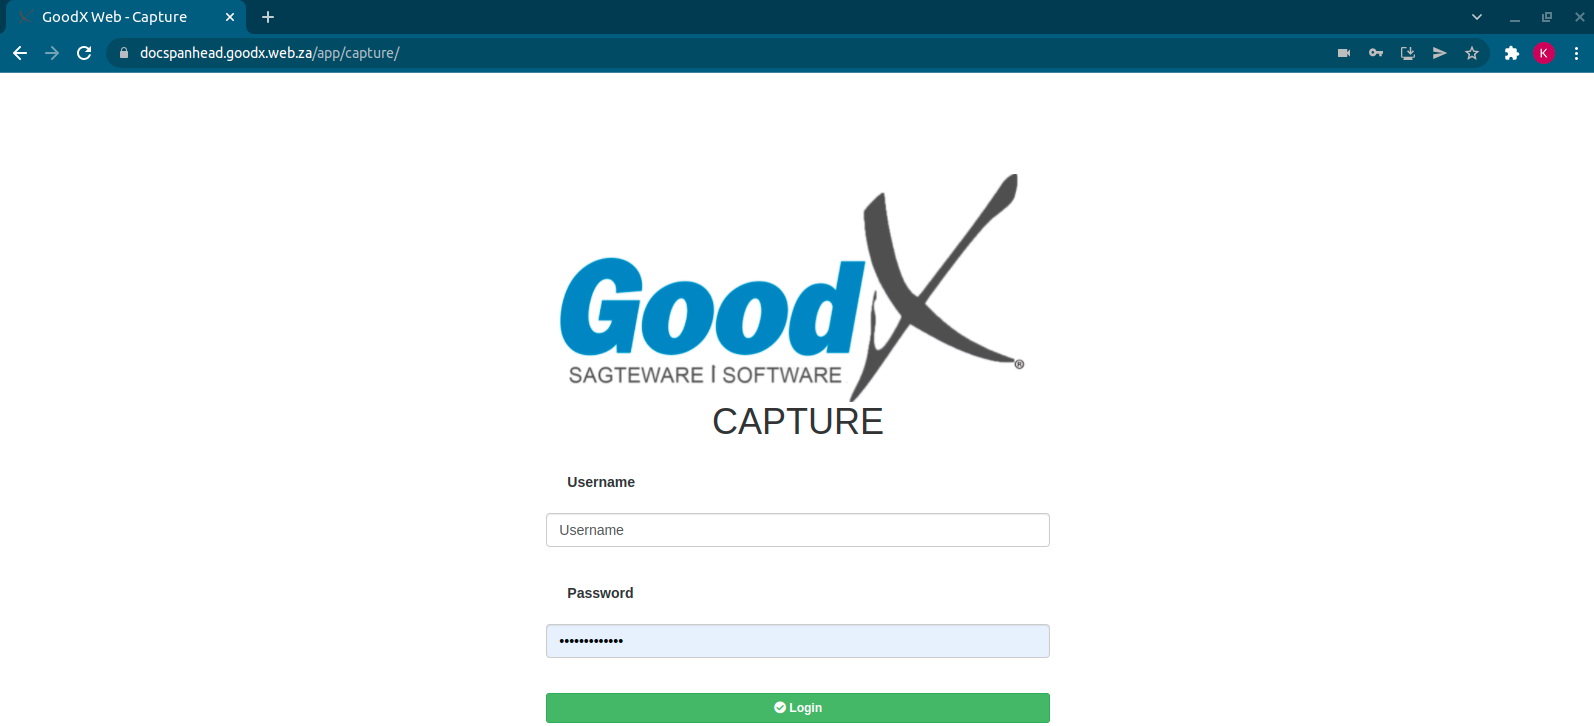
- Type "app/capture/" at the end of the GoodX Web App URL (Uniform Resource Locators) and press the Enter key on the keyboard. The image below contains an example of what the URL would look like after adding "app/capture/" to it.
![]()
Please Note: The URL (Uniform Resource Locators) shown is not the GoodX URL to be used by the Practice, but only an example. Please ensure that the Practices' URL is used.
- The Capture App login screen will open.

- Log in to the GoodX Capture App using the GoodX username and password.
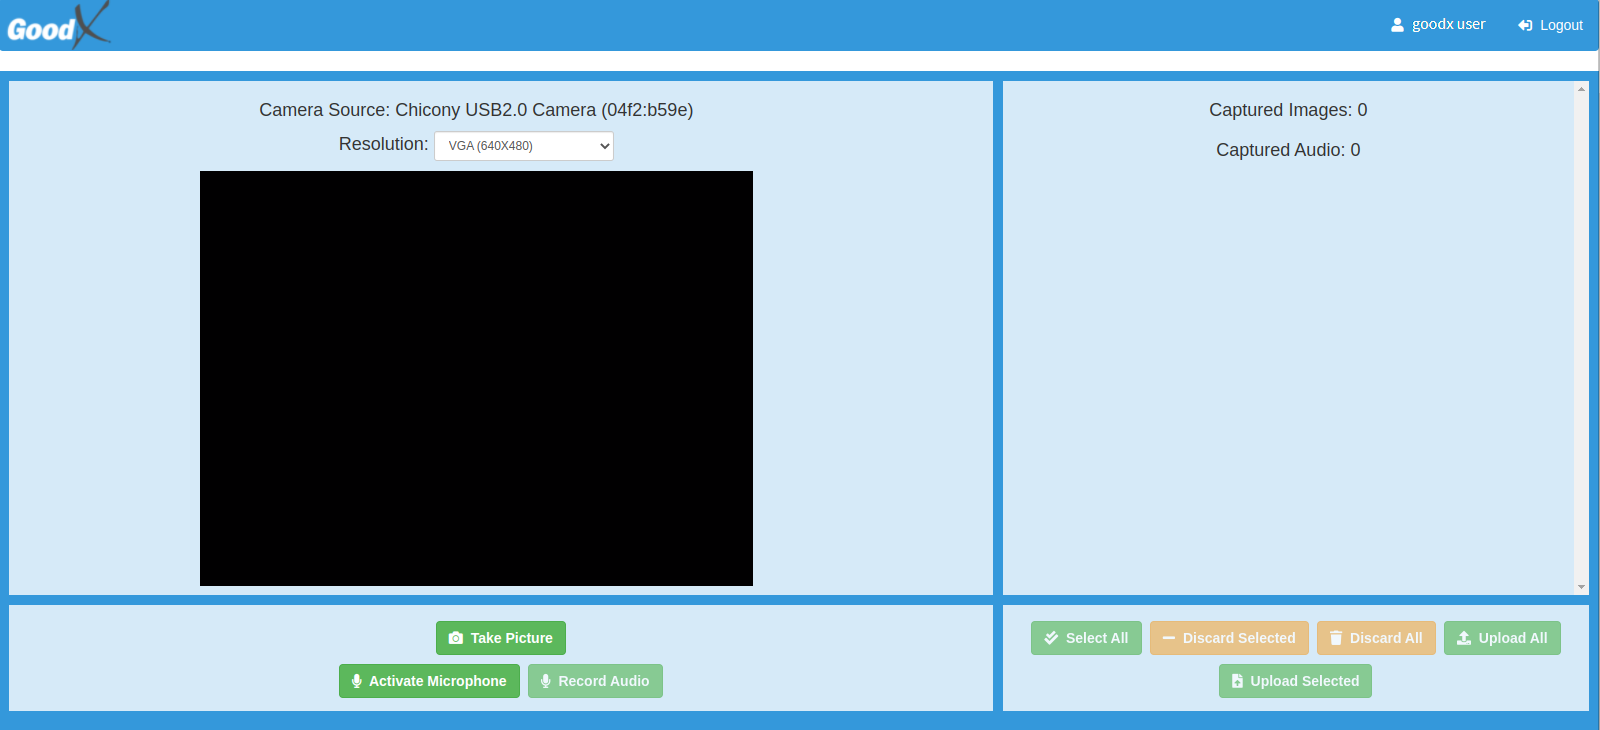
- The Capture App screen will open.

- Click on the Resolution drop-down menu for additional resolution options.
![]()
- The Resolution drop-down menu will open.
- Select the desired resolution.

- Click on the Take Picture button once the desired Resolution option has been selected.
![]()
- For more information regarding the Activate Microphone and Record Audio buttons, please refer to the user manual: Add Voice Recording from Capture App.
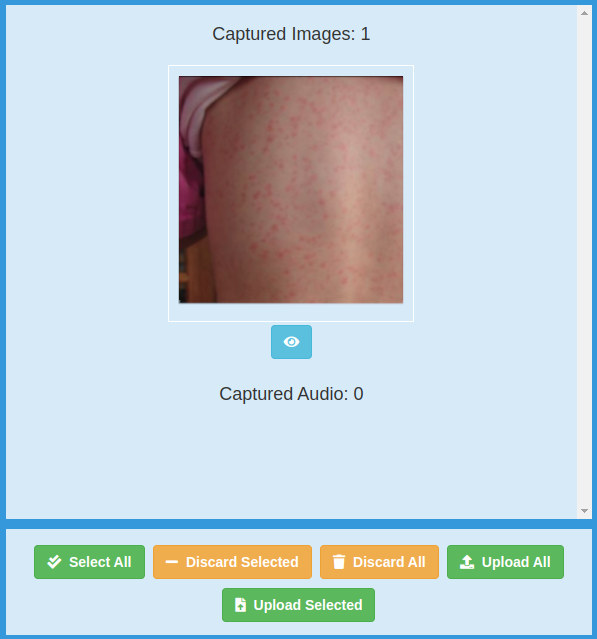
- The captured image will appear under the Captured Images section.

- Click on the View button for a preview of the captured image.
![]()
- The image will open on the left side of the screen, for easier viewing.

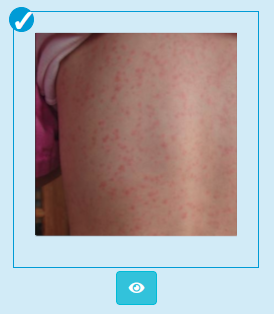
- Click on the desired image that the user wishes to upload in the Captured Images section.
- A blue box with a checkmark will appear around the selected image.

- Click on the Upload Selected button.
![]()
- A pop-up screen will appear showing the amount images that were successfully or unsuccessfully uploaded.

- Click on the OK button to acknowledge the message and close the pop-up, and return to the Capture App screen.
![]()
- An explanation for the additional options will be given:
- Click on the Select All button to select all of the available images that have been captured.
- Click on the Discard Selected button to permanently remove all of the selected images.
![]()
- Click on the Discard All button to permanently remove all of the images that have been captured.
![]()
- Click on the Upload All button to upload all of the captured images.
![]()
- For more information on how to upload captured images to the GoodX Web System, please refer to the user manual: How to Upload an Image/Photo.
Last modified: Thursday, 21 December 2023, 3:33 PM