The Use of a phone as a Clinical Camera function will allow the Practitioner to take photos of procedures from their phone or any external device that has a camera and access to an internet browser and upload it onto the Patients Forms.
Take Note: The Clinical Camera feature is available on all screens in the Web App where you have the option to add an image.
Log in to the GoodX WebApp using your GoodX username and password.
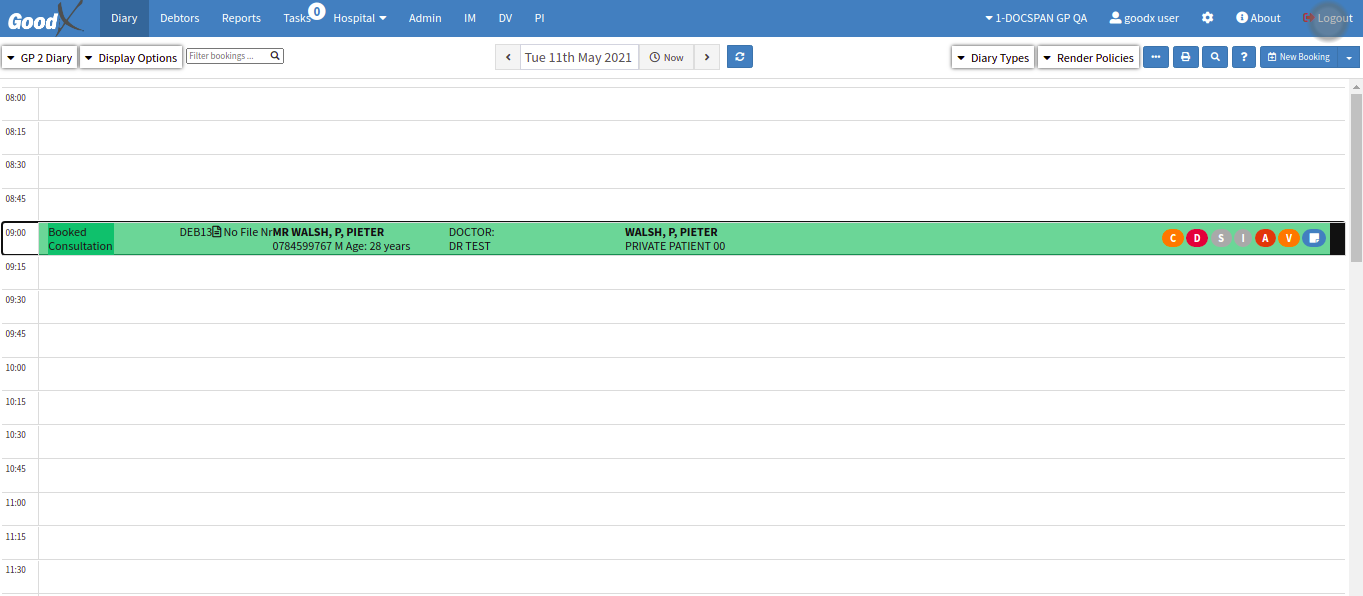
The Diary main screen will open.
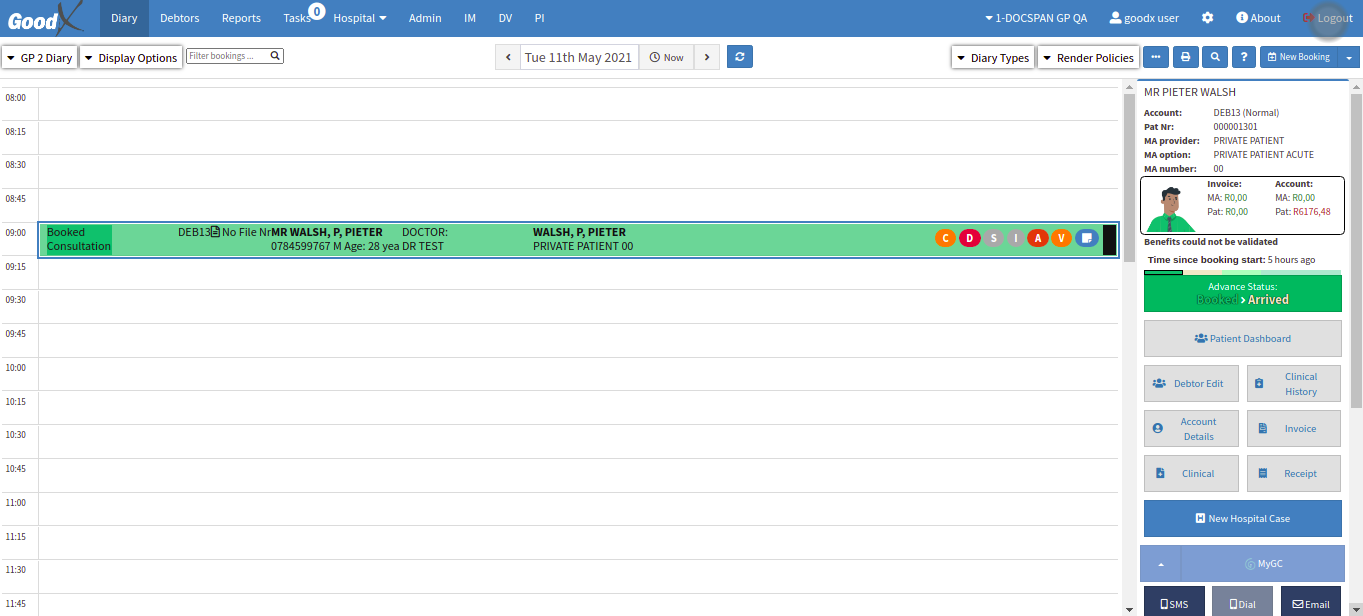
From the Diary screen, click on the correct patient booking. The Sidebar will appear on the right-hand side of the screen.
Take Note: For the purpose of this Manual, we will be using the Quick Note form to add an image.
Click on the Clinical button.
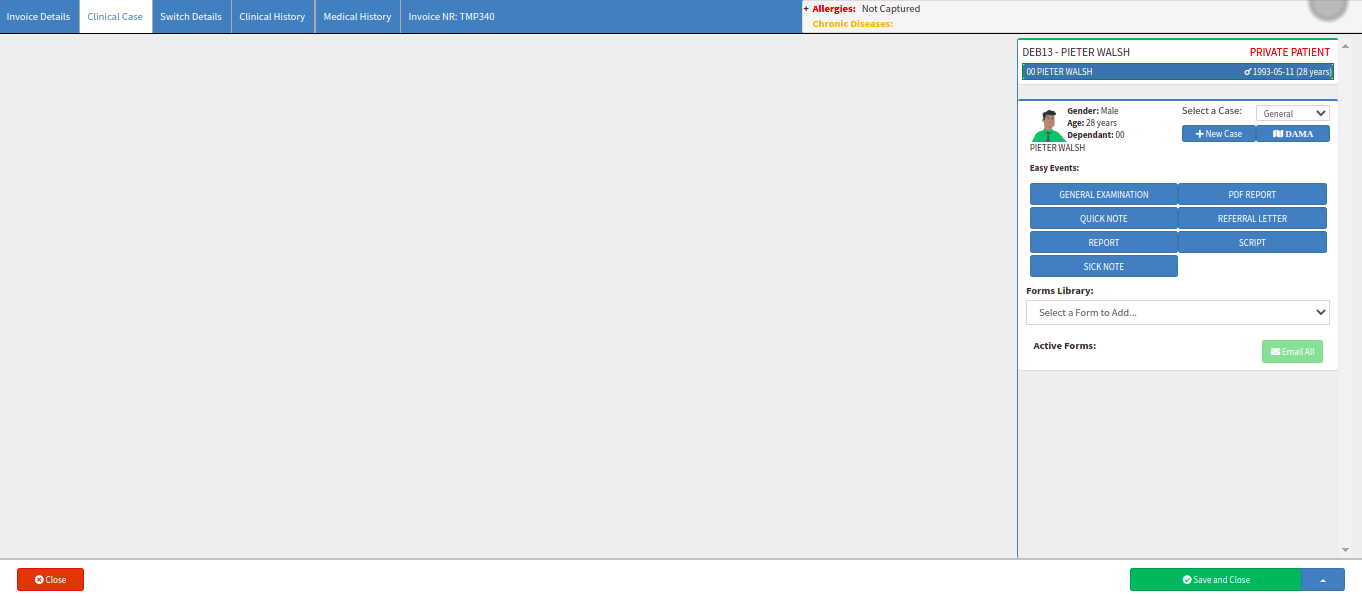
The Clinical Case screen will open.
On the right-hand side of the screen, the side panel will display.
From the Forms Librarydrop-down on the side panel, select the Quick Note form.
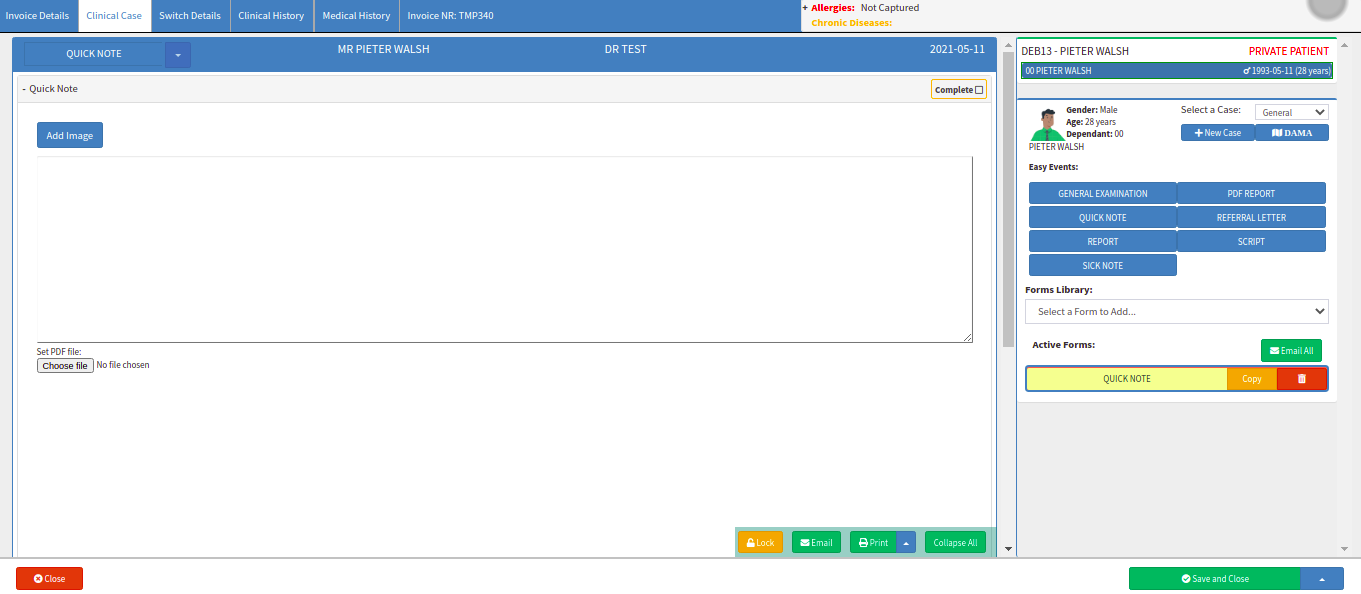
The Quick Note Form screen will open.
In this form, navigate to the Physical Examination panel.
In this panel is an option where you can add an image.
Click on the Add Image button.
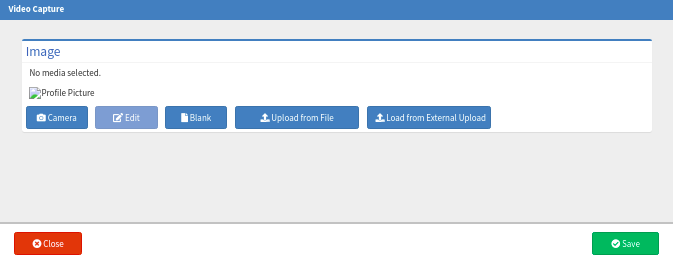
The "Video Capture" window will then pop-up.
To add an image from your phone, click on the "Load from External Source" button.
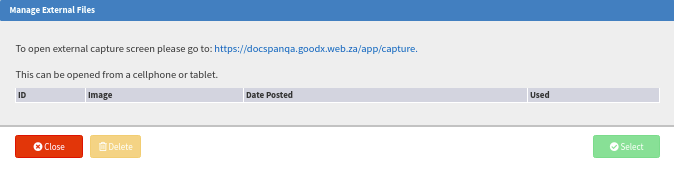
The Manage External Files window will then pop-up.
In this window, you will see a URL link.
This is the link that you need to open on your phone.
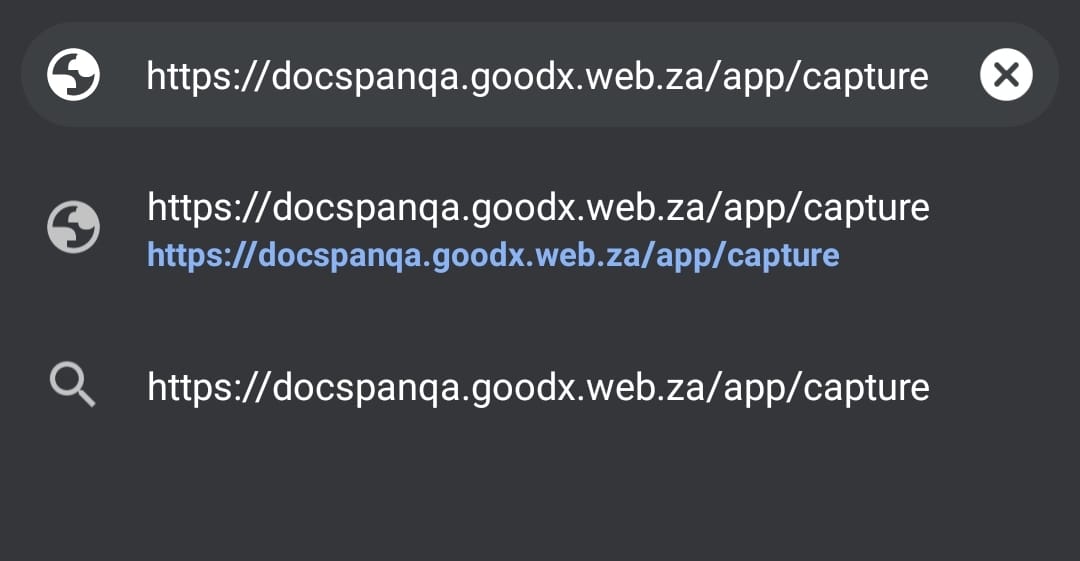
Take Note: We will now move on to your phone's screen.
On your phone, go to that URL using your Internet browser - Google Chrome.
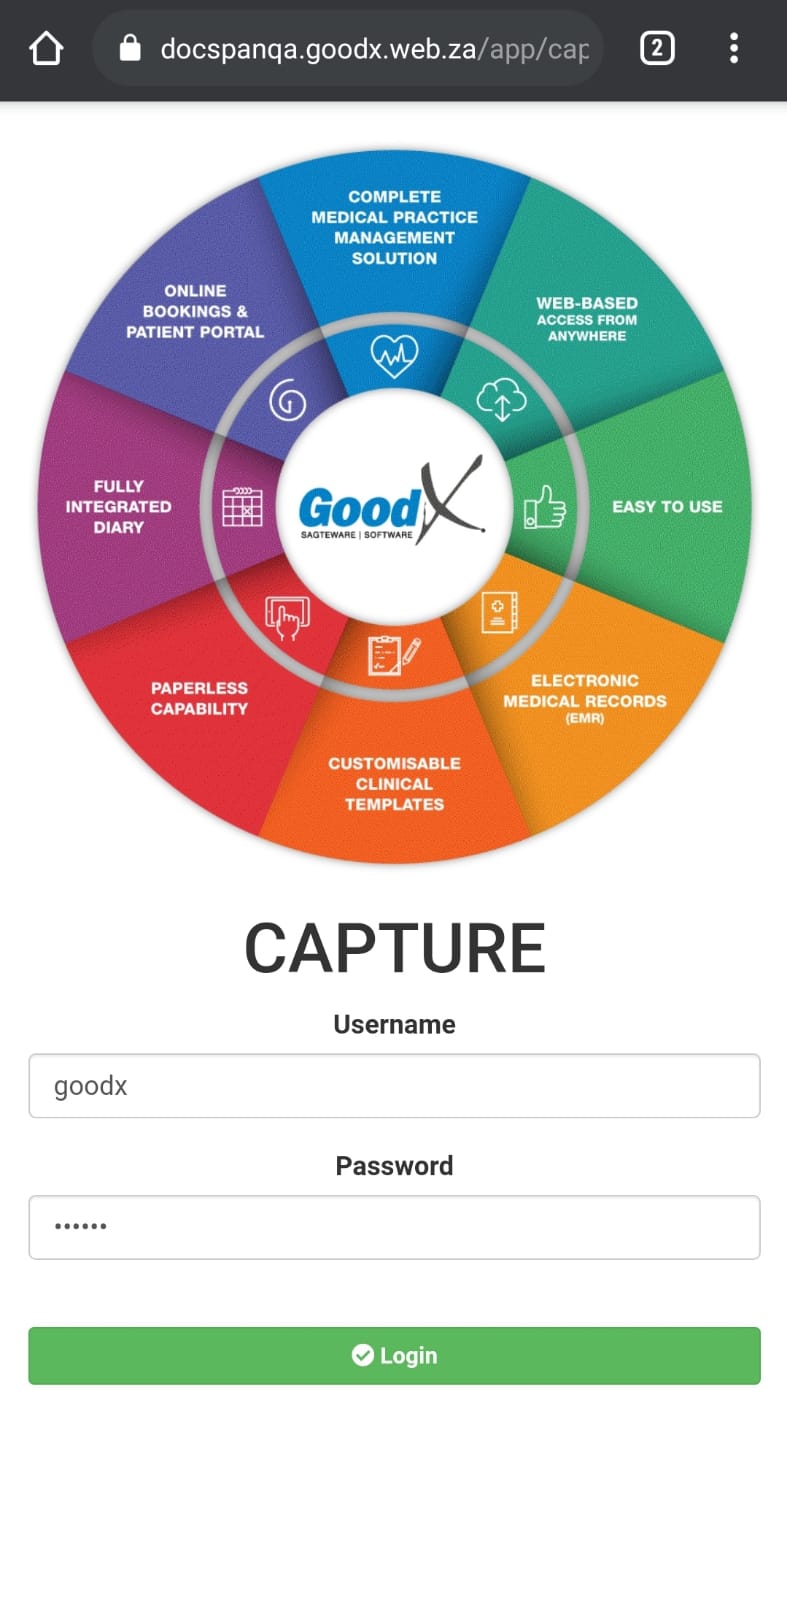
You will be directed to your practice's "GoodX Capture" site.
Login using your Username and Password you would use to log into your GoodX Web.
Click on "Allow" to allow the site to use your camera and microphone.
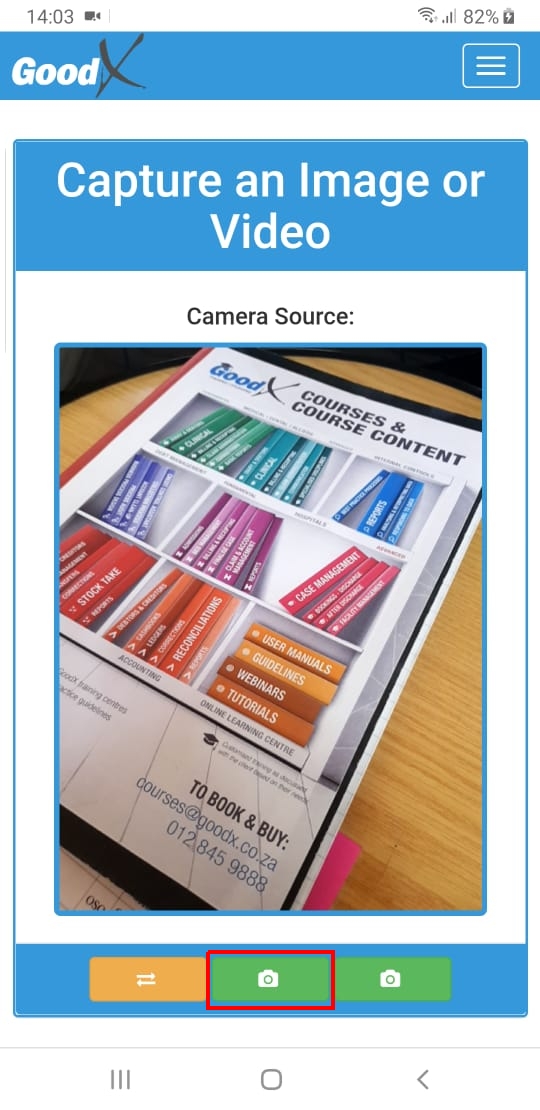
You will be directed to the "Capture an Image or Video" screen.
This is where you will adjust your phone's camera to take a photo and/or video.
There are three buttons at the bottom of which you can use.
The orange arrows button, "Camara Source," allows you to choose different camera sources.
These camera sources include a coloured and black and white filter, as well as the option to choose between a back or front-facing camera.
Simply click on the button to go through the options.
The middle green camera button is your "Photo" button.
Simply click on it to take your photo.
The right green camera button is your "Video" button.
To start taking your video, click on it and record it. Once you're done recording your video, click on the only green button.
After taking your photo or video, you can choose to either upload it onto your GoodX Web or delete it to start over.
To upload your photo or video, click on the green "Upload" button that is indicated by an upload icon.
To delete your photo or video, click on the orange "Delete" button that is indicated by a cross icon.
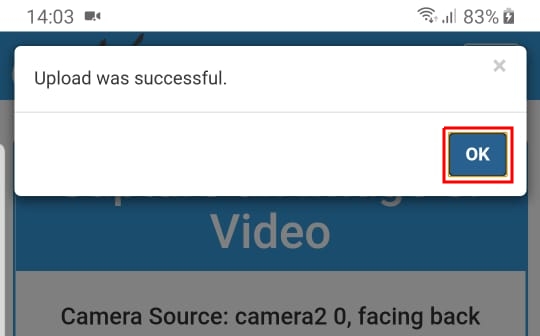
Once you've successfully uploaded your photo or video, you can click on OK and go back to your computer/laptop where you have your GoodX Web open.
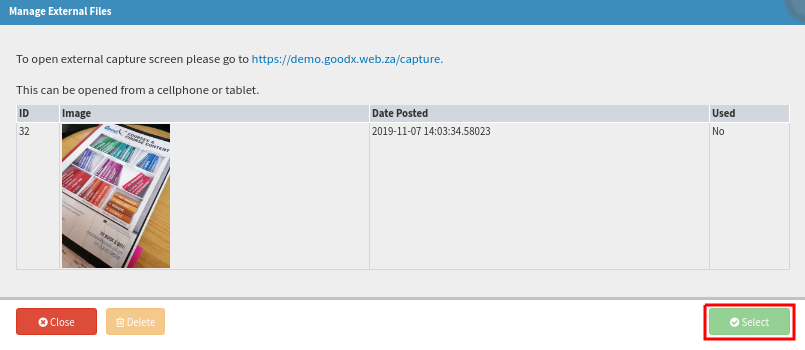
On your GoodX Web Manage External Files window, you will then find your uploaded photos and videos you took with your phone.
Now you can click on the photo or video and then click on the Select button to upload it onto the Web.
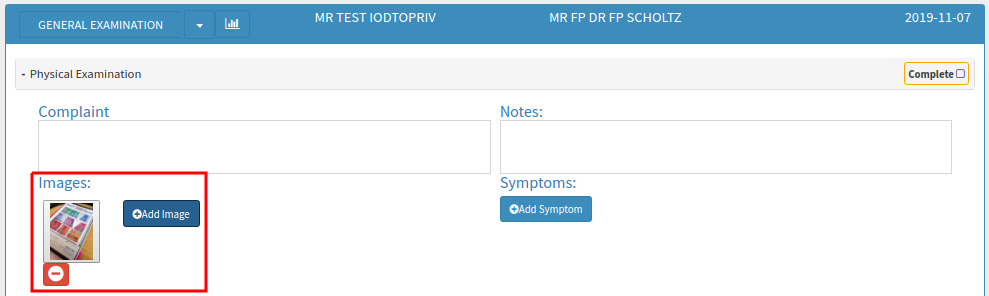
The Image is now uploaded. Click on Save to save the photo on the Patient file.
The photo is successfully added to your Clinical Form.