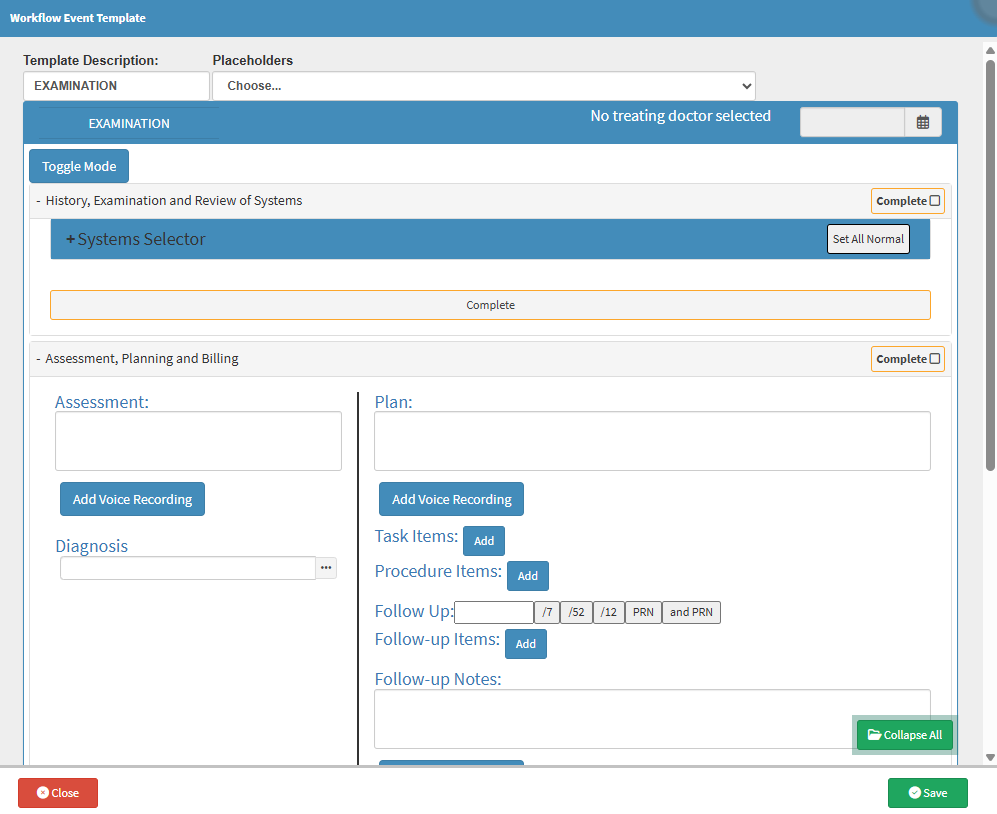
The Assessment, Planning and Billing section on Workflow Event Forms brings together clinical findings and financial information in one place to support informed clinical decisions and accurate billing. After all examinations and tests are completed, the Assessment provides a clear clinical summary of the Patient’s condition. Planning then uses those findings to confirm diagnoses and define the most appropriate treatment approach, including follow-up actions, Tasks, or procedures required to support ongoing care. Billing links all performed tests and procedures to the correct Billing Codes as the examination progresses, allowing items to flow directly to an Invoice. Having clinical outcomes and billing aligned ensures efficient workflows, accurate Invoices, and consistent documentation of the Patient’s care journey.
?Please Note: Depending on the setup of your Examination form, previously added considerations, plans, diagnoses and script items will automatically be added to the section. Anything added during the setup will appear on the clinical form when opened on the Clinical screen.
This user manual will start on the Workflow Event Templates screen, Assessment, Planning and Billing section.
?Please Note: This is the setup screen for a Workflow Event. For more information on the Workflow Event Templates screen, please refer to the user manual:
Click on the Add Voice Recording button to add a Voice Noteto your Plan.
For more information on how to Add a Voice Recording, please refer to the user manual: How to Add a Voice Recording.
Click on the Add Task Item button to add a task to your template.
?Please Note:Task Items do not appear on the form when it is Printed, as they are Administrative features and not clinicallyrelevant.
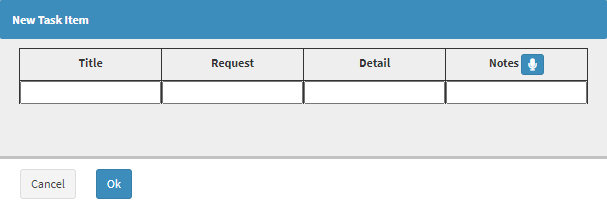
The New Task Item screen will open.
Add the Title information in the Title field.
Add any additional requestinformation in the Request field.
Add any additional detailedinformation in the Detail field.
Add any additional notesin the Notes field by typing the note or making a voice recording.
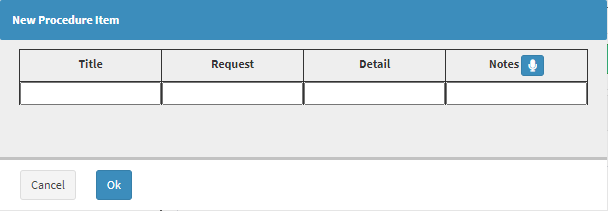
Click on the Add Procedure Item button to add a new Procedure Item.
?Please Note:Procedure Items do not appear on the form when it is Printed, as they are Administrative features and not clinically relevant.
The New Procedure Item screen will open.
Add the Title information in the Title field.
Add any additional requestinformation in the Request field.
Add any additional detailedinformation in the Detail field.
Add any additional notesin the Notes field by typing the note or making a voice recording.
Click on the Follow Up field to select the frequency of follow-ups.
/7: Indicates how many times per week.
/52: Indicates how many times per week over a year.
/12: Indicates how many times per month over a year.
PRN: Taken as needed.
PRN and: Taken as needed, with a specified number of repeats.
Click on the Add Follow-up Items button.
?Please Note: Follow-Up items do not appear on the form when it is printed, as they are Administrative features and not clinicallyrelevant.
The New Follow-Up Item screen will open.
Add the titleinformation in the Title field.
Add any additional requestinformation in the Request field.
Add any additional detailedinformation in the Detail field.
Add any additional notes in the Notes field by typing the note or making a voice recording.
Click on the Follow-Up Notes field to enter any relevant information regarding the follow-ups.
Click on the Add to Script button to add the selected Items to a Script.
?Please Note: The Add to Script button will only be available once Script Items have been selected.
Click on the Add Line button to insert a new Billing Code into the form.
A new Line will become available.
Code: The ICD-10 code linked to the specific Diagnosis or item being added to the line.
Description: A brief explanation of the selected ICD-10 code, describing the Diagnosis or clinical condition associated with the line.
Quantity: The number of times the selected ICD-10 code applies, defaulting to one but adjustable if required.
No Charge: When ticked, the respective billing code will be billed as R0.00, and will reflect as such on the Debtor's/Patient's invoice.
Click on the Code field to enter the desiredBilling Code. You are able to type the Billing Code or the Name of the Billing Code to start the Search. Only 1 character is required to start the search.
Click on the Quantity field to select the quantity of the billing item added.
Tick the No Charge checkbox to bill the respective billing code as R0.00.
Click on the Delete button to remove the item line.