Referral Letter
Why Use This Function:
The Referral Letter allows the Practitioner to formally refer a Patient to another Medical Practitioner or Specialist for further examination, expert input, or specialised care. By documenting key details such as the reason for referral, diagnosis, and appointment information, the Referral Letter promotes continuity of care between healthcare providers and ensures that all parties involved are informed. It serves as a professional recommendation that supports a coordinated and efficient approach to the Patient's treatment journey.The Contents of This User Manual:
- Referral Letter Contents
- Workflow Event Options
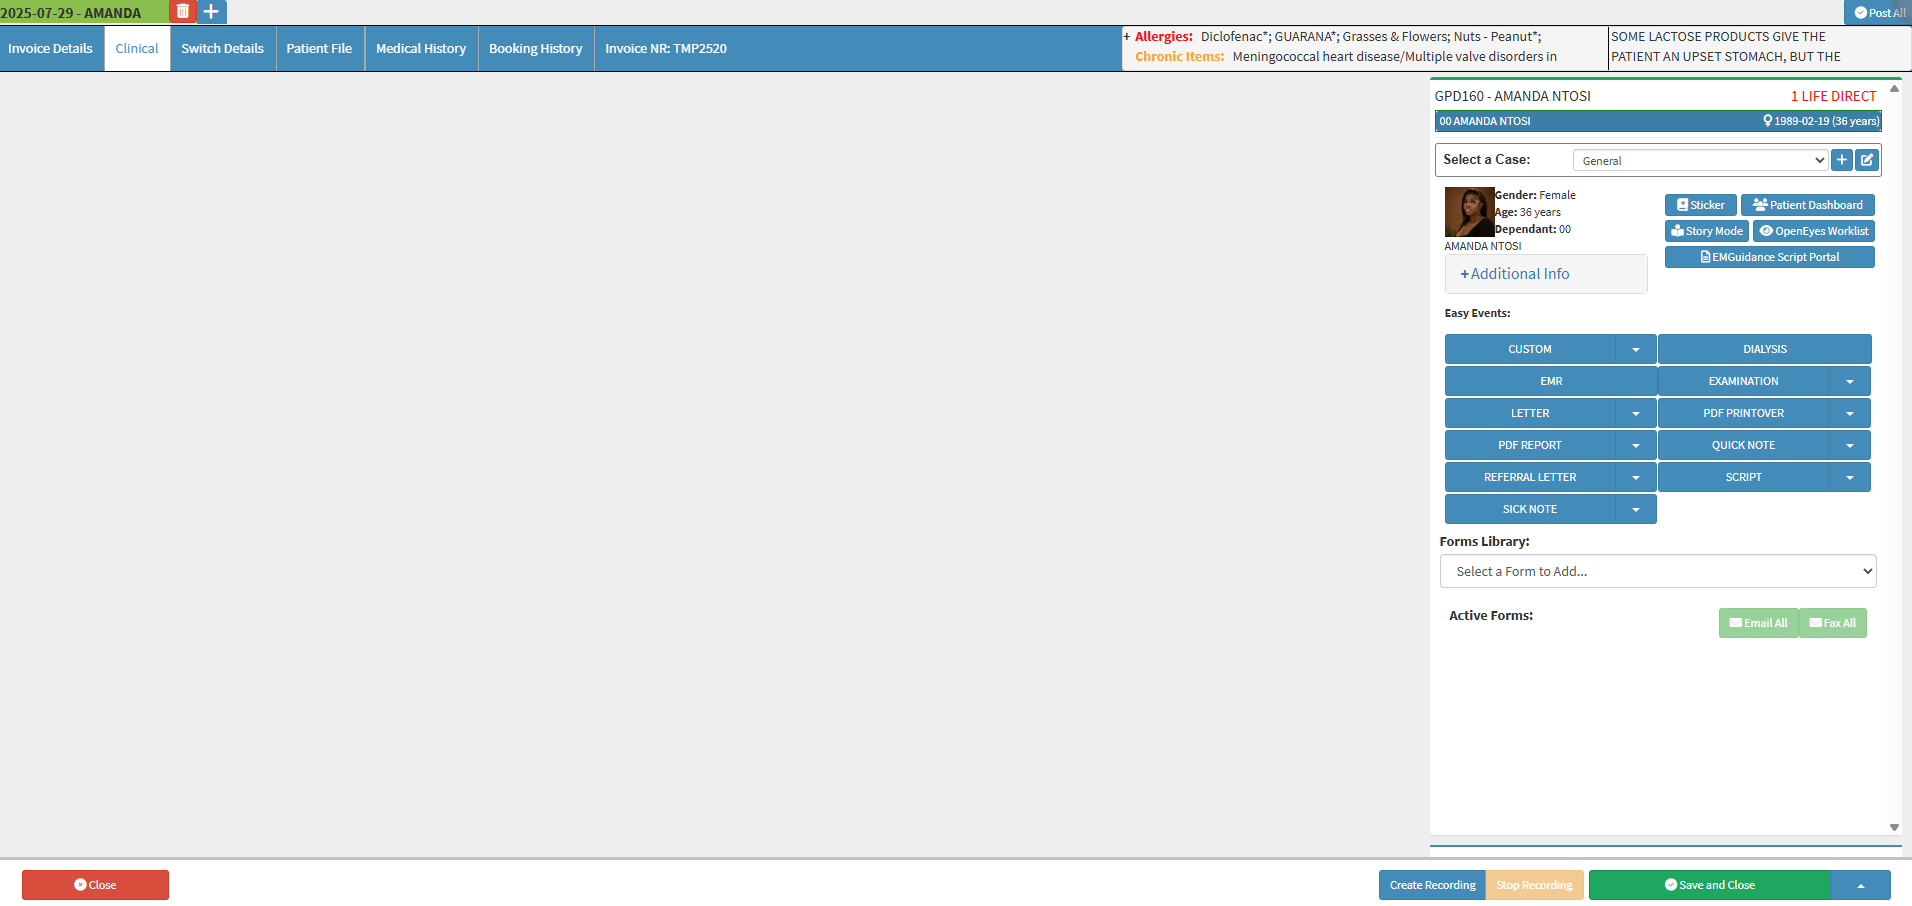
- This user manual will start on the Clinical screen.

- For more information regarding the Clinical screen, please refer to the user manual: Clinical Screen: Navigation and Use.
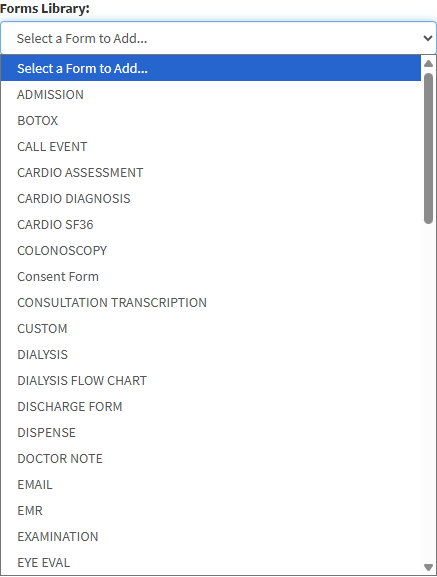
- Click on the Forms Library drop-down on the Clinical sidebar.

- For more information regarding each form found in the Forms Library, please refer to the full list of forms and their corresponding user manuals found in the Learning Center: General Examination Forms and Special Investigation Forms.
- Click on the Referral Letter form option.

- The Referral Letter form will open.

💡Please Note: The Referral Letter form will now be placed under the Active Forms section on the Clinical sidebar.

Referral Letter Contents
The Referral Letter contains various fields which allow the Practitioner to easily fill in the required information for the referral Practitioner or Specialist.
- Click on the Date of Referral field to select the date the Patient was referred to another Medical Practitioner or Specialist from the date picker that becomes available.

- Click on the Referring Note field to enter the reason for referral and include any important details the Practitioner wants the receiving Medical Practitioner or Specialist to be aware of.

- Click on the GoodXpert button to automatically generate accurate, customised notes.
![]()
- The GoodXpert screen will open.

- For more information on the GoodXpert screen, please refer to the user manual: How to Navigate and Use the GoodXpert.
- Click on the Patient at Practice Since field to select the date the Patient began receiving care from the referring Practitioner from the date picker that becomes available.

- Click on the Doctor Signature field to add the signature of the Treating Practitioner providing the referral.

- For more information regarding the Doctor Signature function, please refer to the user manual: How to Add a Doctor Signature.
- Tick the Diagnosis checkbox to include the identification of the Patient’s condition based on symptoms, allowing the Referring Practitioner to communicate the suspected diagnosis to the referred Practitioner.

- Chronic Diagnosis: If the Patient has a chronic condition/symptoms that are persistent, or otherwise long-lasting in their effects, the Practitioner will note it here for the Referring Practitioner.
- Previous Diagnosis: If the Practitioner previously diagnosed the Patient with any Medical conditions, it will be noted here for the Referring Practitioner.
- Reason for Referral: The Practitioner will send the Patient to a Specialist or Authority that is more highly qualified to handle their medical matters. The Practitioner will fill in the reason for the Referral here as to why the Patient needs to see the Specialist.
- Tick the Specialist Details checkbox to include the information of the Specialist the Patient is being referred to.

- Name: Name of the Specialist to whom the Treating Practitioner is referring the Patient.
- Practice Number: Practice Number of the Specialist, as registered with the HPCSA and BHF.
- Address: Where the Specialist's place of business/consultation rooms is located.
- Tick the Appointment Details checkbox to include the Date, Time, and Location (Rooms or Hospital) of the scheduled appointment.

- Date: The day on which the Patient is visiting the Referred Practitioner.
- Time: The time of day when the Patient is visiting the Referred Practitioner.
- Location: Is the appointment taking place in a consultation room or at a hospital?
💡Please Note: The Appointment Details checkbox is automatically selected when the Referral Note is opened for the first time. You are able to deselect the Appointment Details checkbox if necessary.
- Click on the Hospital button to open additional fields.

- Name: The name of the Hospital at which the Practitioner is consulting with the Patient.
- Ward: The area within the Hospital where the Patient is going to be kept for consultation or observation.
- Click on the Complete button to save any changes once all of the necessary information has been completed on the Referral Letter form.
![]()
- The Complete button will turn green.
![]()
Workflow Event Options
Additional options that provide you with quick actions to manage documents securely and efficiently. These tools streamline workflow and support compliance and confidentiality requirements.- For more information on the Workflow Event buttons, please refer to the user manual: Workflow Event Options.
- Click on the Save and Close button to save any changes and exit the Clinical screen.
![]()
Last modified: Tuesday, 2 September 2025, 7:21 AM