Creating a Debtor will allow you to create a new electronic file for a person who is responsible for the payment of the account. Dependents can be linked to a Debtor. A new Patient who has never visited the Practice will always require a file to be opened. Once a new file has been opened, you can capture transactions for the Patient. To book a new Patient, please refer to the user manual: Book New Patient.
The Contents of This User Manual:
From the Dairy Sidebar with a Booking
From the Debtors Tab
Debtor Details
Guarantor Details
Patient Details
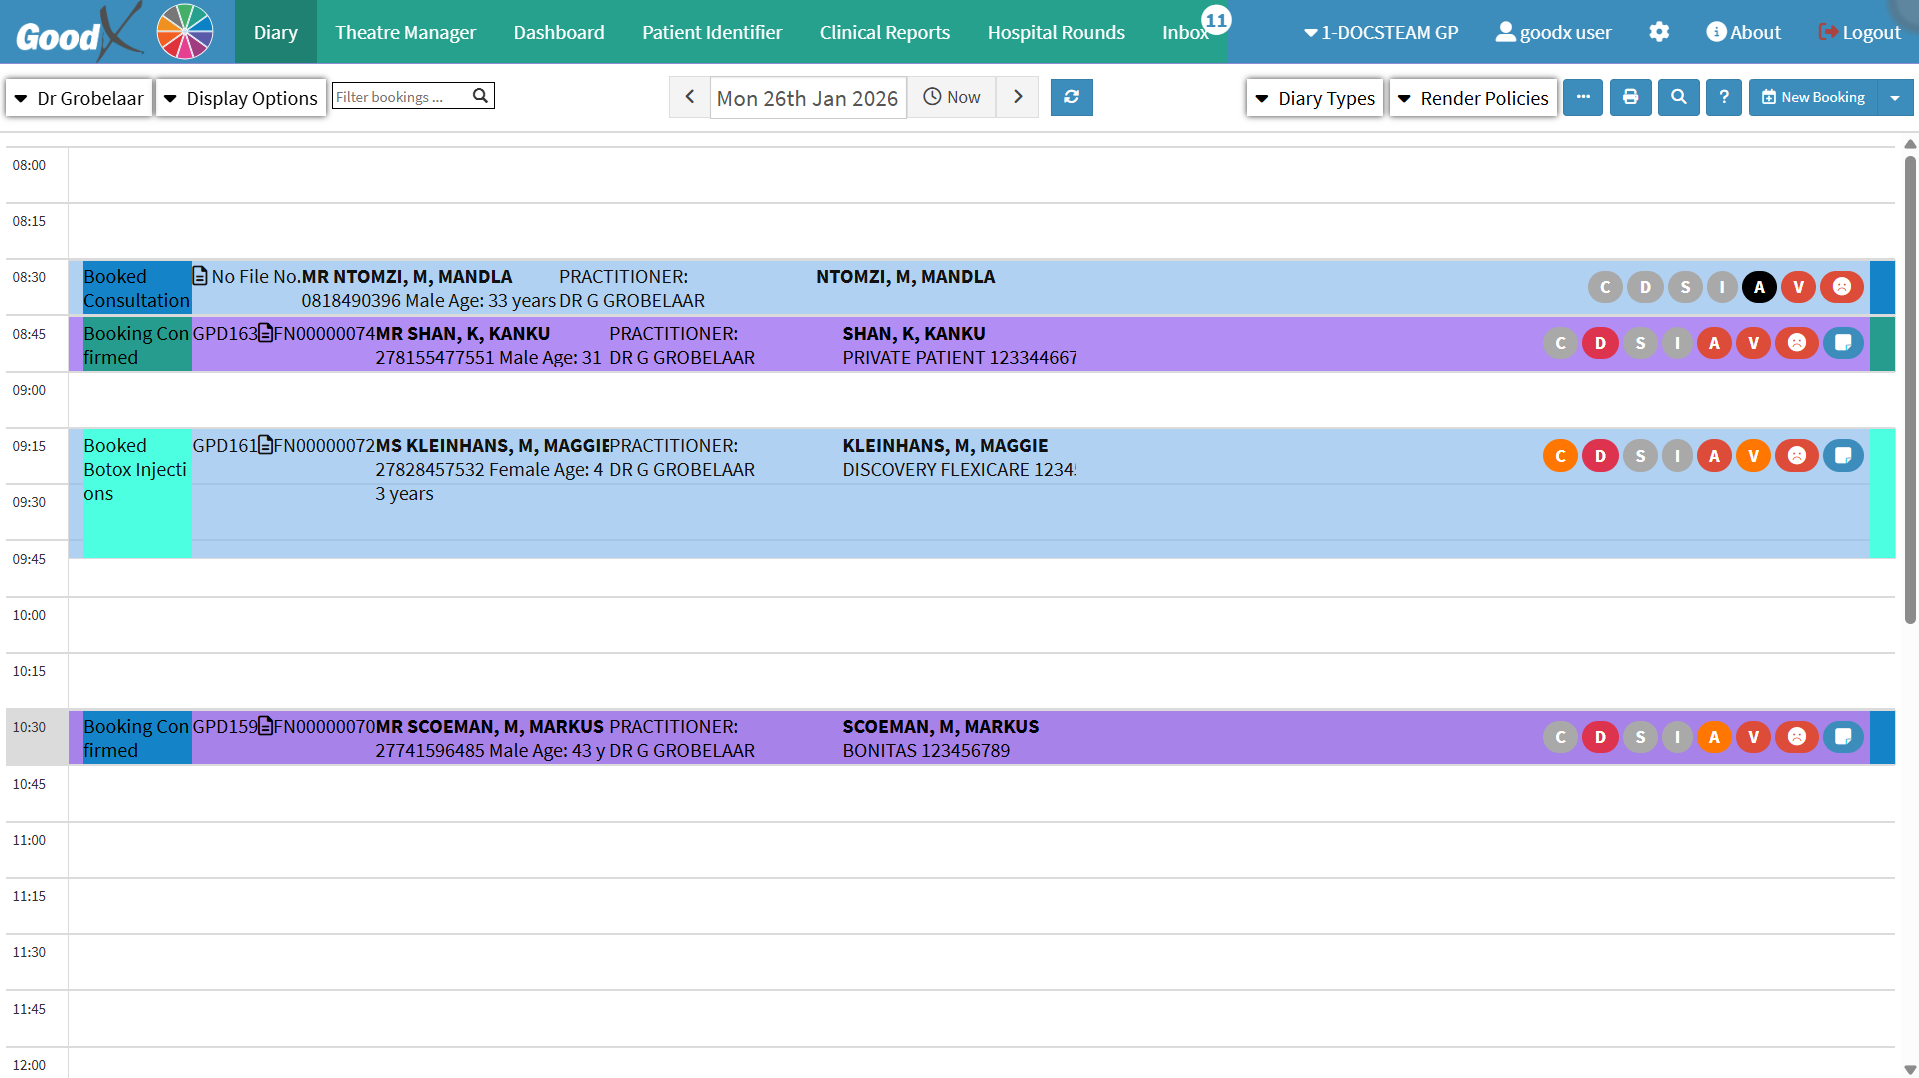
This user manual will start on the Diary screen.
From the Dairy Sidebar with aBooking Allows you to create a new Debtor file, using the Debtor Add feature on the Dairy sidebar.
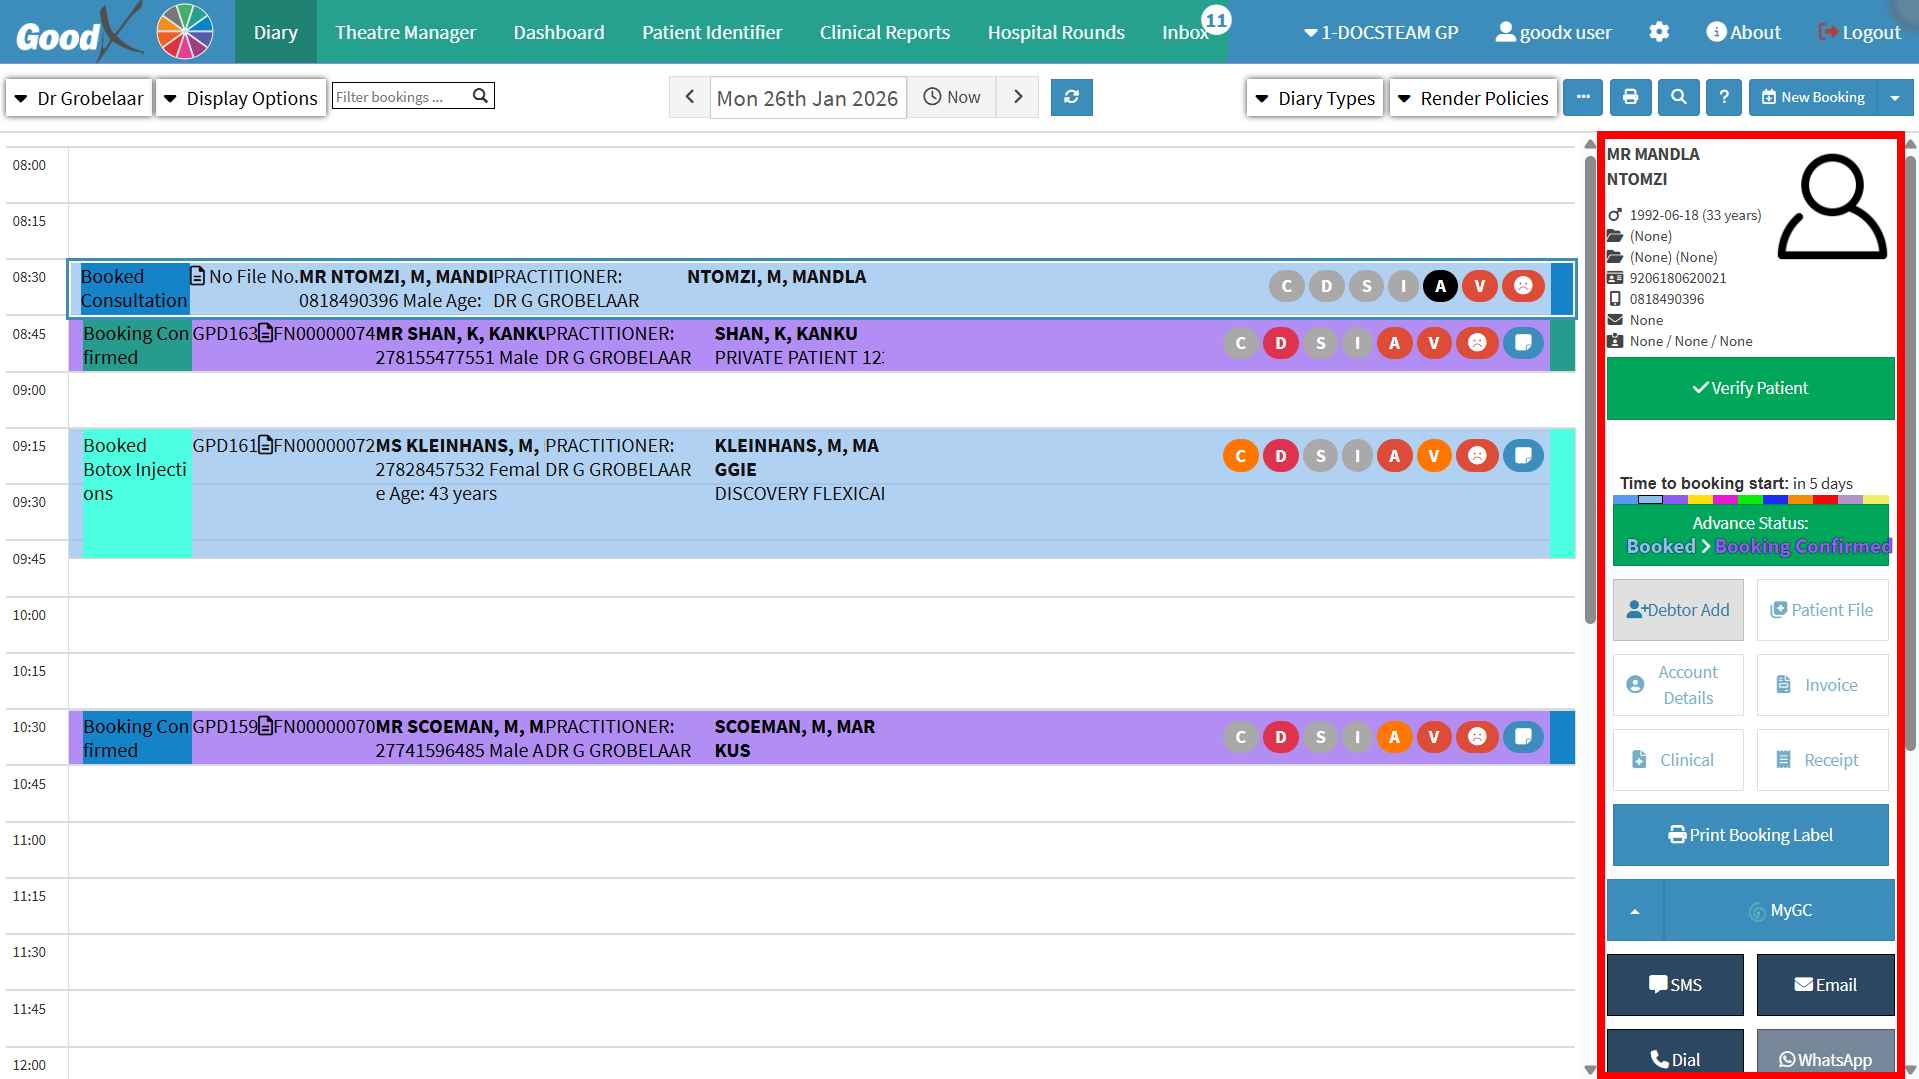
Click on the Booking of the new Patient to access the Diary sidebar.
?Please Note: The Account icon of a new Patient is highlighted in black, which indicates that the Patient does not have a file on the system yet.
?Please Note: When a Debtor has not been created, you will only have limited access to features on the Diary sidebar.
Click on the Debtor Add button to create a new Debtor file.
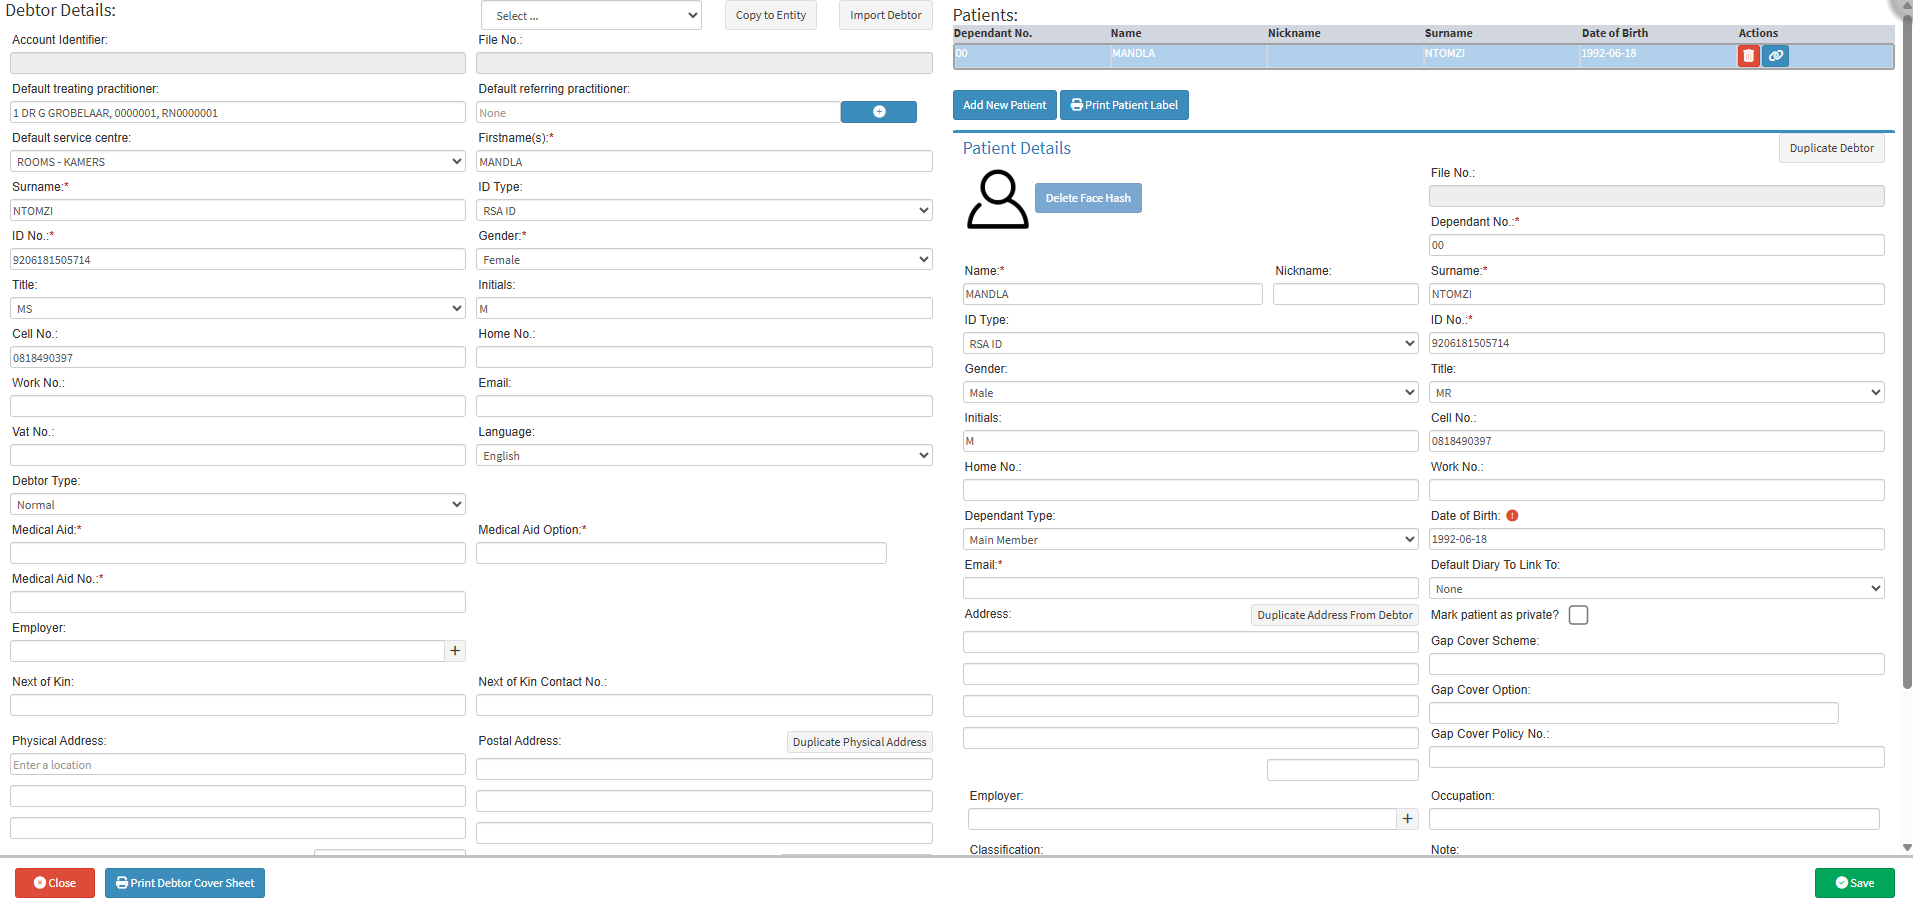
The Debtor Details screen will open.
?Please Note: All the fields and the Patient section will be blank. For an extensive explanation of how to add new Dependants/Patients, please refer to the user manual: How to Add New Dependants (Patients).
DebtorDetails
All the personal demographic details of the person who is responsible for the account. Please complete as much information as possible.
?Please Note: All fields marked with an asterisk (*) are compulsory fields. For more information on how to make a field compulsory, please refer to the user manual: Model Validation.
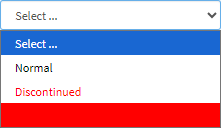
Click on the Select drop-down menu to select the status of the Debtor.
?Please Note: The options that are available will depend on the setup of the Practice's preferences. For more information regarding Debtor Statuses, please refer to the user manual: Debtor Status.
Click on the Copy to Entity button to copy Debtor Information from one Entity to another without having to recreate the Debtor, in order to save time and prevent the loss of information.
The Account Identifier will be generated by the system once the details have been saved which will be linked to the person who is responsible for the payment of the account.
Click on theFile No.field, which corresponds to the number assigned to the account holder’s physical file, allowing you to either enter a custom file number or use a preset configuration that automatically assigns a number from a predefined range.
For more information on how to set up Auto File Numbers, please refer to the user manual: Auto File Numbers
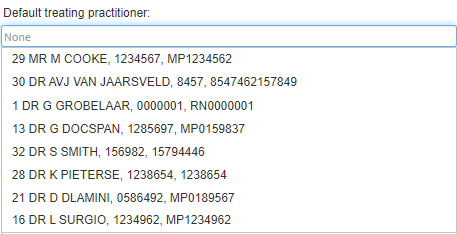
Click on the Default Treating Practitioner field and start typing the name of the desired Practitioner. 3 characters are required before the list becomes available.
Select the desired Default Treating Practitioner from the drop-down menu that will become available whilst typing, to link the desired Practitioner to the new Debtor.
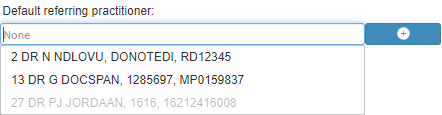
Click on the Default Referring Practitioner field and start typing the name of the desired Practitioner. 3 characters are required before the list becomes available.
Select the desired Default Referring Practitioner on the drop-down menu that will become available whilst typing, to link the desired Practioner to the new Debtor.
Click on the + button to add a new Practitioner to the previously set up Referring Practitioner list.
For more information on how to add a Practitioner to the Referring Practitioner list, please refer to the user manual: How to Add a New Practitioner.
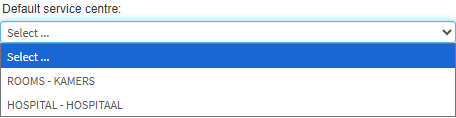
Clickon the Default Service Centre drop-down menu to select an appropriate option.
?Please Note: The Service Centres that appear on the list, are dependent on the options that are set up for your Practice.
Click on the Firstname(s) field to enter the first names of the person responsible for the payment of the account as stated on their official identification document.
Click on the Surname field to enter the surname of the person responsible for the account as stated on their official identification document.
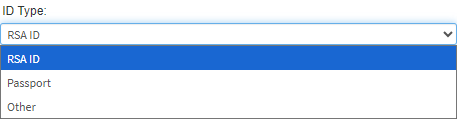
Clickon the ID Type drop-down menu to select an appropriate option.
Click on the ID Number field and enter the identification number of the chosen identification for the person who is responsible for the account. The ID number should be between 6 and 13 digits, depending on the ID Type that has been selected.
?Please Note: The validation of the ID Number field will be determined by the ID Type that has been selected. For an explanation of how an RSA ID number is validated, please see the glossary entry: ID Number.
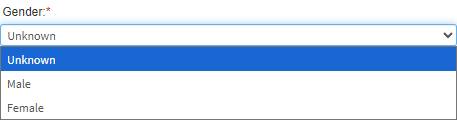
Click on the Gender drop-down menu to select an appropriate option.
?Please Note: The Gender will automatically be selected based on the ID Number that was entered, using the ID Number validation, but the Gender can be changed to be more inclusive of the Debtor's preference.
Click on the Title drop-down menu to select an appropriate option.
Click on the Initials field to enter the first letter of each name of the person responsible for the account.
?Please Note: The Initials field will be completed automatically once the Firstname(s) fieldis completed.
Click onthe Cell No. field to enter the cellular or mobile number of the person responsible for the account. Cellphone numbers need to have at least 10 digits to be valid.
Click on the Home No. field to enter a landline number that belongs to the person responsible for the account.
Click on the Work No. field to enter the telephone number of the workplace where the person responsible for the account is employed.
Click on the Email field to enter the electronic mailing address of the person responsible for the account.
?Please Note: An email address will be validatedusing specific criteria such as an @ sign. The Email field will be highlighted in red if the email address is invalid.
Click on the VAT No.field to enter the value-added tax number of the person responsible for the account, if they are VAT registered.
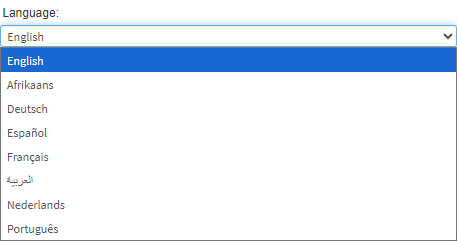
Clickon the Language drop-down menu to select an appropriate option.
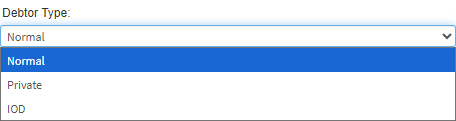
Click on the Debtor Typedrop-down menu to select an appropriate option.
Normal: The person responsible for the account has Medical Aid or Medical Insurance.
Private: The person responsible for the account does not have any form of medical insurance.
IOD: Injury on Duty, while the person was on duty at their place of work.
For more information on how to add a new IOD Debtor, please refer to the user manual: Create New IOD Debtor.
Click on the Medical Aid fieldand start typing the name of the desired Medical Aid. 1 character is required before the list becomes available.
Select the desired Medical Aid on the drop-down menu that will become available whilst typing, to link the option to the new Debtor.
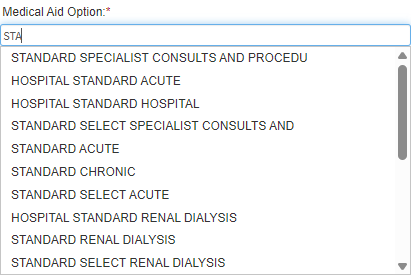
Clickon the Medical Aid Option fieldand start typing the name of the desired Medical Aid option. 1 character is required before the list becomes available.
Select the desired Medical Aid Option on the drop-down menu that will become available whilst typing, to link the option to the new Debtor.
Click on the Medical Aid Number field to enter the Medical Aid membership number associated with the account of the person responsible for the account.
Clickon the Employer field and start typing the name of the desired Employer. 3 characters are required before the list becomes available.
Select the desired Employer from the drop-down menu that will become available whilst typing, to link the option to the new Debtor.
?Please Note: If the Employer is not found, a new one will need to be created.
Click on the +button to add the new Employer’s information to the system if it has not been captured yet.
For more information on how to add a new Employer, please refer to the user manual: Create New Employer.
Click on the Next of Kin field to enterthe closest living relative of the person responsible for the account, which can also be the emergency contact who is not related to the Debtor.
Click on the Next of Kin Contact Number field to enter the contact number of the closest living relative or emergency contact of the person responsible for the account.
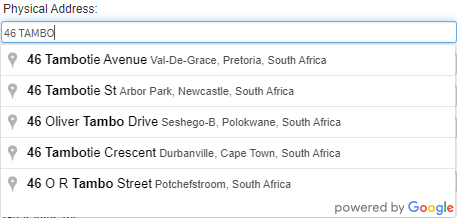
Click on the Physical Address field and begin typing the desired address. A list of suggestions will appear after entering one character. The suggestions will become more accurate as more information is entered.
Select the desired option on the list that has become available whilst typing, to add the selected address to the new Debtor.
?Please Note: The Physical Address auto-fill feature is integrated with Google Maps and will automatically populate the Address fields when a selection is made from the suggestion list. Using this feature is optional, and you are also able to manually enter the address.
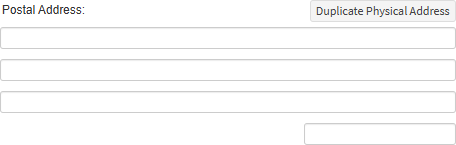
Click on the PostalAddress fields to enter a mailing address, where letters can be delivered.
Click on the Duplicate Physical Address button if the Postal Address is the same as the Physical Address.
The information from the Physical Address fields will be copied to the Postal Address fields the addresses.
?Please Note: If the details of the Physical Address and Postal Address are not the same, you will need to complete the details of the Postal Address manually.
Guarantor Details
A person who agrees to take financial responsibility for the Debtor's account if the Debtor fails to pay.
Click on the Guarantor Initials field to enter the first letter of each name of the person who will take financial responsibility for the account.
Click on the Guarantor Surname field toenterthe surname of the person who will take financial responsibility for the account.
Click on the Guarantor Tel field to enter a mobile or landline telephone number that belongs to the person who will take financial responsibility for the account.
Click on the Guarantor ID to enterthe official identification number of the person who will take financial responsibility for the account. The ID Number should be between 6 and 13 digits. For an explanation of how an RSA ID number validates, please refer to the glossary entry: ID Number RSA.
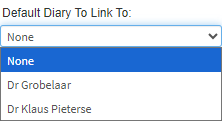
Click on the Default Diary To Link To drop-down menu to select an appropriate option of the diary that this Debtor will be automatically linked to by default.
Patient Details
Information regarding the personal details of the Patient.
Click on Add New Patient to add a Patient to the Debtor file.
The Patient Details section will appear, where you can add the Patient's information.
?Please Note: Every Debtor is required to have a Patient/Dependant, even if the Debtor is the Patient. For an extensive explanation of how to add new Dependants/Patients, please refer to the user manual: How to Add New Dependants (Patients).
Click on the Print Debtor Cover Sheet button to print the Debtor details as a hard copy.
For a detailed explanation of how to print the Debtor Cover Sheet, please refer to the user manual:Debtor Cover Sheet.
Click on the Save button when all the information has been added to both sections.
Last modified: Wednesday, 21 January 2026, 9:25 AM