SMS/Email/Notebook History: Admin Event History
All SMS's and Emails that have been sent can be accessed from the Admin Event History screen. Users will be able to view all communication that has been sent to a debtor or patient like Booking Reminders, Payment Requests, Patient Surveys, Clinical Documents etc. The user will be able to see if the communication that was sent went through successfully and resend already sent communications.
- Log in to the GoodX Web App with your GoodX username and password.
- The Diary screen will open.

- Click on the Admin tab on the Navigation bar.
![]()
- The Admin screen will open.

- Click on the Admin Event History subtab.

- The SMS and Email History screen will open.

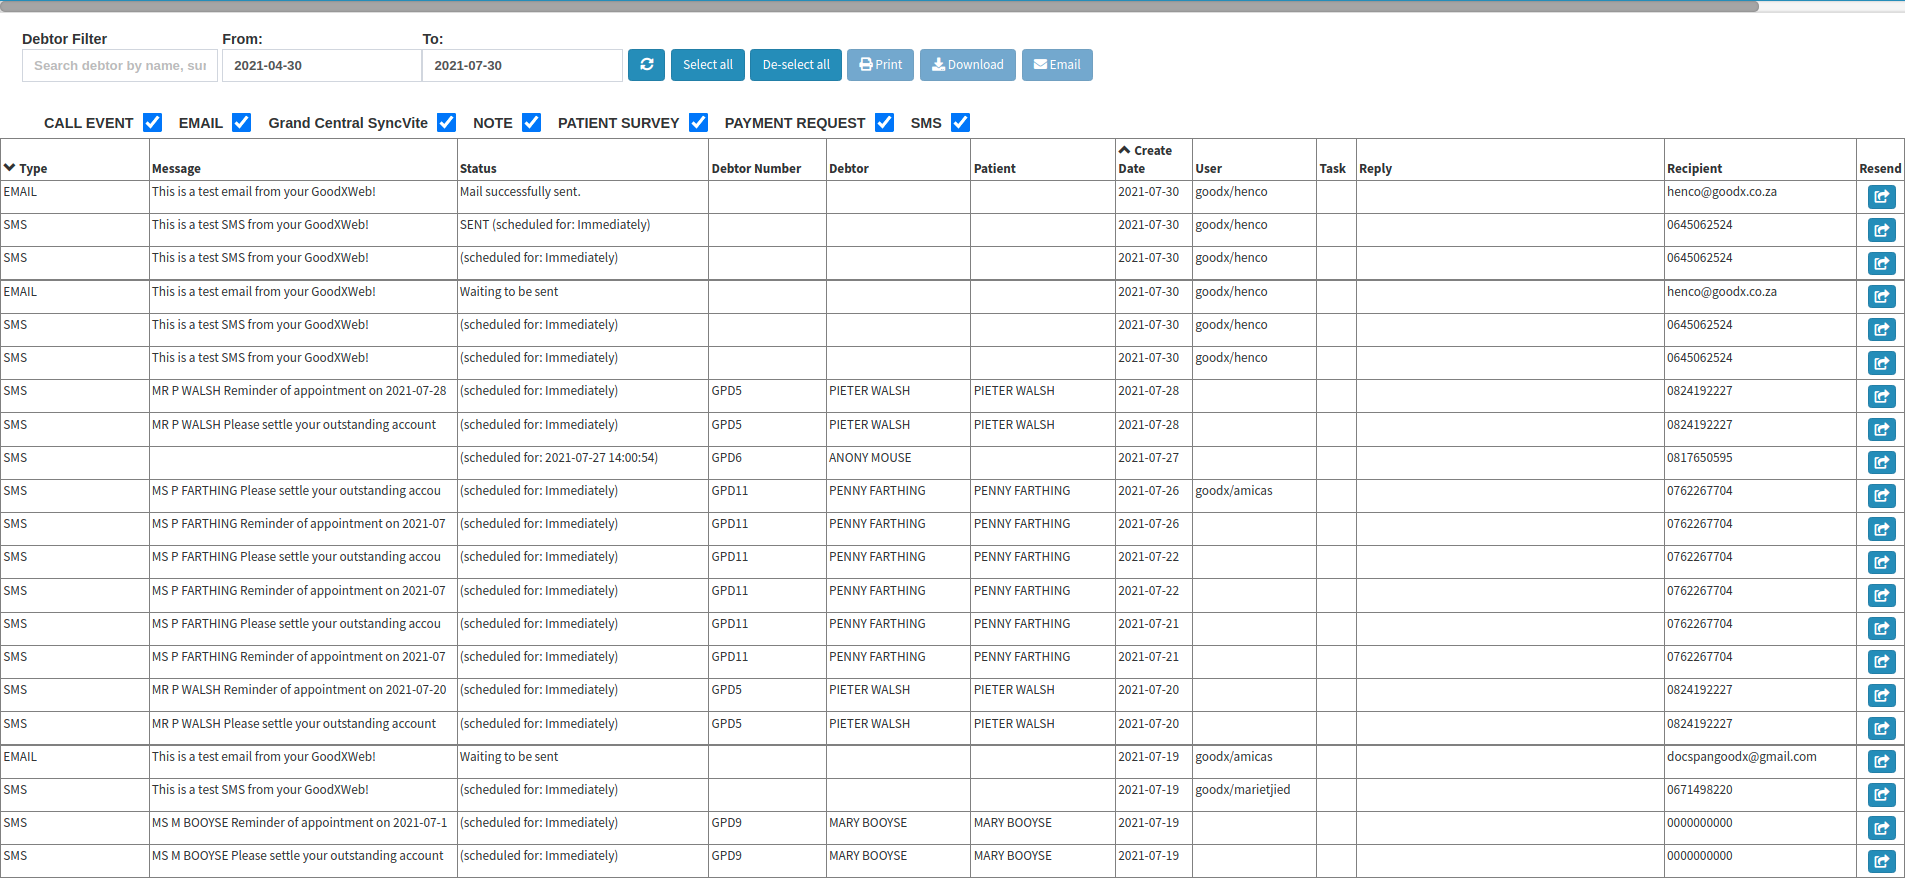
- The following options will be available on the screen:

- Debtor Filter: The filter will allow the user to filter the contents of the screen to a specific debtor's communication history.
- Click on the Search debtor by name field to input the name, surname or debtor number of the desired debtor.
![]()
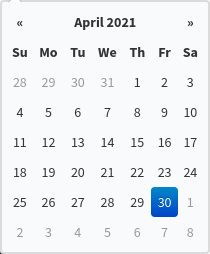
- From: The date from when the user would like to see the SMS/Email history. The default date that will display is exactly 3 months prior to today's date.
- Click on the From field to open the calendar to select the date from when the history will filter.

- Click on the desired date to make a selection. The selected date will be included in the filter results.

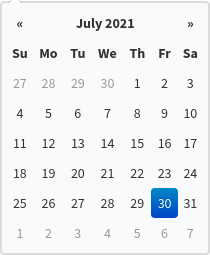
- To: The date up to when the user would like to see the SMS/Email history. The default date that will display is today's date.
- Click on the To field to open the calendar to select the date to which date the history will filter.

- Click on the desired date to make a selection. The selected date will be included in the filter results.
- Click on the Refresh button to refresh the Event History to apply the filters that have been selected and also to see if new entries have been added to the log.

Please Note: Every time filters are applied or changes are made the user needs to use the Refresh button to allow the system to apply the filters and changes to the Event History.
- Event Types: The type of communication that has been sent to the patient/debtor.

- Tick/Untick an Event Type checkbox into include/exclude the data from the Event History.
- CALL EVENT: All call events that were made in the practice from the system.
- EMAIL: An email was sent to the debtor/patient from the system.
- Grand Central SyncVite: A invitation was sent to the debtor/patient to sync their information with the practice.
- NOTE: A note was logged on the debtor patient file.
- PATIENT SURVEY: The debtor/patient was sent a survey to rate their experience at the practice.
- PAYMENT REQUEST: A request for payment was sent to the debtor/patient as they have an outstanding balance at the practice.
- SMS: An SMS was sent to the debtor/patient from the system.
- Click on Select All to select all the communication types and include them on the Event History.

- Click on De-select All to unselect all the communication types and exclude them from the Event History.

- The following buttons will display but are greyed out and the function is not yet available, and still in development:
- Print: Allows the user to print the Event History.

- Download: Allows the user to download the Event History and save it to their computer.

- Email: Allows the user to attach and send the Event History via Email.

- The information on the Event History will be divided into columns:

- Type: The Event Type of the communication that was sent.
- Message: The contents of the message that has been sent.
- Status: An indication if the message was sent, scheduled to be sent or waiting to be sent.
- Debtor Number: The account number of the person responsible for the payment of the account to whom the communication was sent.
- Debtor: The name and surname of the person who is responsible for the payment of the account.
- Patient: The name and surname of the patient to who the message has been sent.
- Create Date: The date that the communication was created to be sent.
- User: The system user who actioned the communication that was sent.
- Task: When a task was created for a specific event, the details thereof will display here.
- Reply: If the recipient replied to the SMS or E-mail that was sent to the practice by the recipient, the information thereof will display here.
- Recipient: The contact number or email address to where the communication has been sent.
- Resend: Allows the user to send the same communication to the same recipient. This can be done when communications have failed to send.
- Click on the Resend button in order to resend.

- The colour of the button will change to dark blue when it was resent. The Event that was resent will be added to the Event History log as a new entry.

- Click on Close to exit the Admin Event History screen and return to the main Diary screen.
Last modified: Friday, 20 January 2023, 11:53 AM