Configuration is the management and set up of certain features within the GoodX Web to allow you to manage the software to the specific needs of the Practice. For example, you will be able to access the Cash Register, Medical Aid List, Practitioner Setup, Audit Log, Smart Sticker Setup, Workflow Event Configuration and the Profile Setup.
The Configuration segment forms part of the Navigation Wheel. For more information regarding the functionality of the Navigation Wheel, please refer to the user manual: Navigation Wheel.
?Please Note: This is the default set-up of the segment and the Navigation Bar items can be customised to the needs and preferences of the Practice. For more information regarding the customisation of the segment please refer to the user manuals: General Settings and Navigation (Wheel) Settings.
The Contents of This User Manual:
Cash Register Management
Medical Aid List
Practitioner Setup
Audit Log
Smart Sticker Setup
Workflow Event Config
User Management
Profile Setup
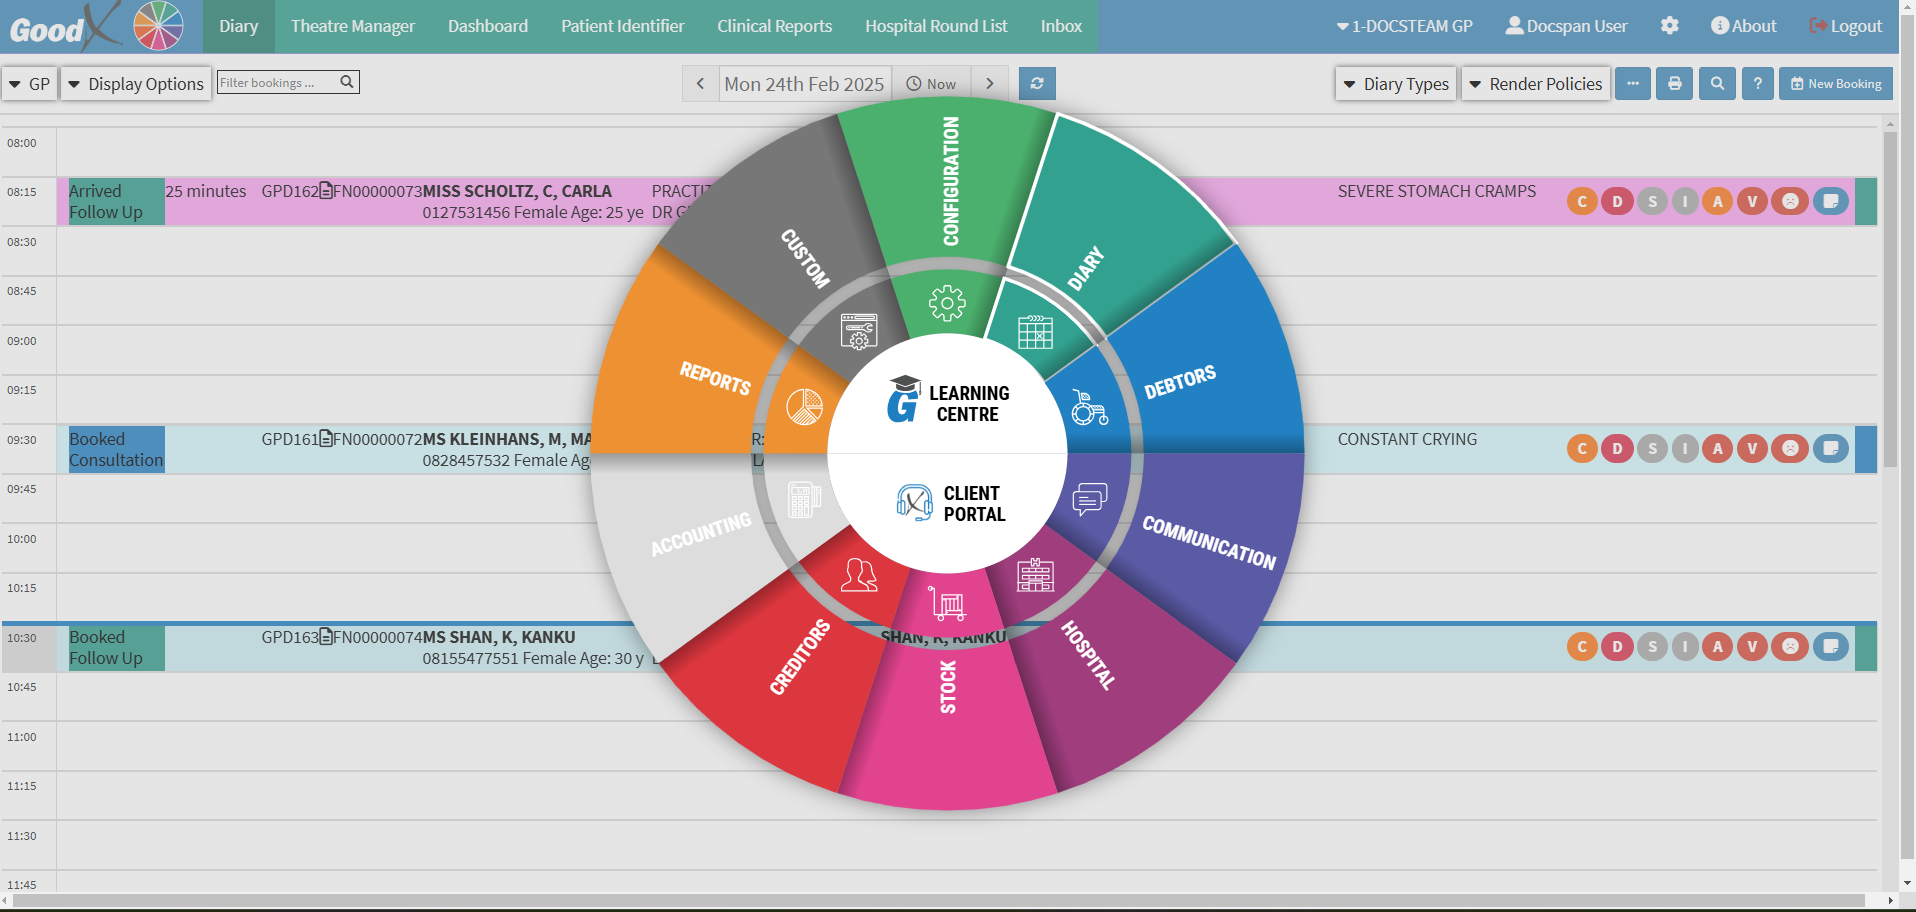
This user manual will start on the Diary screen.
Click on the Navigation Wheel.
The Navigation Wheel will expand.
Click on the Configuration segment.
The Cash Register Management screen will open.
An explanation will be given for each tab available on the Configuration Navigation Bar:
Cash Register Management
The Cash Register is used to manage the payments made by Patients for the services rendered by the Practice.
Click on the Cash Register Management tab.
The Registers screen will open.
?Please Note: All Cash Registers that have been set up will be listed. If no registers have been set up the list will be blank.
For more information regarding the Cash Register and how set-up is done, please refer to the user manual: The Cash Register.
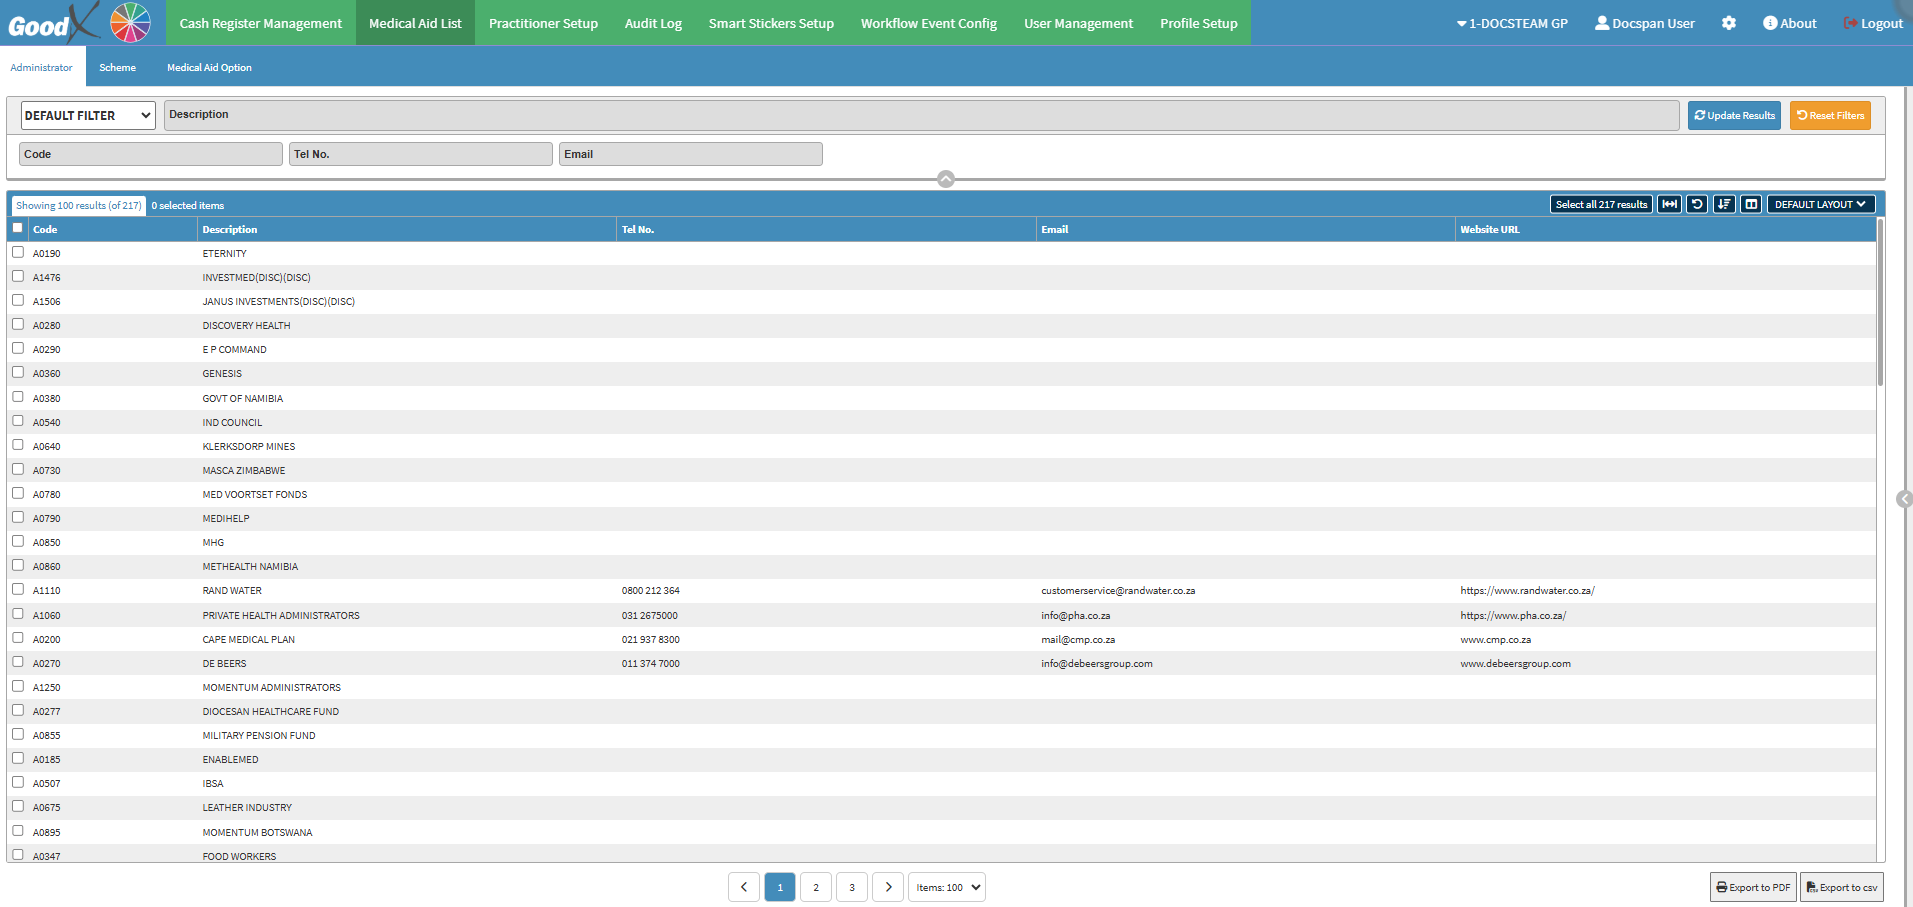
Medical Aid List
Medical Aid Options are the different plans that Medical Aids offer Members to cater to their diverse healthcare needs and financial situations, and typically fall into several categories from which Members can choose. These Medical Aid Options allow members to choose the level of coverage that best suits them, providing flexibility and access to necessary medical services. Each Option has specific limits for various benefits, such as the number of GP visits, specialist consultations, or the amount covered for Dental and Optical care.
A list of Practitioners will appear that has been set up on the Practice's system. A list allows you to Add/Edit/Delete and Undelete Practitioners from the list. The list will include the details of each Practitioner as registered with the HPCSA, such as the Practitioners Name, Surname, Practice Number, BHF Number, Dispensing License, Speciality etc.
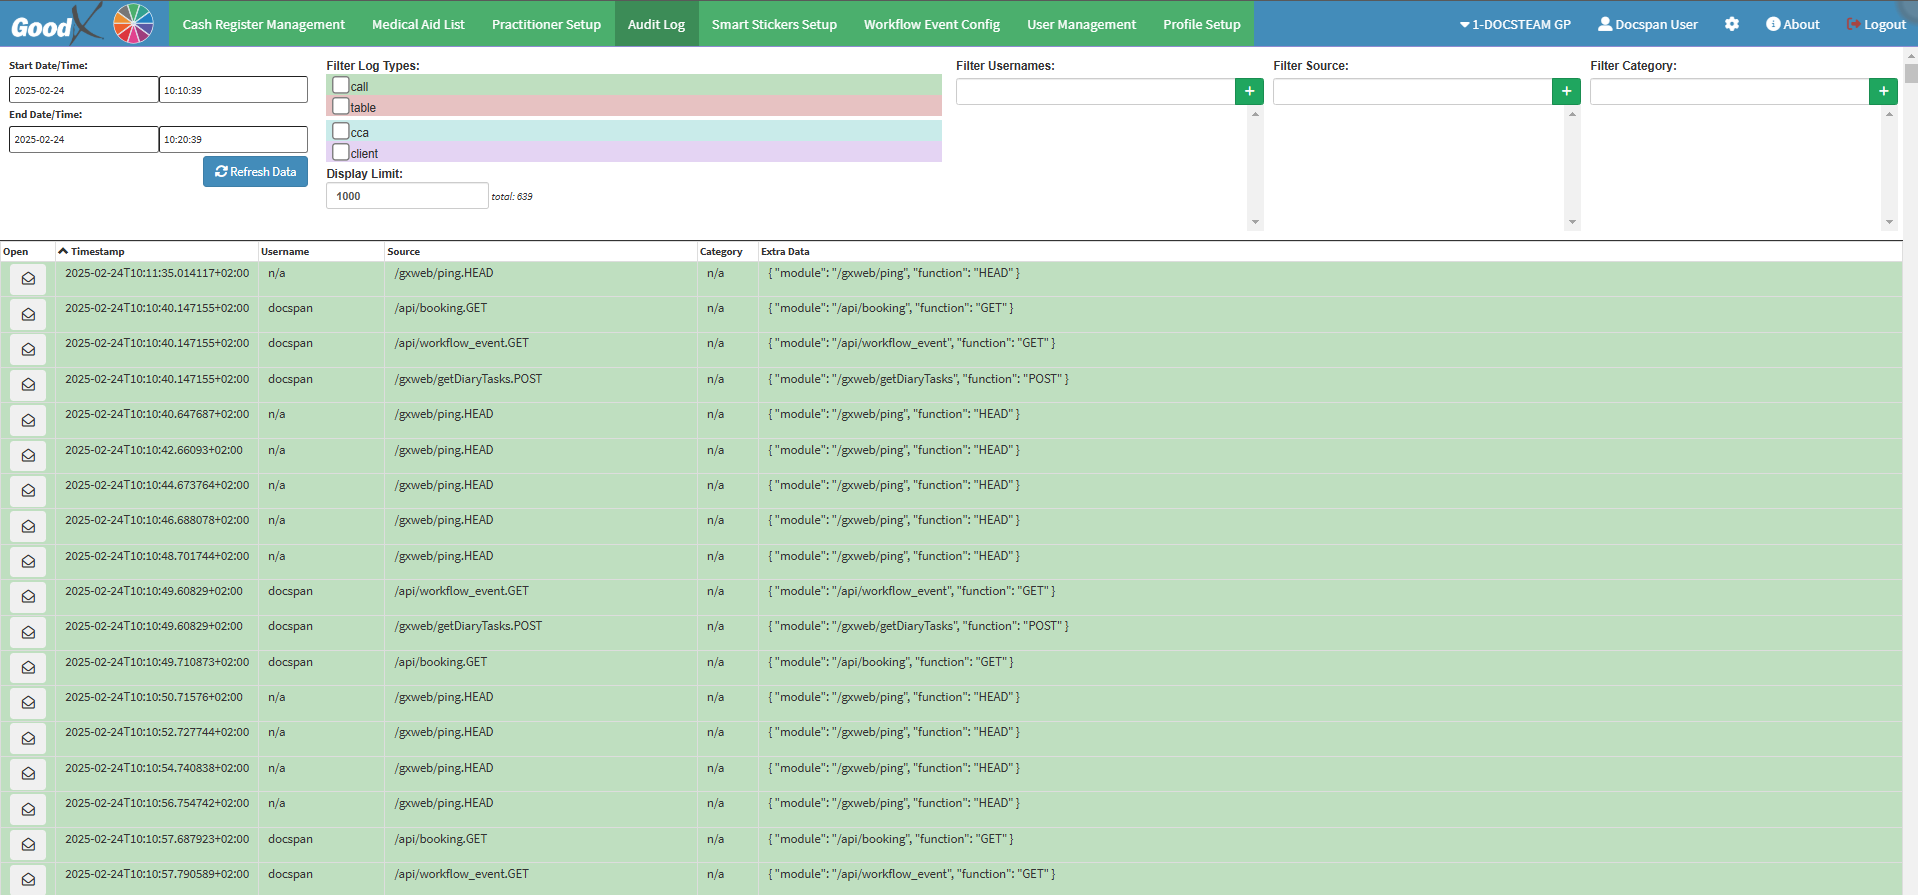
A register of events for all transactions and actions that were performed on a specific transaction. With the information, GoodX can investigate why triggers did not take place, maybe due to a Setup issue. An Audit Log gives you information about when actions were triggered in the software and the details of the person who performed the actions.
Click on the Audit Log tab.
The Audit Log screen will open.
For more information regarding how the Audit Log screen works, please refer to the user manual: Audit Log.
Smart Sticker Setup
When a Practitioner creates a Script, the system can prompt them to link the Patient to a Smart Sticker Protocol if the ICD-10 code matches a preconfigured protocol. Smart Stickers can be set up to link via the ICD-10/Script or the Invoice screen. This streamlines processes by reducing manual data entry, ensuring accurate protocol application, and allowing Practitioners to focus more on Patient care. It also improves record-keeping and enhances workflow efficiency within the Practice.
Workflow events are actions that are created in the system to integrate tasks and forms as part of the clinical information. In the GoodX system, there are templates set up to ease the process in order to use a template that can be completed. Different Workflow Event templates are available. For example, General Examination, Scripts, Sick notes etc.
Click on the Workflow Event Config tab.
The Workflow Event Templatescreen will open with a list of all the Workflow Events that are currently on the system.
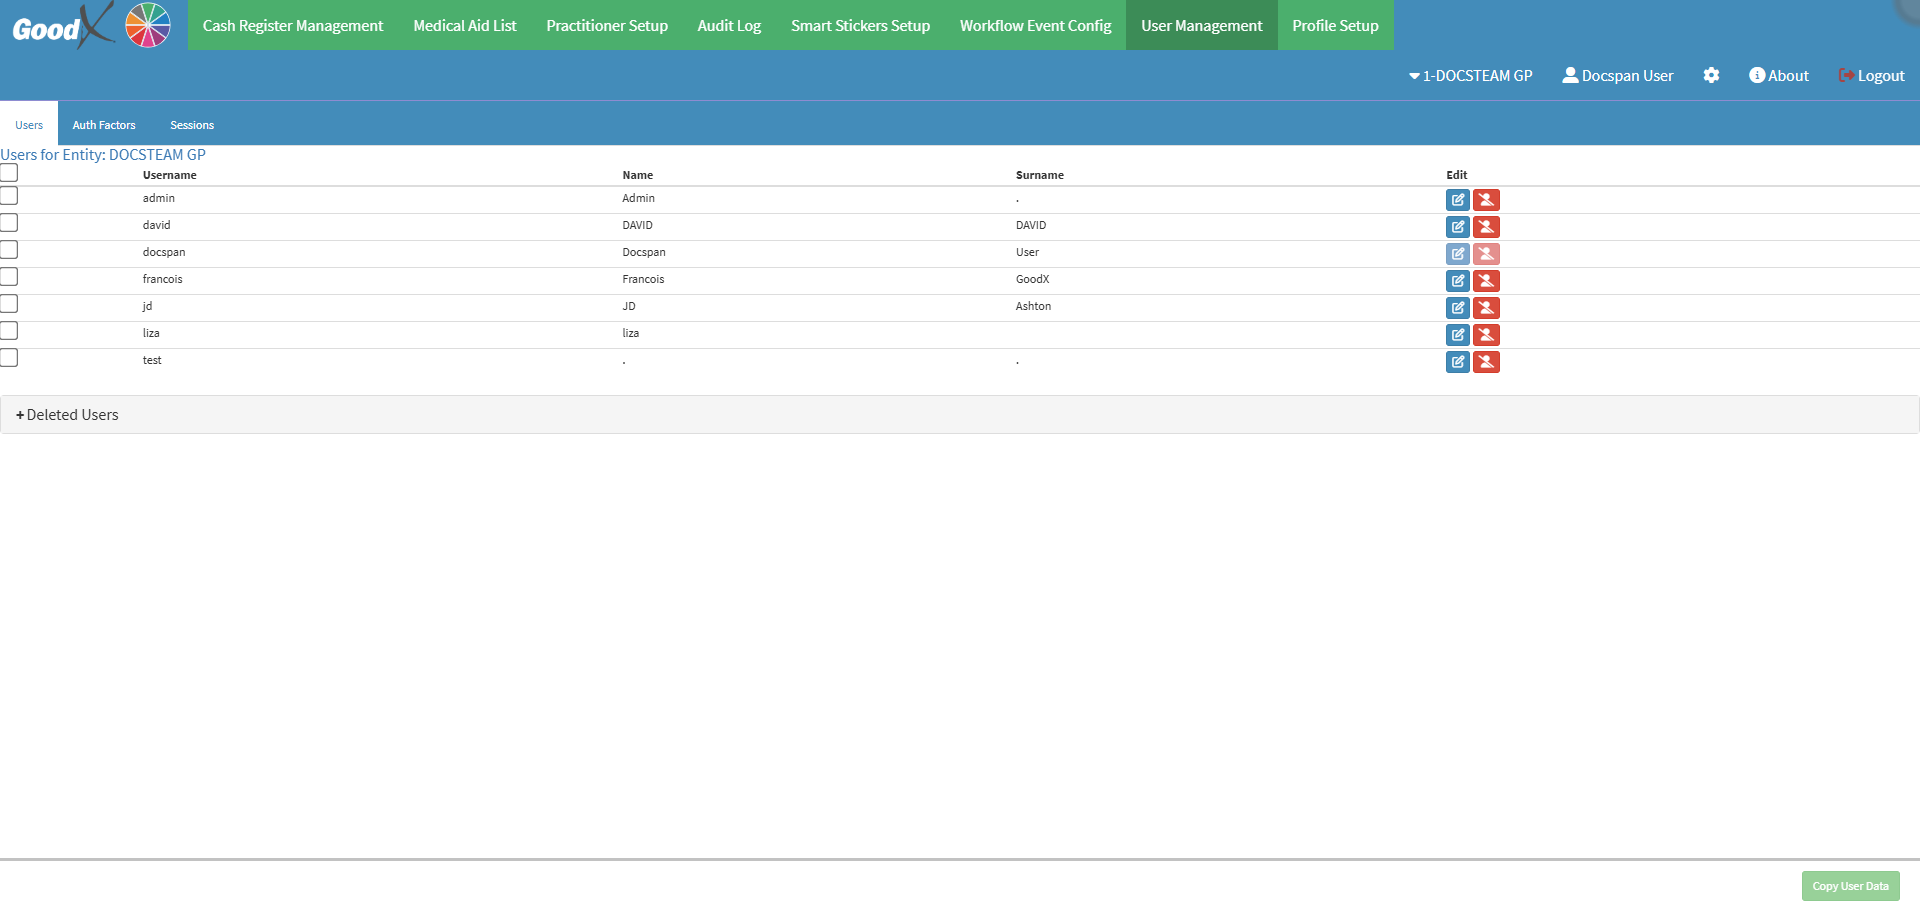
User Management controls who has access to which features of the software. User Management is set up per Entity and allows a Practice to define the access that you have depending on the role within the Practice. GoodX has suggested user access setup per role, in the Best Practice Guidelines Book Chapter: Web App Roles & User Access.
Setting up profiles for Debtor Statements or Reports enables Practices to customise various aspects of their billing and reporting. This includes determining the frequency of statement issuance (e.g., monthly, quarterly), selecting specific layouts or formats that align with the Practice's branding, and applying available customisation options to tailor the content. By creating multiple profiles, a Practice can address diverse requirements, ensuring that each Debtor receives statements in a manner that suits both the Practice's operational workflow and the Debtor's preferences. This level of personalisation enhances the efficiency of the billing process and contributes to clearer financial communication. You can also save an immense amount of time by having previously set up Report Profiles, reducing the time spent setting up all the necessary parameters.