Having the ability to search for a booking provides a quick and efficient way to navigate across all available diaries. This powerful feature allows you to effortlessly locate bookings linked to a specific Debtor or Patient, saving valuable time and eliminating the need to search through individual schedules manually. Whether you're reviewing appointments, following up on outstanding debts, or making updates, the search function streamlines the entire process, making it faster and more intuitive to find, view, and manage Patient’s bookings.
The Contents of This User Manual:
Filters
Action Sidebar
Page Options
Export
This user manual will start on the Diary screen.
Click on the Search for Debtor Bookings button.
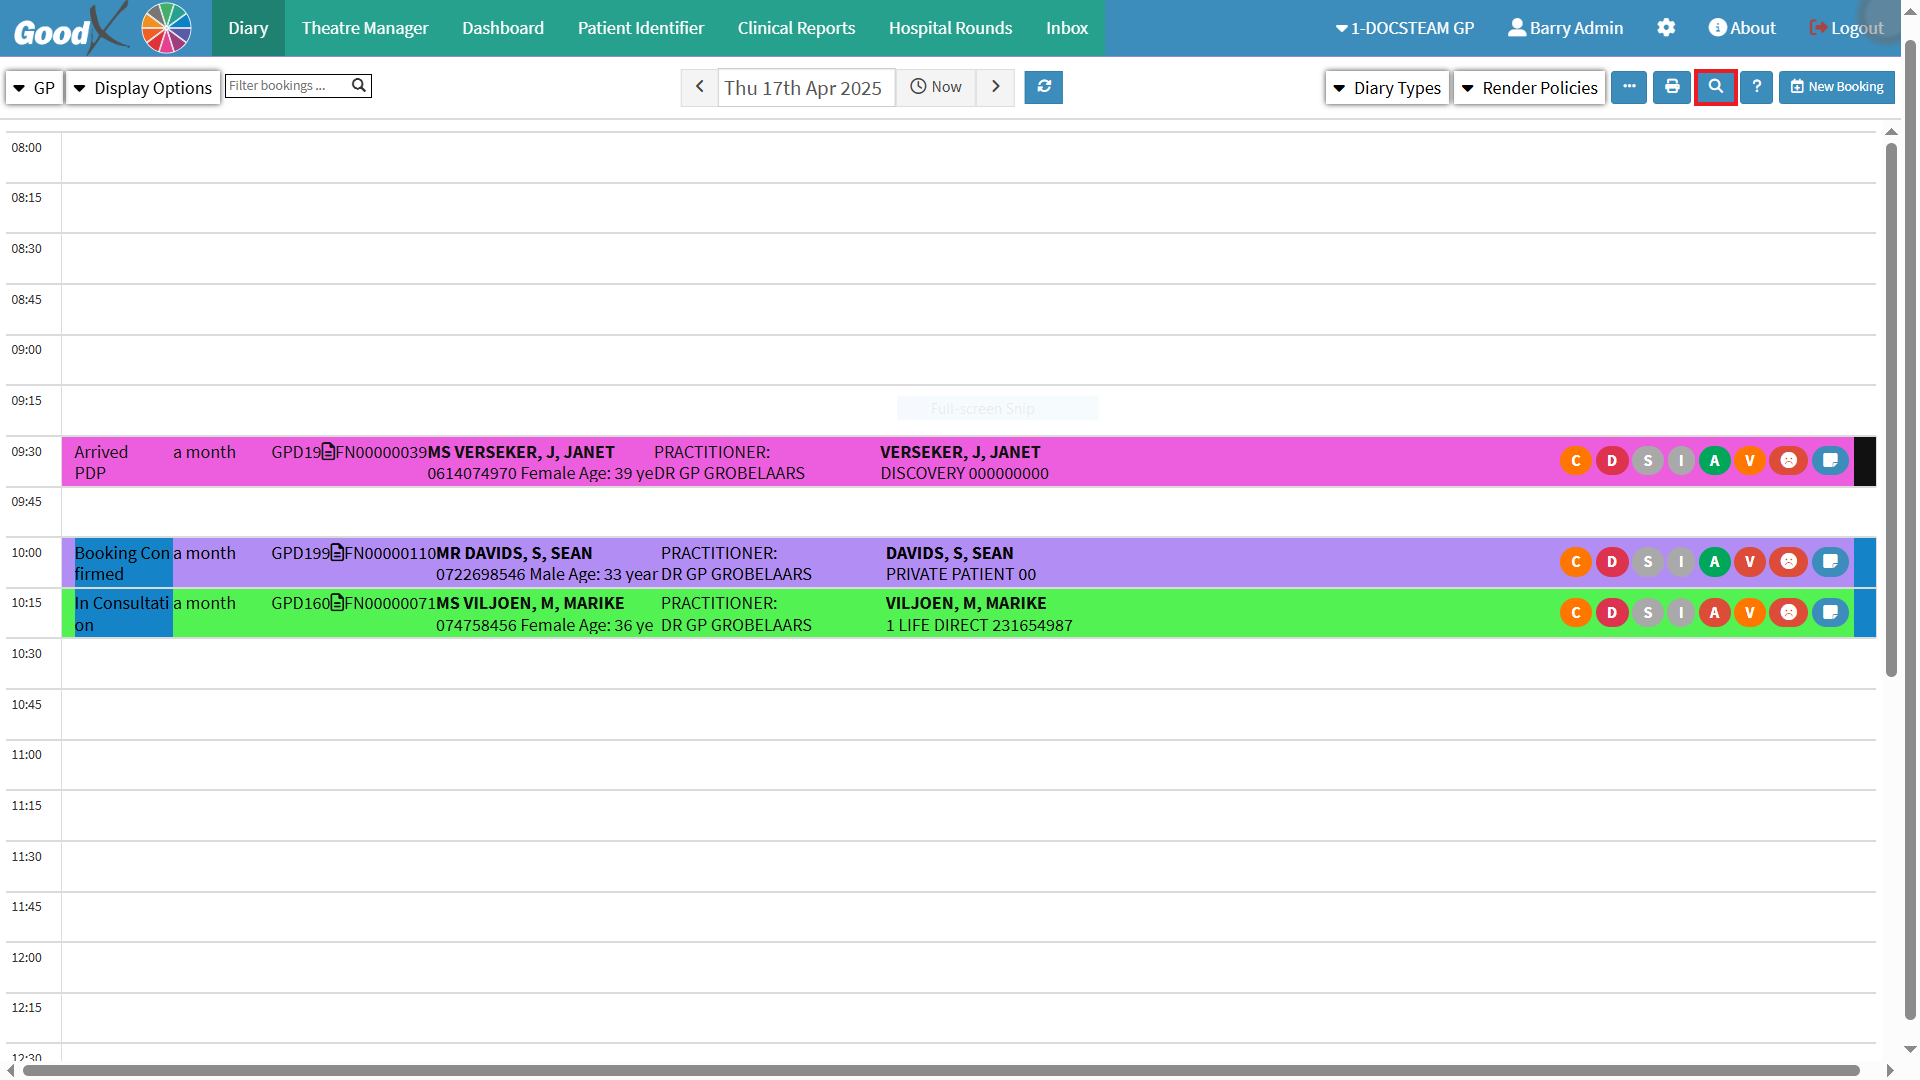
The Bookings screen will open.
An explanation will be given of the Bookings screen:
Filters
Filters can be applied to narrow down the data and achieve more accurate and relevant results.
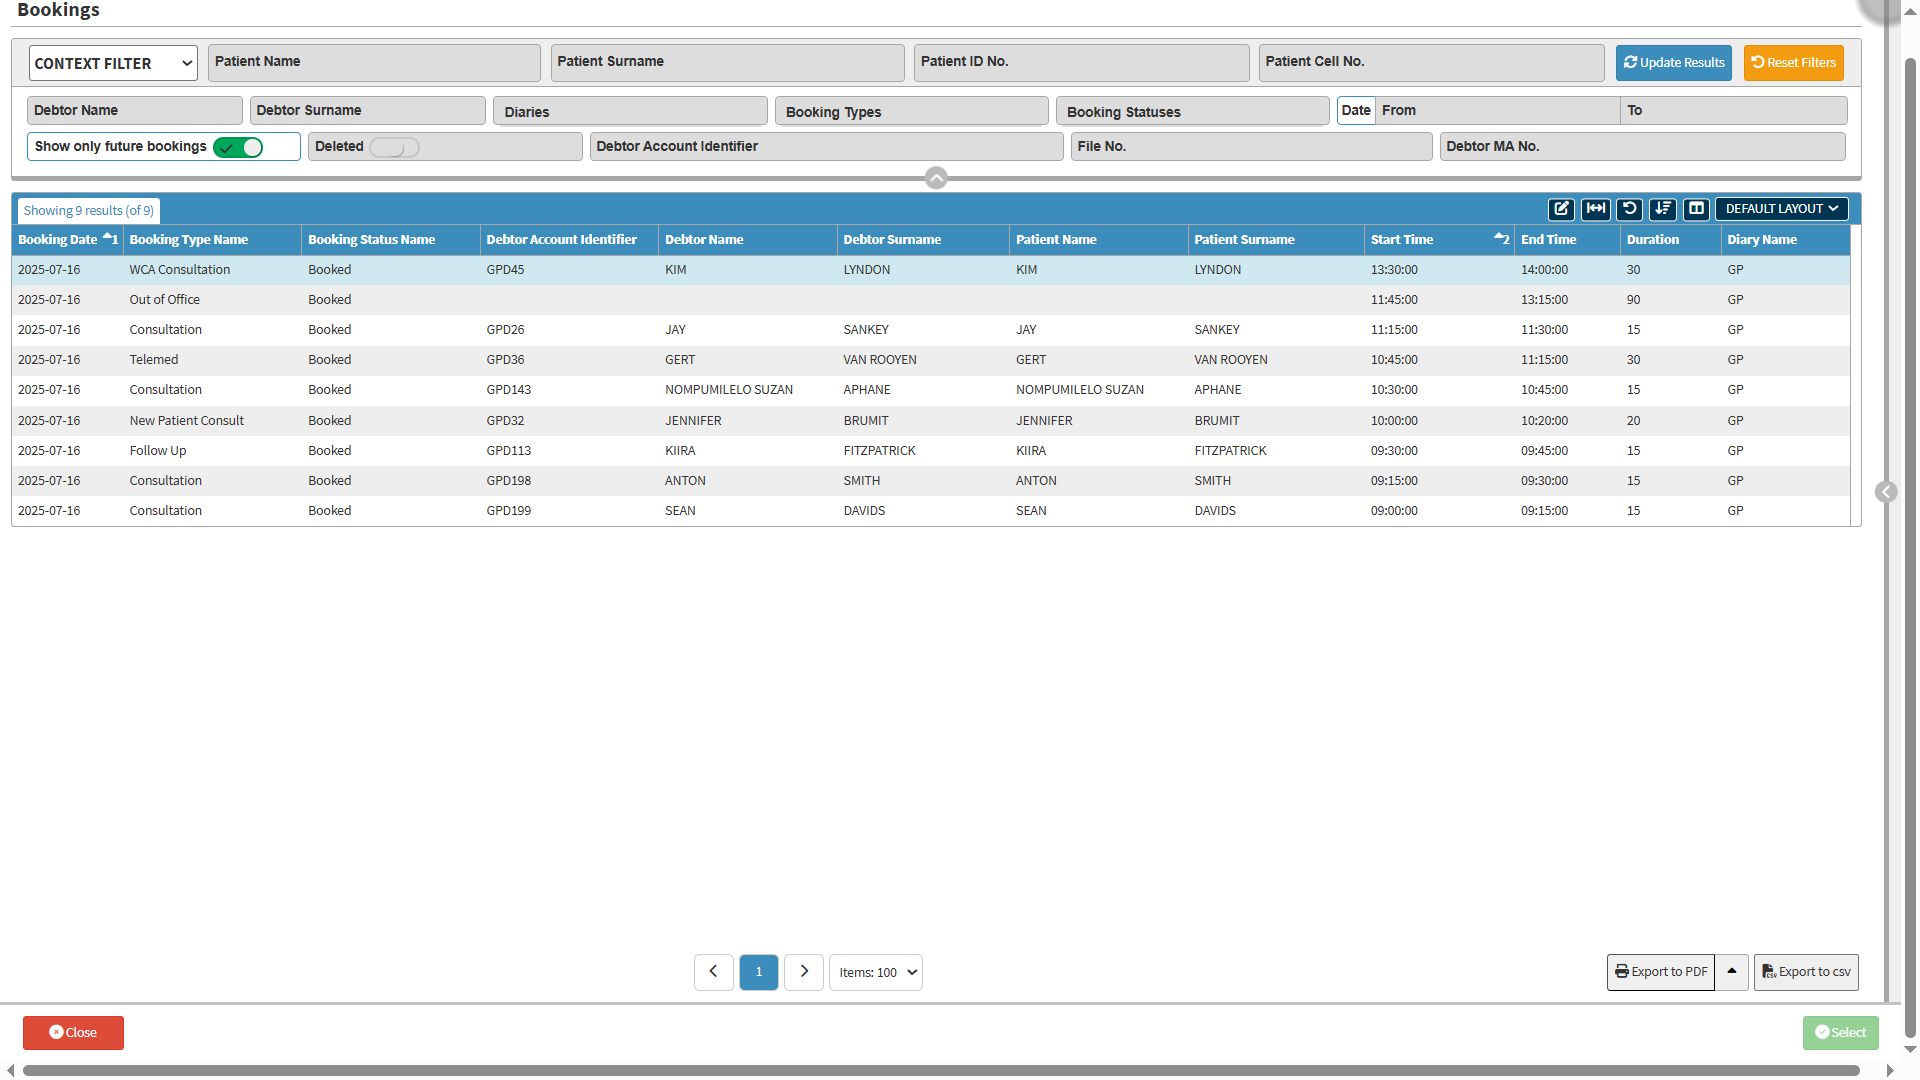
Select Context Filter from the drop-down menu.
Context Filter: Gives extra filter options to refine the information on the list.
Default Filter: Predetermined filters that will always be available to search with.
?Please Note: On this list screen, the Default filter will only change the Show Only Bookings slider.
Complete the Patient's Name in the Name field.
Complete the Patient's Surname in the Surname field.
Complete the Patient'sIdentification Numberor Passport number in the Patient ID No. field.
Complete the Patient's Cell Number in the Cell No. field.
Complete the Debtor's Name in the Debtor Name field.
Complete the Debtor's Surname in the Debtor Surname field.
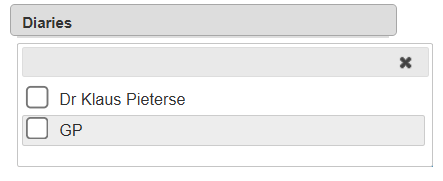
Click on the Diaries drop-down menu and select the appropriate option.
.
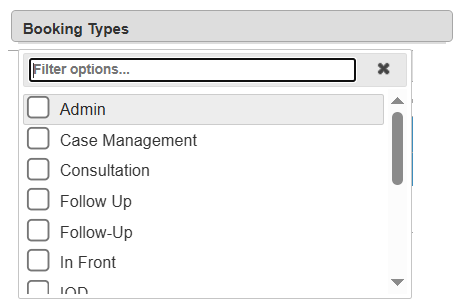
Click on the Booking Types drop-down menu and select the appropriate option.
Click on the Booking Statuses drop-down menu and select the appropriate option.
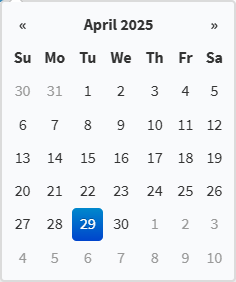
Click on the Date From field, which opens the Date Picker.
Select a date from the date picker.
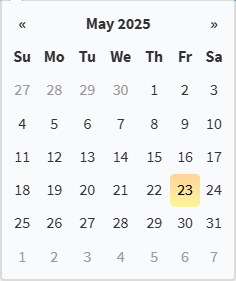
Click on the Date To field, which opens the Date Picker.
Select a date from the Date Picker.
Click on the Show Only Future Bookings slider to show all future and past bookings.
Click on the Show Only Future Bookingsslider a second time to include only future bookings.
Click on the Deleted slider to exclude or include deleted bookings.
Click once to view Bookings that have not been deleted.
Clicka second time to view the Bookings that have been deleted.
Click on the Debtor Account Identifier field and enter the Debtor Account Identifier.
Click on the File No. field and enter the Debtor/Patient File Number.
Click on the Debtor MA No. field and enter the Debtor Medical Aid Number.
Click on the Update Results button after all filters have been set.
The Bookings screen will display the chosen filters that have been applied.
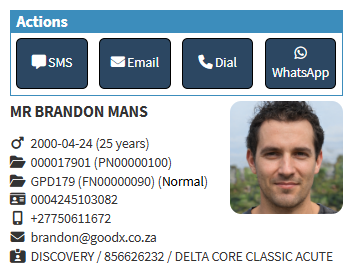
Action Sidebar
The Action sidebar serves as a quick-access panel that allows healthcare staff to efficiently communicate with a Patient or perform related actions directly from the Booking profile screen. It consolidates all essential contact methods and Patient details in one location to streamline administrative workflows.
Click on the desired Bookingto access the functionality of the Booking Search sidebar.
All the additional options that are available for the page.
Click on the Previous button to navigateto the previous page.
Click on the Page Number button to navigate to the desired page.
Click on the Next button to navigate to the next page.
Click on the Items drop-down menu to select the number of items that will be displayed on the screen.
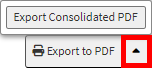
Click on the Export to PDF button to save a PDF file of all the data as a comprehensive report.
Click on the Export to PDF drop-up menu to access the Export Consolidated PDF option that allows you to generate a single document that combines all the data from multiple sources to provide an overview.
Click on the Export to CSV button to save the Report in a CSV format.
?Please Note: APatientfile must be selected before exporting data.
Last modified: Wednesday, 17 September 2025, 9:16 AM


 .
.