Book an Appointment for a new Patient from the New booking button
Why Use This Function:
New patients who have never visited the Practice before will not yet have a file on the Practice’s system. To ensure accurate record-keeping and smooth service, their file must be created upon arrival. This process requires the patient to provide all the necessary documentation so that a complete and accurate file can be opened. By capturing this information at the start, the Practice ensures that the patient’s details are properly recorded, their medical history can be built over time, and future visits are handled more efficiently.
The Contents of This User Manual:
- Booking Details
- Debtor Details
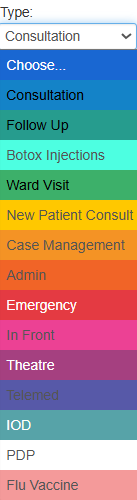
- This user manual will start on the Dairy screen.
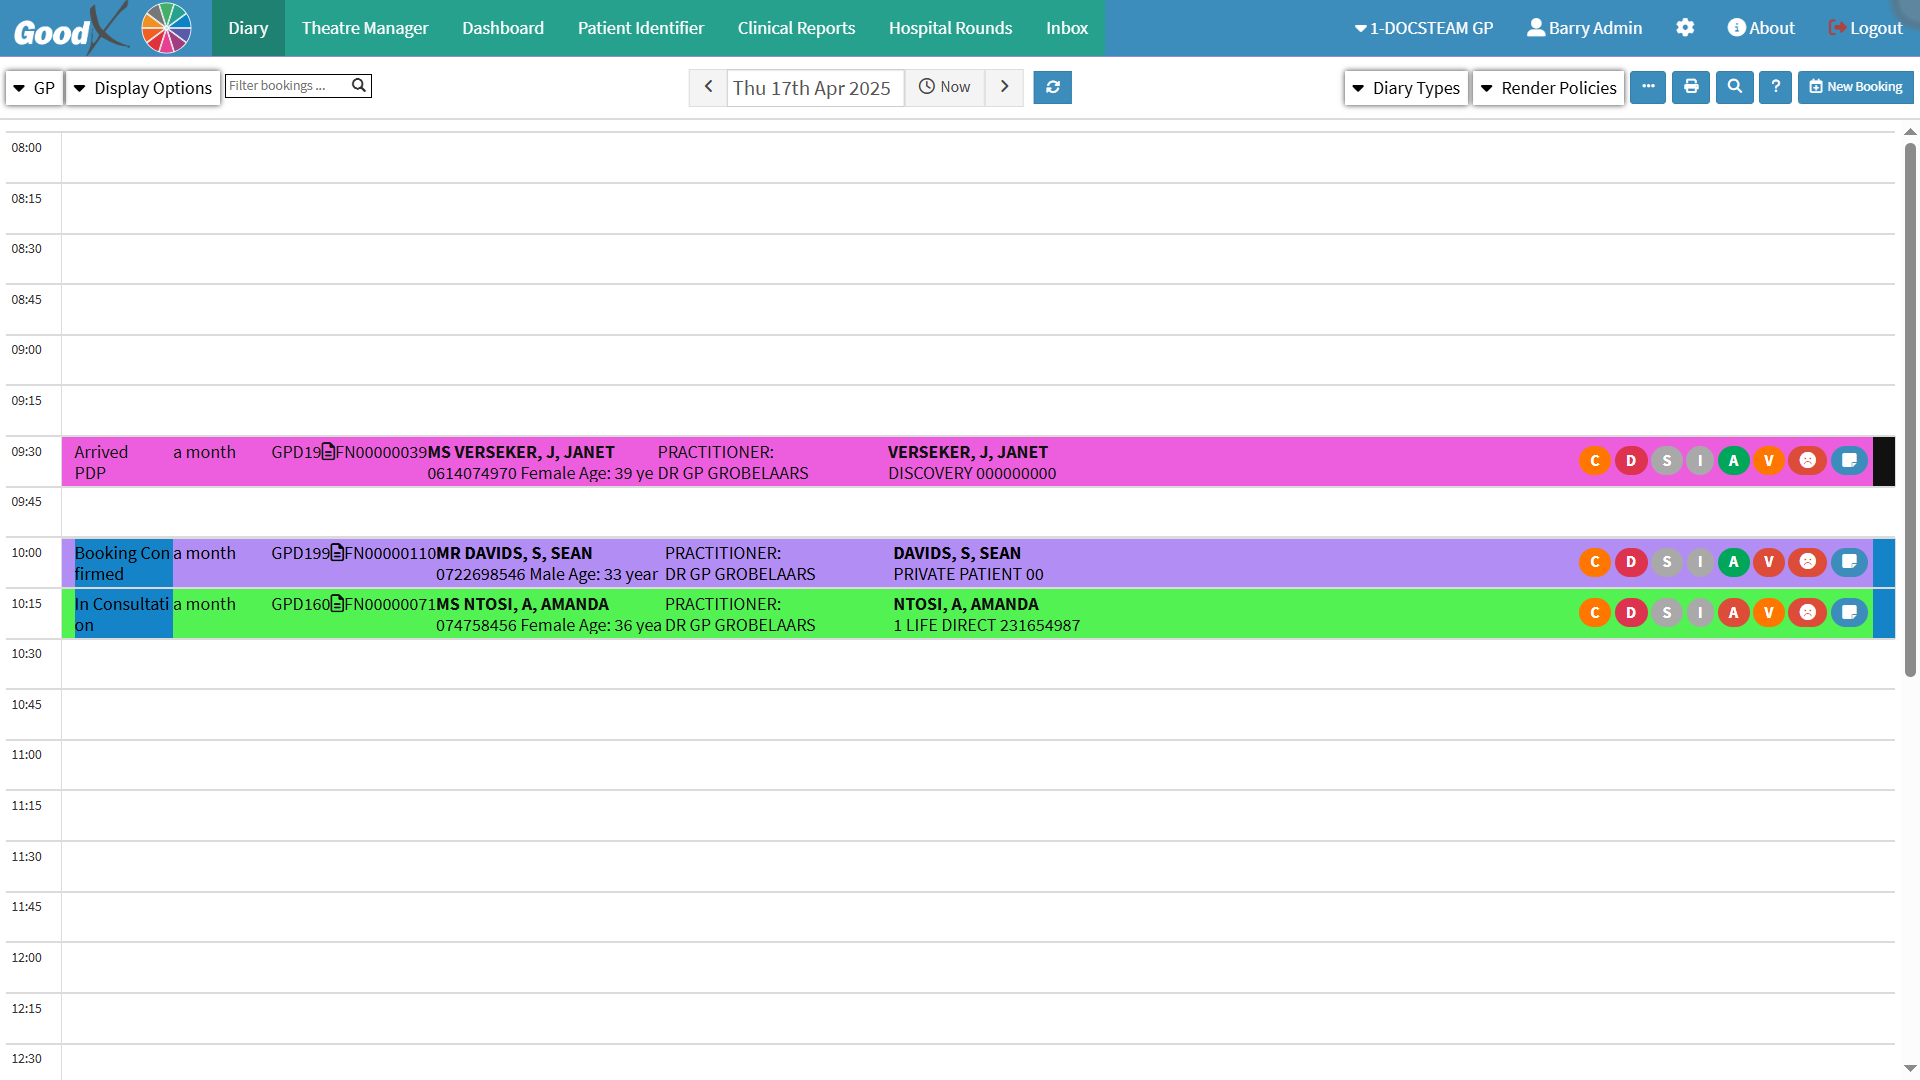
- Click on the New Booking button.
- The Add/Edit Booking screen will open.

Booking Details
The Booking Details section is designed to capture all essential information required to schedule and manage a patient’s appointment. By recording details such as the practitioner’s diary, booking type, appointment date, time, and duration, the practice ensures that the consultation is correctly allocated and efficiently managed. This section also supports accurate reporting, billing, and patient flow management, while reducing the risk of double-bookings or administrative errors.
- Click on the Dairy drop-down menu.

- The Dairy drop down menu will open.

- Select the Practitioner’s diary where the Booking must be scheduled.

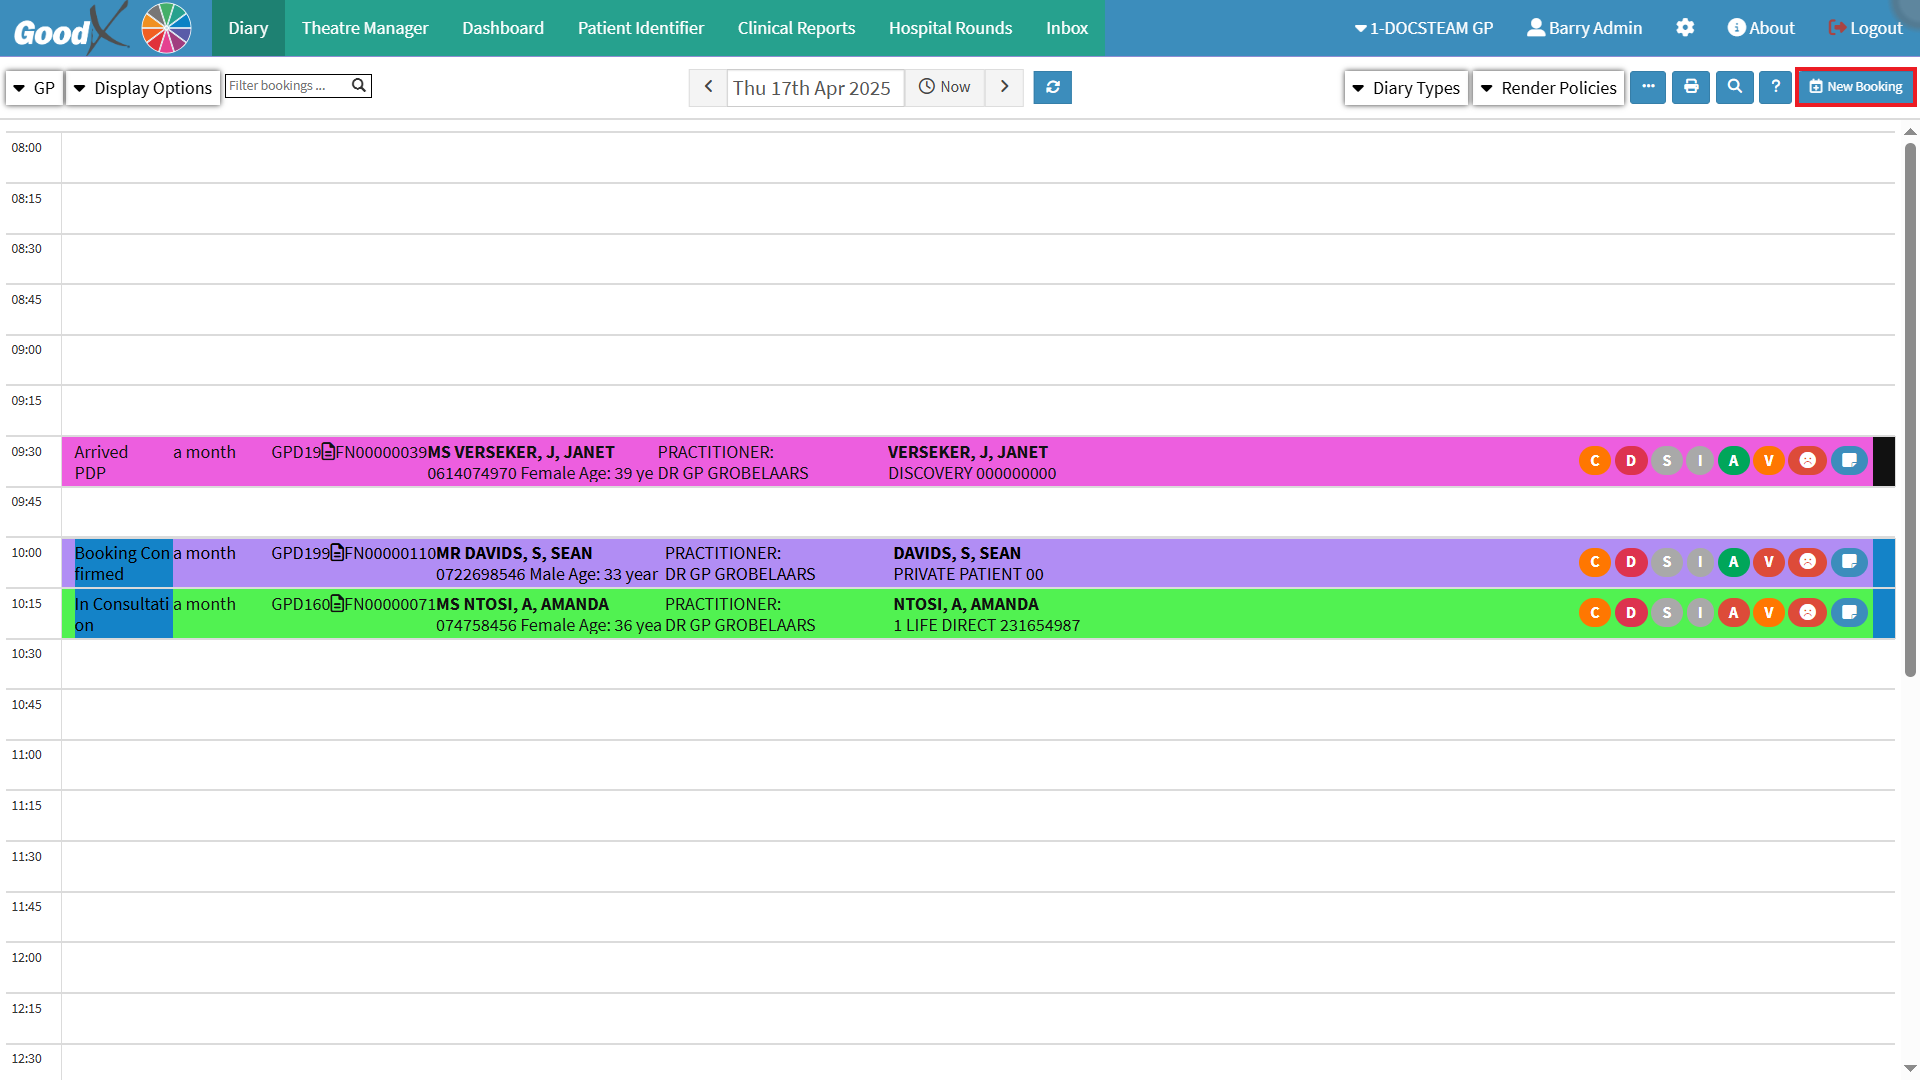
- Click on the Type drop-down menu.

- The Type drop-down menu will open.
- Select the Type of Booking.

- Click on the the Status drop-down menu.

- The Status Drop-down menu will open.
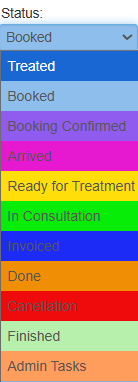
- Select the current Status of the Booking.

- Click on the Location drop-down menu.

- The Location drop-down menu will open.
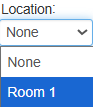
- Select the Physical Location if multiple rooms or sites are available.

- Click on the Date Picker.
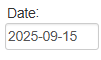
- The Date Picker tool will open.
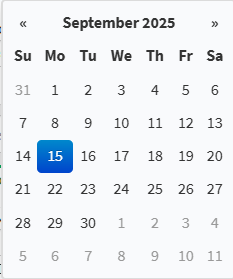
- Select the Date of the appointment.

- Click on the Time drop-down menu.

- The Time drop-down menu will open.

- Select the Time of the appointment.