Advancing the Status of a Booking
Why Use This Function:
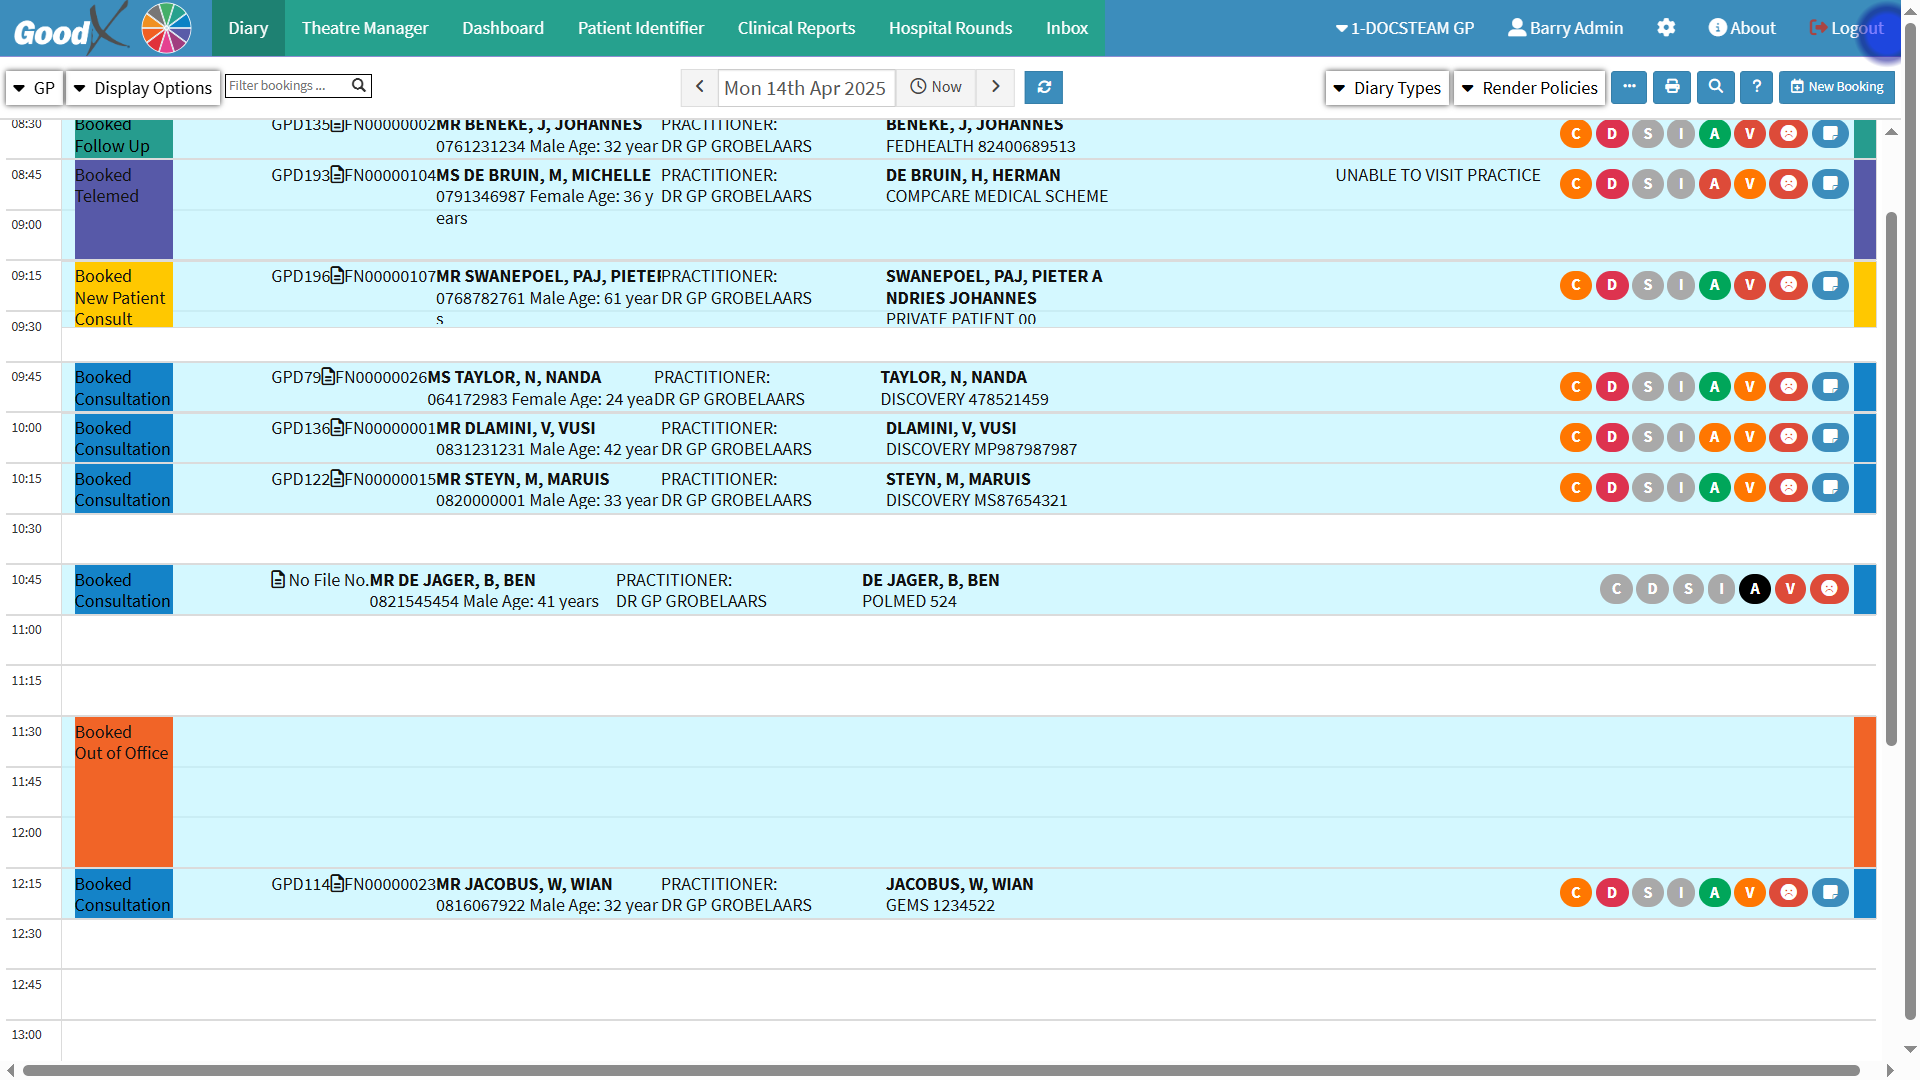
Updating the status of a booking plays a crucial role in managing the patient journey effectively. Each status represents a distinct stage in the workflow, helping to track progress and ensure timely action. By viewing and adjusting the status, you gain real-time visibility into the patient's current position within the booking process. This not only enhances clarity for staff but also streamlines communication and coordination across teams. Keeping statuses up to date enables you to identify the next appropriate steps with ease, ensuring a smooth and organized experience for both patients and healthcare providers.- This user manual will start on the Dairy screen.

- Click on the booking you wish to advance the status of.

- The Diary sidebar will open.

- For more Information on the Dairy sidebar, please refer to the user manual: Dairy Sidebar: Navigation and Use.
- Click on the Advance button to change the status of the booking.

💡 Please Note: The Status and colour will change every time you Click on the Advance Status button.
- Statuses are dependent on the preferred setup of the Practice. For the purpose of this user manual, the status changes will be displayed as follows:
- Booked to Arrived.

- Arrived to In Consultation.

- In Consultation to Treated.

💡Please Note: The Booking Statuses and corresponding colours can differ between Practices. The order in which the Booking Statuses are set up also plays an important role. Fore more information, please refer to user manual: Booking Status Set Up.
- Booking Statuses can be linked to automatically open the Invoice screen for more efficient billing.

💡Please Note: For more information on the Invoice screen, please refer to the manual: Invoice Screen Navigation and Use.

Last modified: Wednesday, 7 May 2025, 3:44 PM