Reports Segment
Why Use This Function:
The Reports Segment provides the Practice instant access to the financial, administrative, and clinical data needed for daily operations. Staff can track Patient and Debtor activity, monitor outstanding accounts, review billing history, and analyse trends that affect financial stability. By consolidating multiple report types such as Debtor Drilldowns, Age Analyses, Referral Lists, and Audit Logs, the Reports segment helps identify risks, keep ahead of Payment Plan management, improve cash flow, and maintain compliance with internal policies and healthcare regulations. This centralised reporting function strengthens decision-making, enhances accountability, and streamlines administrative work, enabling the Practice to operate more efficiently every day.
💡Please Note: The Reports Segment forms part of the Navigation Wheel, with this as the default set-up of the Segment. The Navigation Bar items can be customised to the needs and preferences of the Practice. For more information regarding the functionality of the Navigation Wheel, refer to the user manual: Navigation Wheel. For more information regarding the customisation of the Segment, please refer to the user manuals: General Settings and Navigation (Wheel) Settings.
The Contents of This User Manual:
- Reports
- Dashboard
- CRM
- Invoice Management
- Admin Event History
- Switch History
- Credit Control Management
- Audit Log
- Clinical Reports
- Payment Plan Management
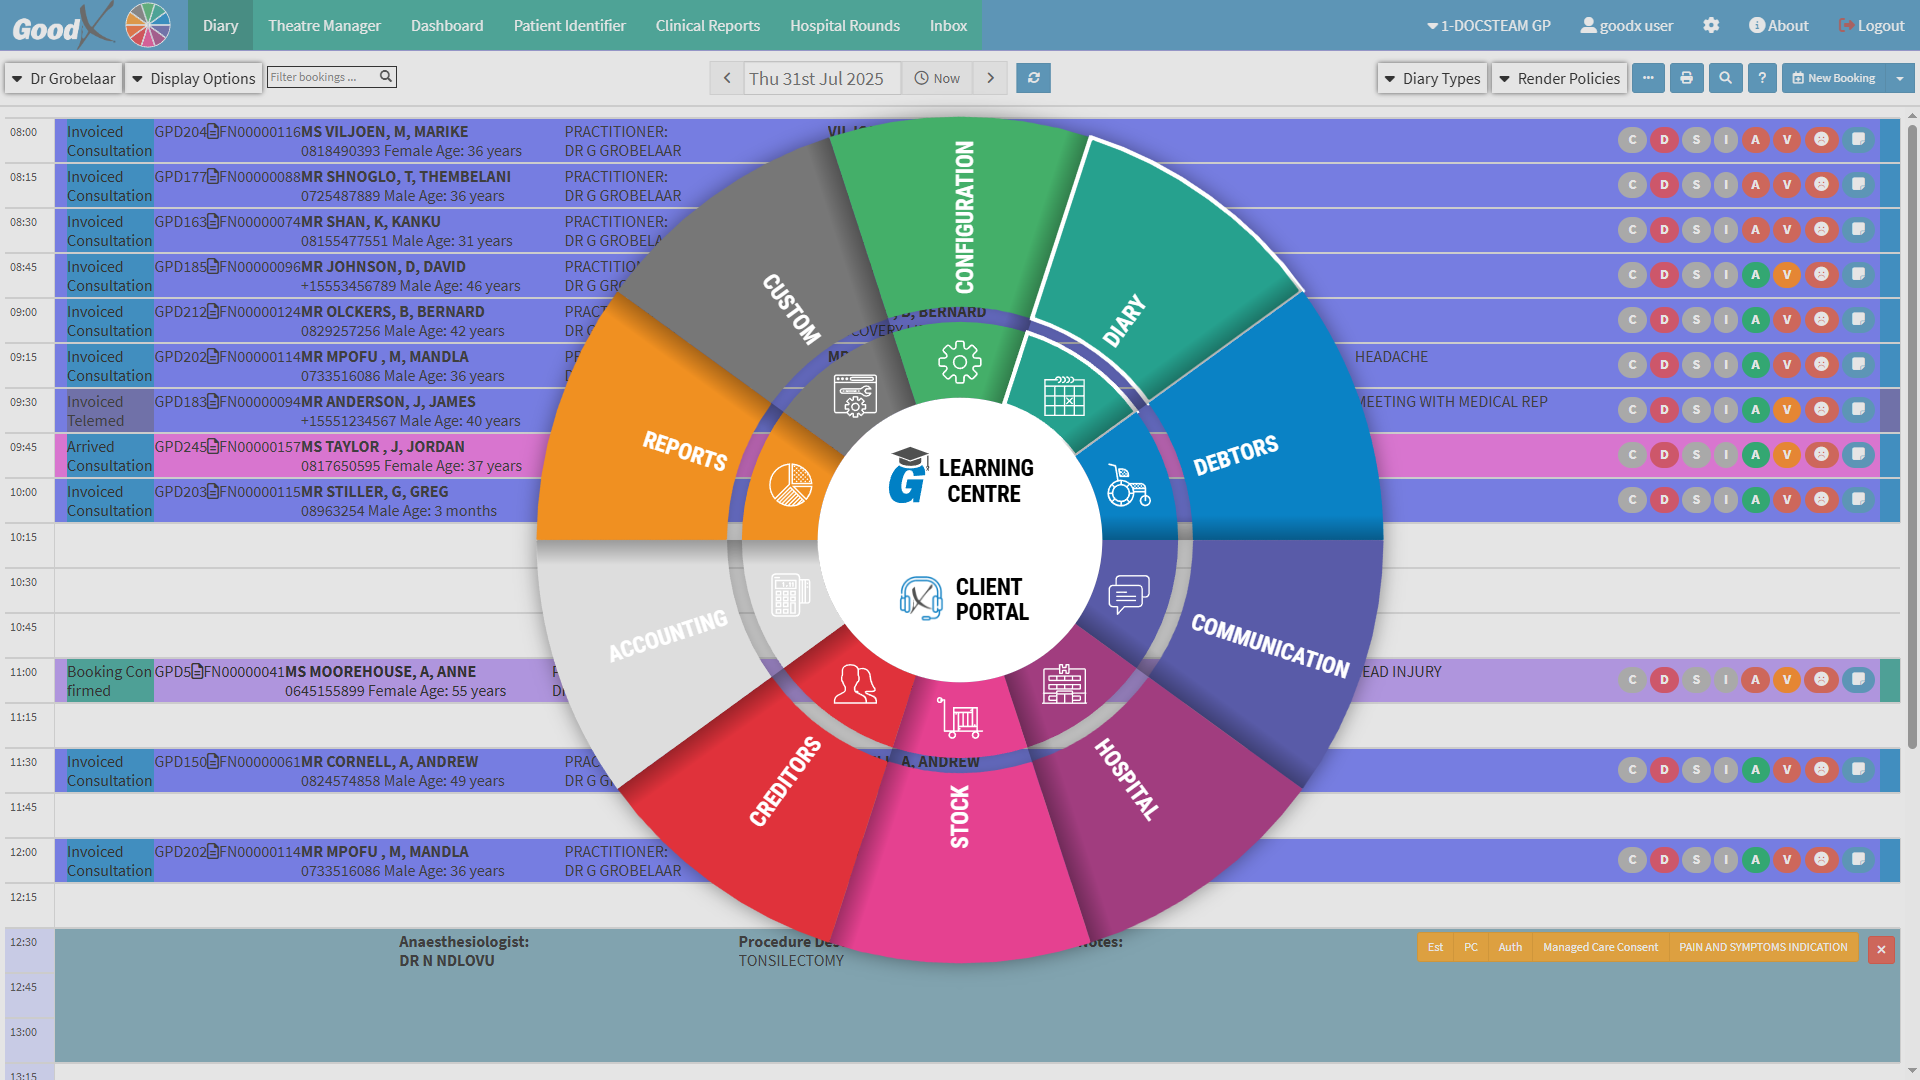
- This user manual will start on the Diary screen.
- Click on the Navigation Wheel.

- The Navigation Wheel will expand.

- Click on the Reports segment.

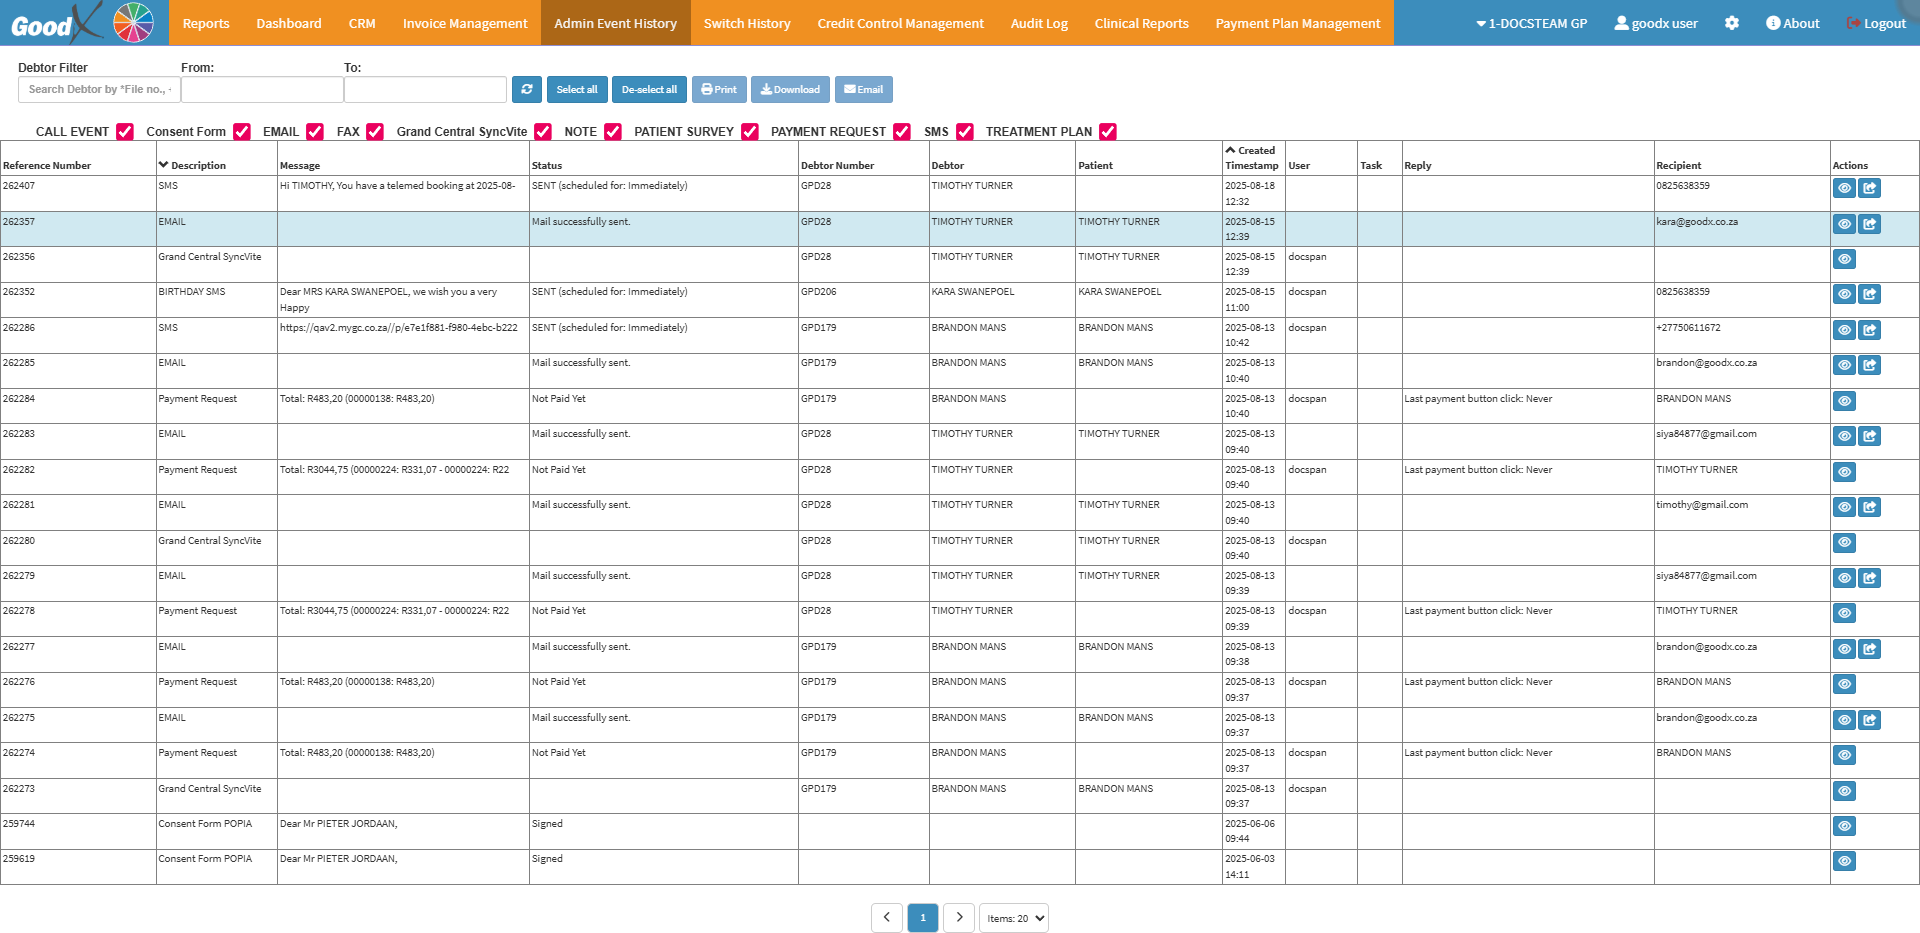
- The Reports screen will open.
- An explanation will be given for each tab on the Navigation bar:
Reports
The Report screen provides an overview of all generated Reports, where you can Create New Reports, View, and apply Filters to the existing Reports. The Reports displayed on this screen include the Age Analysis Report, Debtor Drilldown Report, and Debtor Statistics Report.
- For more information regarding the Reports screen, please refer to the user manual: Navigating and Understanding the Report Screen.
Dashboard
The Dashboard screen provides quick, centralised access to the Reports that have been selected in the User Settings Reports panel. The Dashboard is designed to give Practitioners and Admin Staff insight into critical operational and financial metrics, without having to navigate through multiple menus or generate reports manually. By displaying only the relevant Reports, the Dashboard ensures that Admin Staff and Practitioners only see the data that matters most to their role, whether it's turnover, booking trends, or clinical case summaries. This focused access improves decision-making, streamlines workflows, and enhances productivity across the Practice.
- For more information regarding the Dashboard screen, please refer to the user manual: The Dashboard Screen: Navigation and Use.
CRM
The CRM serves as a central communication tool that allows you to manage and maintain relationships with your Debtors and Patients. It enables the Practice to filter Debtors by various criteria, such as age, gender, and outstanding amounts, and then send personalised bulk SMSes or emails. This is essential for efficiently managing reminders, Follow-ups, Recalls, and other Patient engagement initiatives. A well-maintained CRM ensures improved communication, reduces missed appointments, supports faster payments, and ultimately enhances the overall Patient experience. By automating these outreach tasks, you save time, reduce manual errors, and strengthen your connection with the people you serve.
- For more information regarding the CRM screen, please refer to the user manual: Customer Relations Manager (CRM) Screen: Navigation and Use.
Invoice Management
Invoice Management allows you to generate a Report based on the Invoices that have been created in the system. This includes posted temporary and estimated invoices. You are also able to send bulk SMS's, Emails, and Payment links directly from the Invoice Management screen.
- For more information regarding the Invoice Management screen, please refer to the user manual: Invoice Management Tab: Navigation and Use.
Admin Event History
All SMS's and Emails that have been sent can be accessed from the Admin Event History screen. You will be able to view all communication that has been sent to a Debtor or Patient, like Booking Reminders, Payment Requests, Patient Surveys, Clinical Documents, etc. You will be able to see if the communication that was sent went through successfully and resend already sent communications.

- For more information regarding the Admin Event History screen, please refer to the user manual: SMS/Email/Notebook History: Admin Event History.
Switch History
All the information about when the claim of the Patient's visit was Switched and sent to the Medical Aid, the response to the claim, rejections and reversals.
- For more information regarding the Switch History screen, please refer to the user manual: WA: EDI Switch History.
Credit Control Management
Assists the Practice in managing the business processes within the Practice that are associated with the collection of outstanding debt from Medical Aids and/or Patients. The function will be used for assisting in Credit Control/Debt collection, SMS, and Emails, and the Cycle steps are pre-defined. The CCA keeps all communication in connection with the account of the Patient between the Patient/Medical Aid and the Practice.

- For more information regarding the Credit Control Management screen, please refer to the user manual: Credit Control Assistant (Automated Credit Control) Setup.
Audit Log
An event register for all transactions and what actions performed on a specific transaction. GoodX can investigate why triggers did not take place, maybe due to a Setup issue. An Audit Log gives information about when actions were triggered in the software and the details of who performed the actions.
- For more information regarding the Audit Log screen, please refer to the user manual: Audit Log.
Clinical Reports
The Clinical Report Interface is essential in enhancing the management of medical information within the Practice. By consolidating access to Pathology Reports, Chronic Script Expiry alerts, and other vital features into a single, centralised screen, it reduces the need to switch between multiple sections, allowing for quicker decision-making and a smoother workflow. With sub-tabs such as Clinical Review, Pathology Report, Chronic Script Expiry, and Smart Sticker, it ensures that everything you need is accessible in one place. This streamlines follow-up processes, boosts communication, and ensures that the Practitioner can provide timely and accurate care to Patients, improving overall efficiency and Patient outcomes.
- For more information regarding the Clinical Reports screen, please refer to the user manual: Clinical Reports: Navigation and Use.
Payment Plan Management
The Payment Plan Management screen enables a Practice to create, manage, and track Patient Payment Plans from the initial setup to completion. It streamlines billing by capturing all essential details for primary and instalment payments, managing plan statuses with built-in rules, and recording practitioner and service centre information for clear accountability. Automated calculations, field validations, and confirmation dialogues help prevent errors and maintain accurate, auditable financial records. By using this screen, Practices can save time, ensure compliance, improve payment tracking, and deliver a smoother financial experience for Patients.💡Please Note: For the Payment Plan Management tab to display, both the system setup and Episode Management must first be completed. For more information on Episode Management, please refer to the user manual: Debtors.
- For more information regarding the Payment Plan Management screen, please refer to the user manual: Payment Plan Management Tab: Navigation and Use.