How to Add/Upload Debtor & Patient Documents
Why Use This Function:
Uploading and Adding Debtor & Patient Documents is the process of digitally storing important records related to Debtors and Patients within the Practice’s system. This involves selecting and uploading files such as Medical Aid cards, Identification Documents, signed Terms and Conditions, and Consent forms to the corresponding Debtor or Patient profile. By doing so, the Practice ensures that all critical documentation is securely stored, easily accessible, and organised for efficient record-keeping and compliance with legal or administrative requirements.
- This user manual will start on the Uploaded Documents screen.
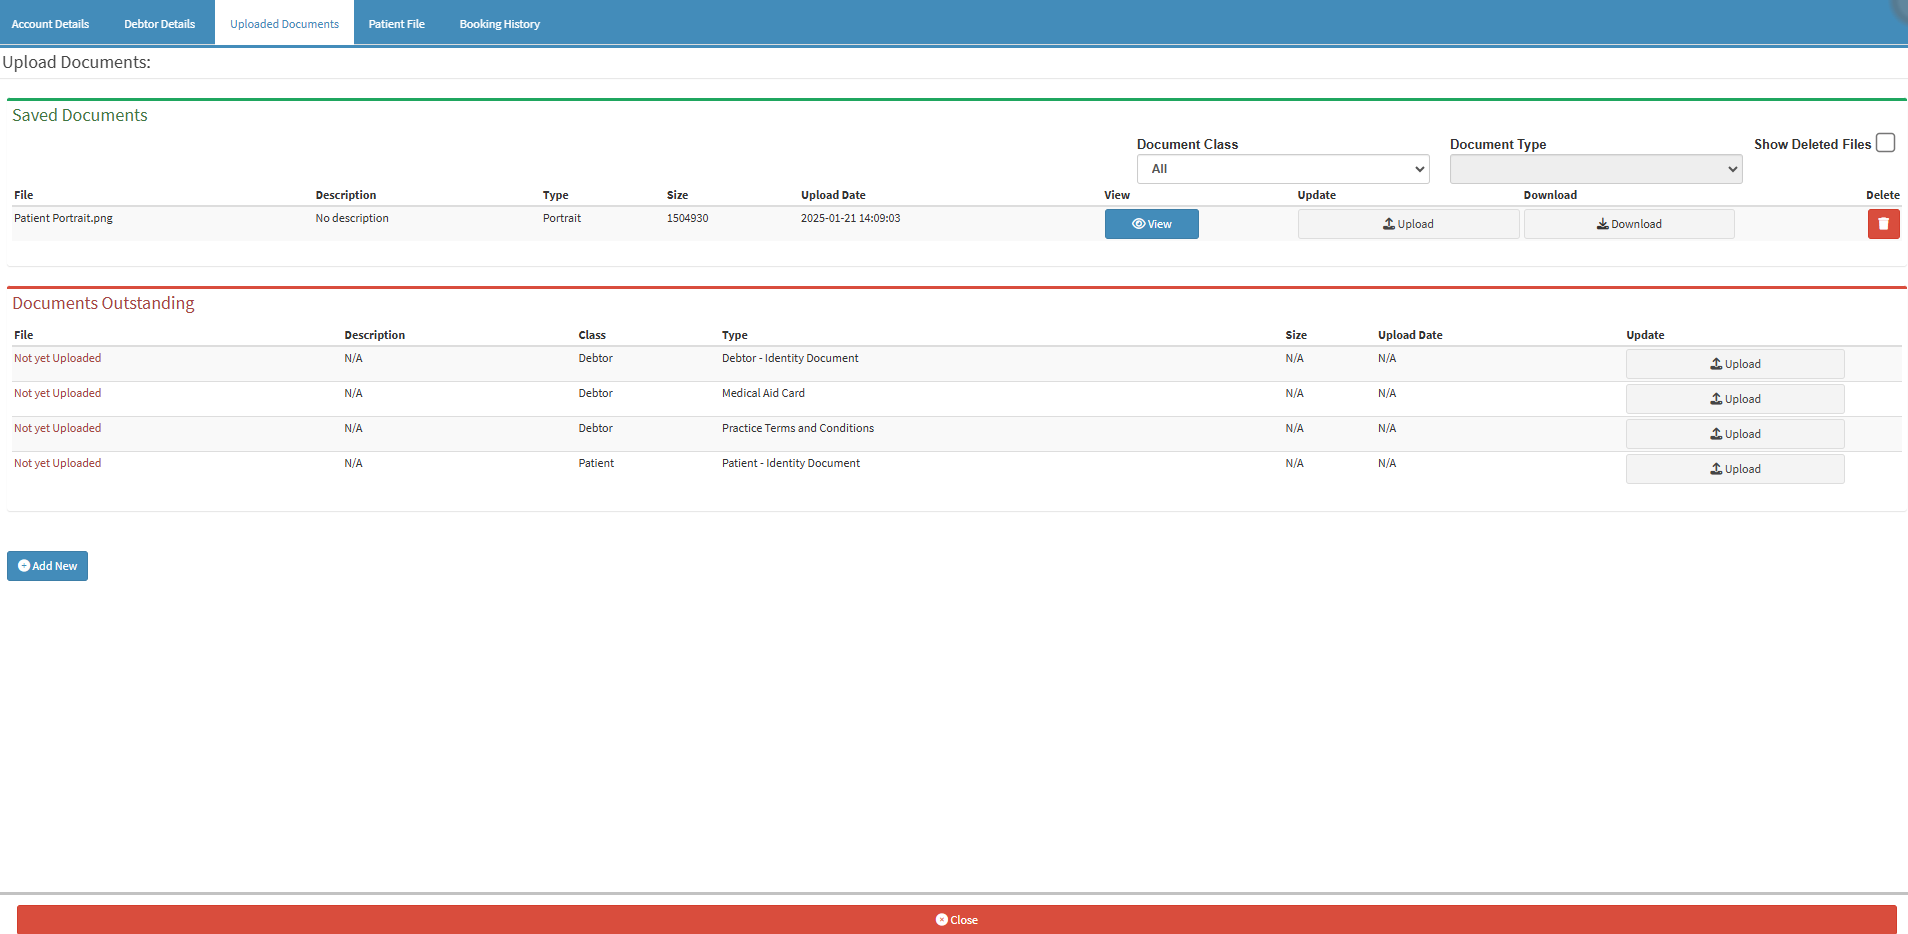
- For a comprehensive explanation of how to get to the Uploaded Documents screen, please refer to the user manual: Debtor Documents: Navigation and Use.
- Click on the Add New button to upload a New Document/File.
![]()
- The Document Upload screen will open.
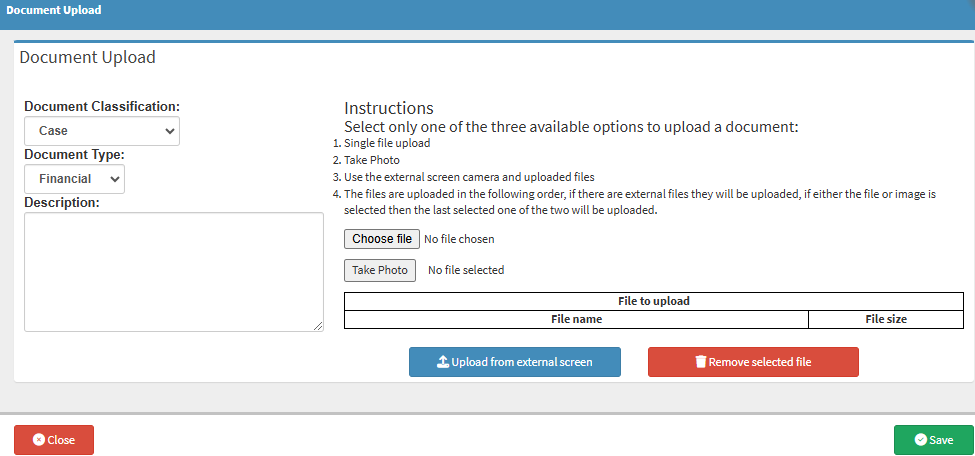
- Click on the Document Classification drop-down menu to select the relevant classification for the document being uploaded.
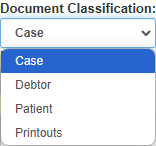
- Case: Documents related to a specific Clinical case.
- Debtor: Documents related to the Debtor will be uploaded and allocated directly to the Debtor's file.
- Patient: Documents directly related to the Patient, for example, their ID.
- Printouts: Documents from other Practitioners such as referrals or blood tests.
💡Please Note: In order for Estimates to be automatically uploaded as Printouts, they will first need to be downloaded. For more information, please refer to the user manual: Account Details: Navigating the Estimate Invoices Tab.
- Click on the Document Type drop-down menu to select the relevant Document Type for the document being uploaded.

💡Please Note: The Document Types that are displayed here are dependent on the setup that was done. For more information regarding the setup, please refer to the user manual: Document Settings.
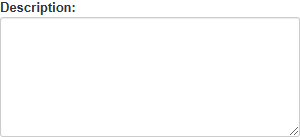
- Click on the Description field to enter and type the necessary description for the document that is being uploaded.
Instructions
The instructions will explain how to upload a file or image.

- Click on the Choose File button to upload a file from your device. You can then locate and open the desired file on the Document Upload screen.
![]()
- Click on the Take Photo button.
![]()
- The Video Capture screen will open.

- For a comprehensive explanation of the Video Capture screen, please refer to the user manual: Video Capture Screen: Navigation and Use.
- Click on the Save button.
- The file or photo will be uploaded.

💡Please Note: Only one image/document can be uploaded at a time.
- Click on the Upload From External Screen button.
![]()
- The Manage External Files screen will open.
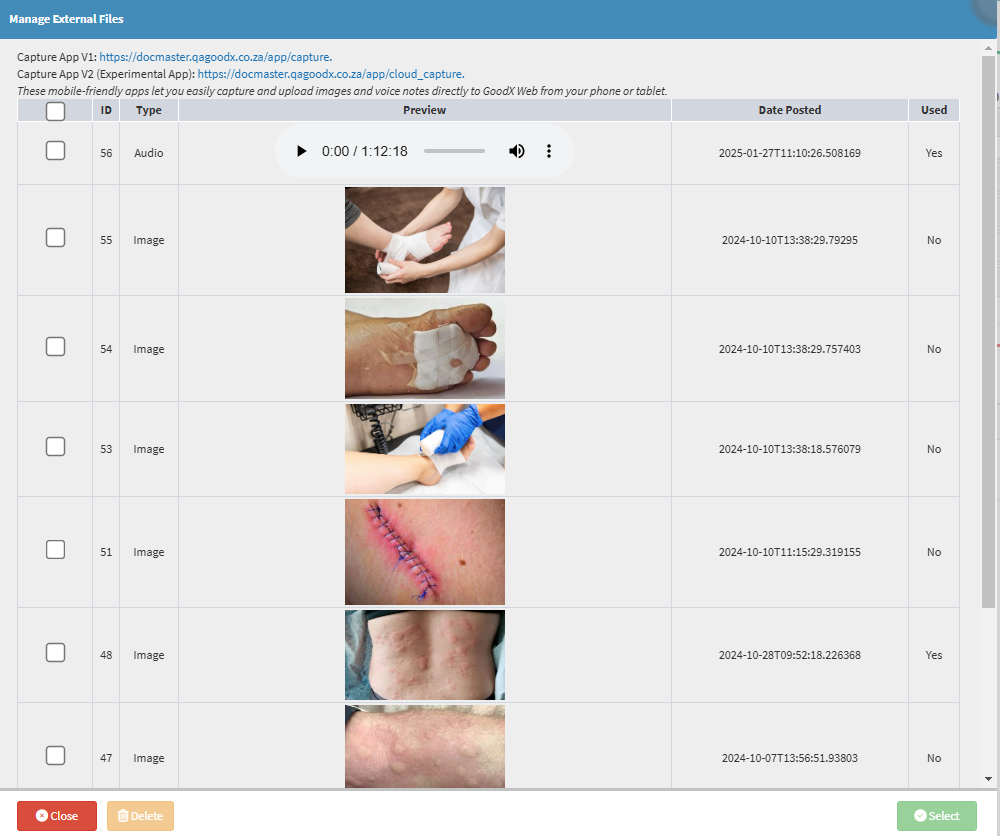
- For a comprehensive explanation of the Manage External Files screen, please refer to the user manual: How to Upload Images from the Capture App.
- Click on the Remove Selected File button to remove the uploaded file.
![]()
- Click on the Save button.
![]()