How to Book an Existing Patient
Why Use This Function:
Booking an appointment for an existing Patient on the Diary is straightforward and efficient. Since the Patient and Debtor information is already stored in the system, there’s no need to create a new file. You can quickly access the existing records, saving time and ensuring a seamless Booking process.- This user manual will start on the Diary screen.
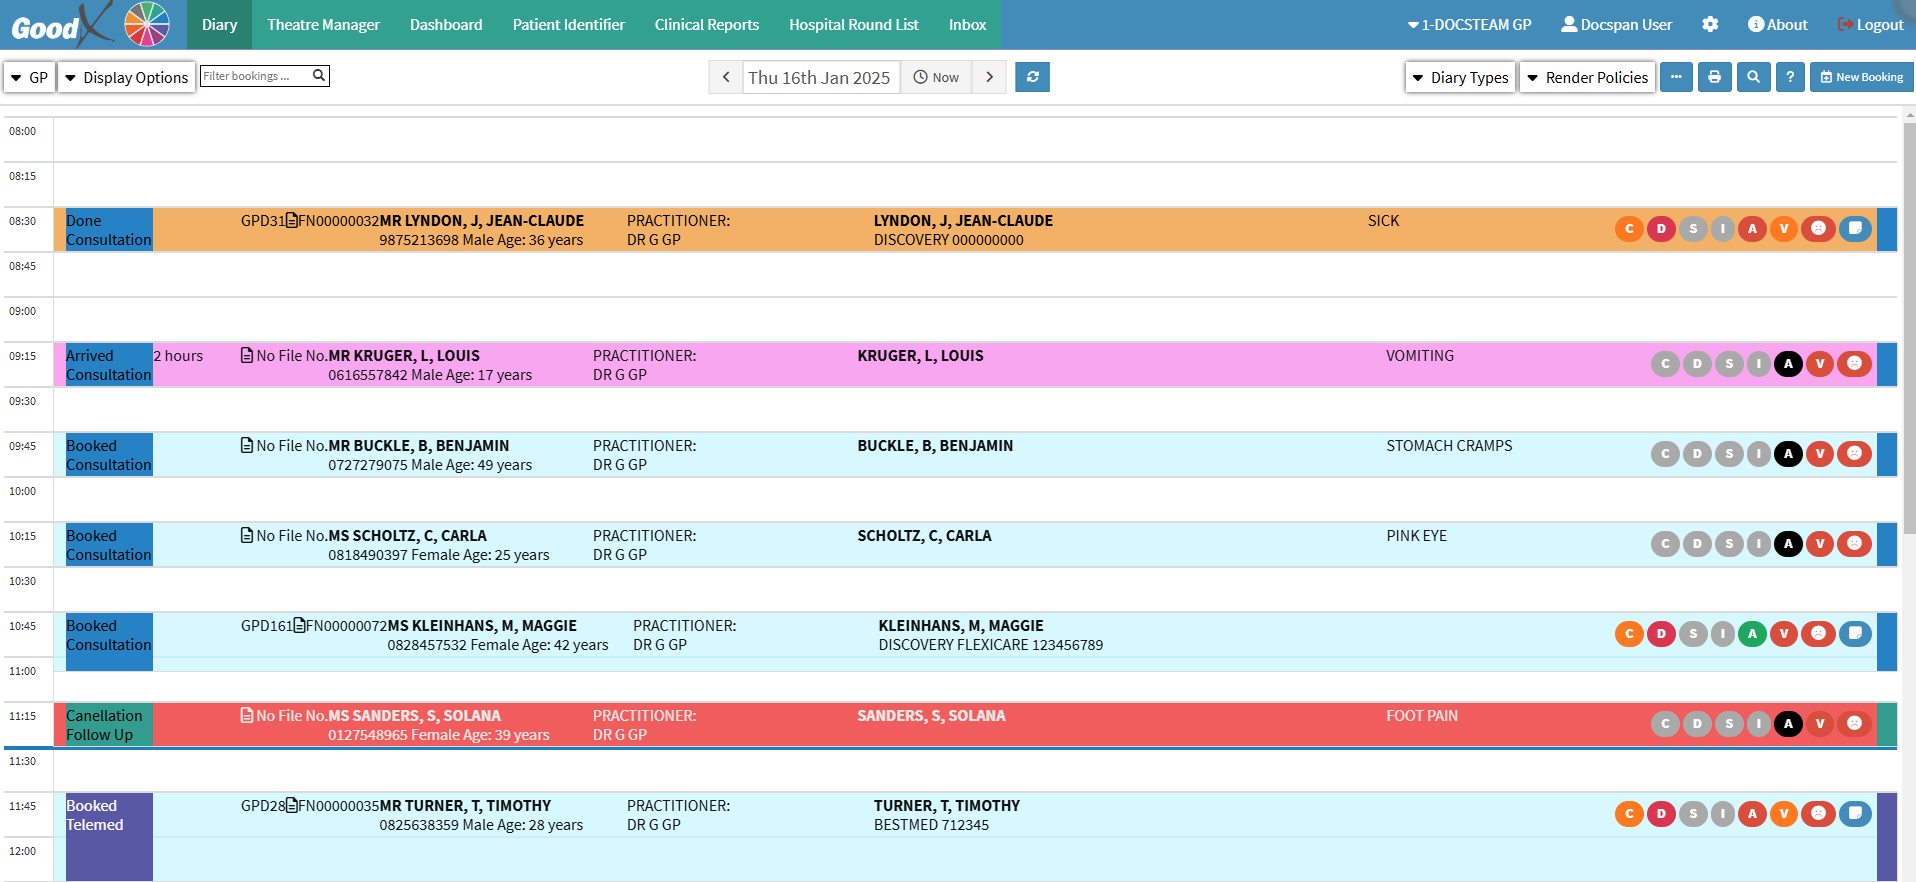
- Double-click on the time slot in which the Booking will be made.
- The Add/Edit Booking screen will open.

Booking Details
All the relevant details regarding the Booking.

- Click on the Diary drop-down menu to select the relevant Diary for the Booking from the options that have become available.

- Click on the Type drop-down menu to select the relevant Type of Booking from the options that have become available.
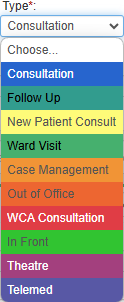
💡Please Note: The options available on the list are dependent on the initial setup at your Practice. For a detailed explanation of how to set up the Booking Type, please refer to the user manual: Booking Types.
- Click on the Status drop-down menu to select the relevant Status the Booking is in.
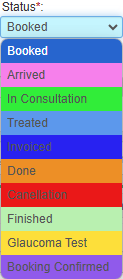
- For a detailed explanation of how to set up the Booking Status, please refer to the user manual: Booking Status Setup.
- Click on the Location drop-down menu to select the relevant location where the booking would occur.

- For a detailed explanation of how to set up the Booking Location, please refer to the user manual: Booking Location Setup.
- Click on the Date field to select the date from the Date Picker that becomes available.
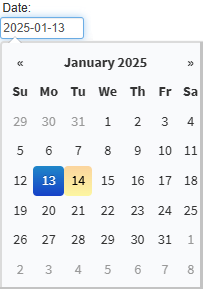
💡Please Note: The date will be automatically set on the date selected on the Diary screen.
- Click the Time field to choose the desired time window from the drop-down menu.

💡Please Note: The Time will be automatically set on the Time selected on the Diary screen.
- The Duration will be automatically filled in, as set up by your Practice.
![]()
- Click on the Duration drop-down menu to select an option to manually adjust the time.
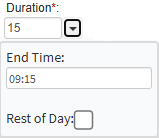
💡Please Note: When the End Time is changed or Rest of Day is selected, a warning message will appear as the default duration time was manually changed.

💡Please Note: The duration can be set up depending on the Practices' preferences. For a detailed explanation of how to set up the Booking duration, please refer to the user manual: Booking Type Setup.
- The Practitioner attending to the Patient is set by default, but can be changed manually by Clicking on Treating Practitioner and entering the Treating Practitioner's details.
![]()
- For a detailed explanation of how to add a Treating Practitioner, please refer to the user manual: Add a Treating Practitioner.
- Click on the Reason field to enter the reason for making the Booking.
![]()
- Click on the Referring Practitioner field to add the details of the Practitioner who referred the Patient to the Practice.

- For a detailed explanation of how to add a Referring Practitioner, please refer to the user manual: Add a Referring Practitioner.
- Click on the Service Center drop-down menu to select the relevant Service Centre.
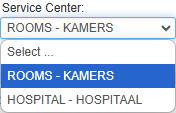
- For more information on how to choose your default Service Centres, please refer to the user manual: User Entity Settings: General Settings: Navigation and Use.
- Click on the Debtor drop-down menu to select between Debtor and Patient to search for the relevant Debtor/Patient name to make the Booking.

- Click on the Search field to enter the name of the Debtor/Patient you want to make the Booking for.
- Click on the desired Debtor/Patient name from the list that has become available.

- Alternatively, Click on the Ellipse (...) to open the Debtor List screen and select the desired Debtor or Patient from the list.
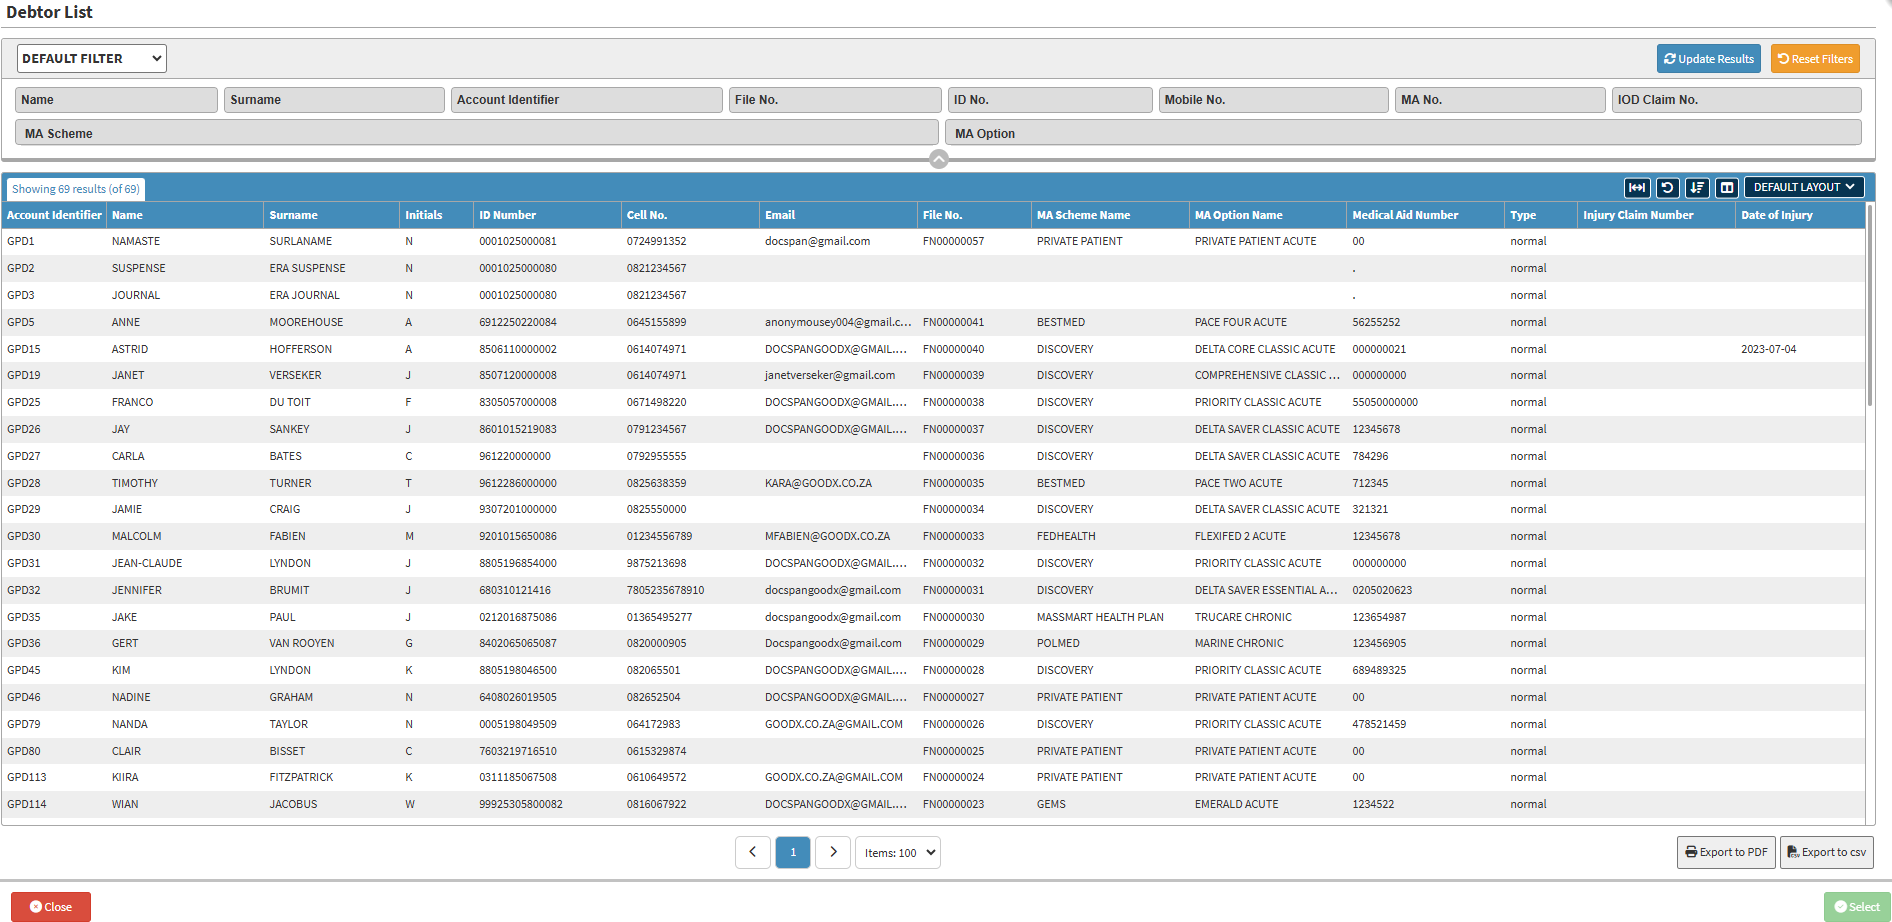
- For more information regarding the Debtor List screen, please refer to the user manual: Debtor List.
- The Debtor and Patient Details section will be completed automatically with all the Debtor and Patient's details, as they have already been loaded into the system.
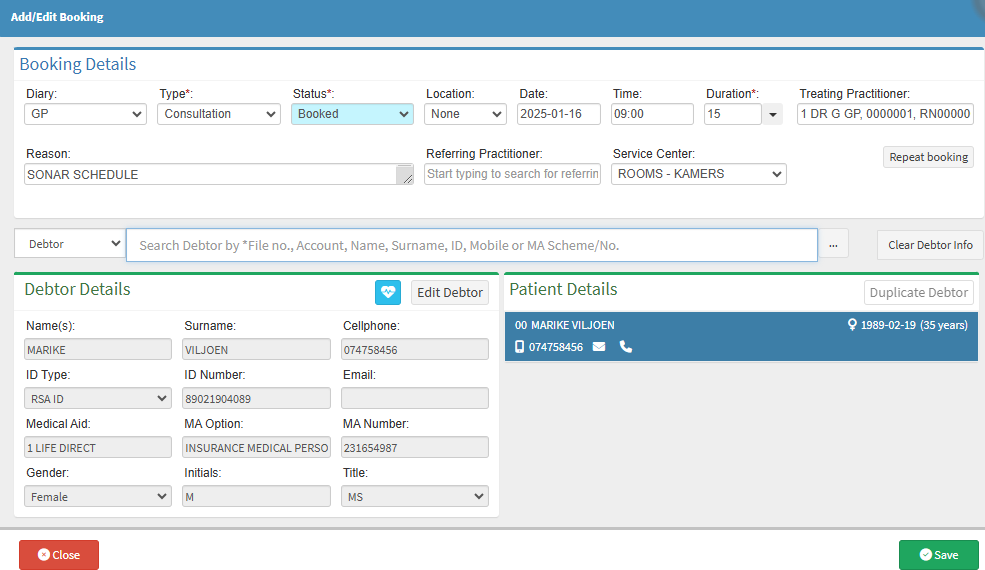
- Click on the Save button.
- The Booking will now display as a Booked Consultation in the Diary.