Debtor Edit - Add Related Party Screen: Navigation and Use
Completion requirements
Why Use This Function:
The Add Related Party screen provides an organised and structured way to manage all individuals connected to a Debtor, such as Dependants, Guardians, or Next of Kin. Accurate related party information ensures that communication, account management, and administrative actions are linked to the correct people. By using this screen, you can easily search for existing related parties, add new relationships, review important demographic details, and update links as needed. The layout and available tools help streamline data management, improve accuracy, and maintain clear records for every Debtor profile.
The Contents of This User Manual:
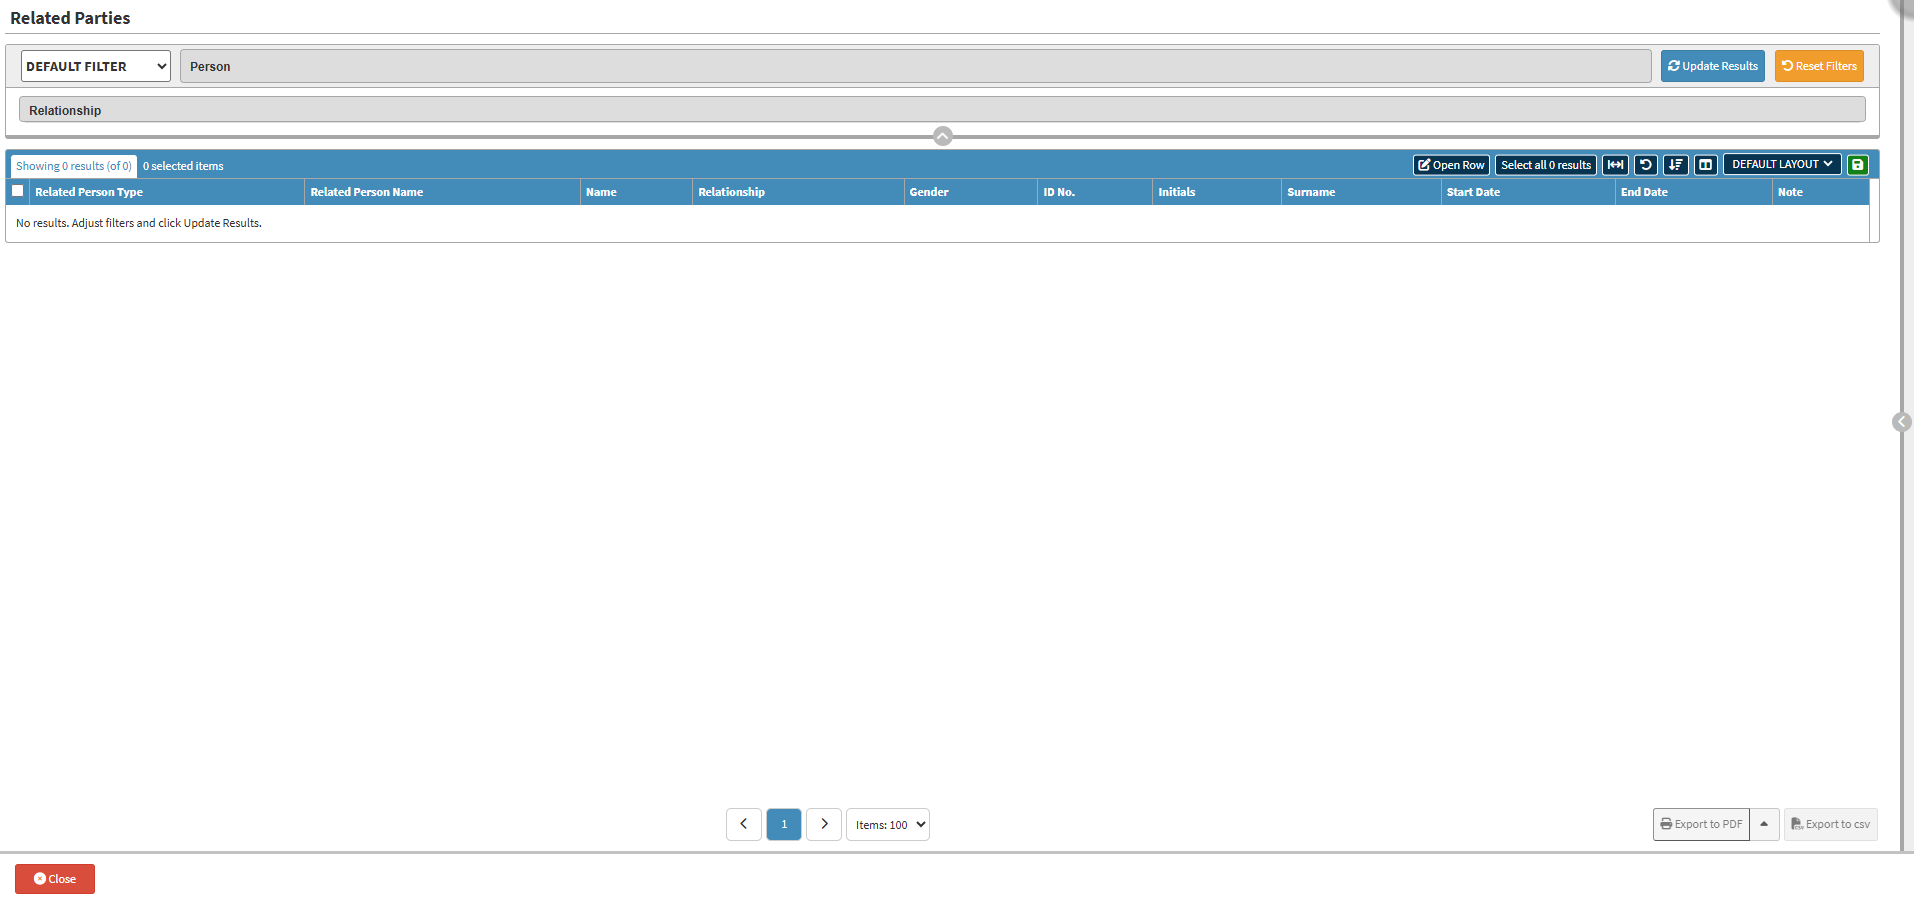
Filters
Screen Columns Action Buttons
Columns
Page Options
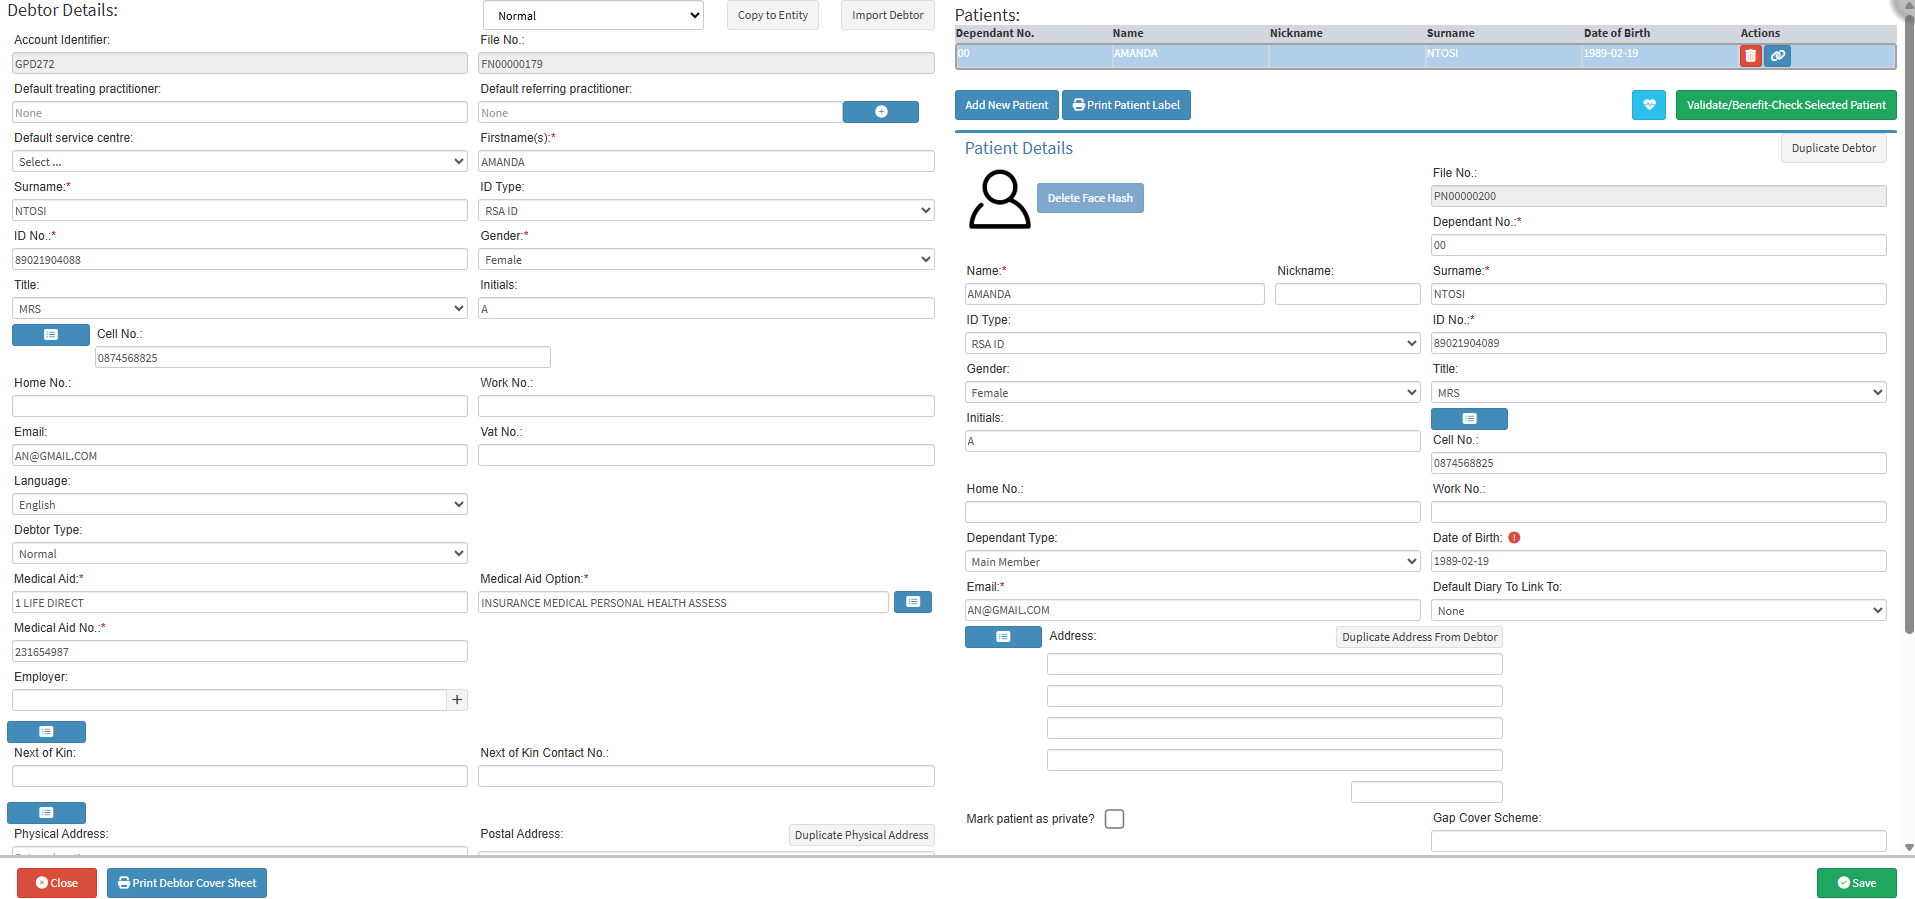
This user manual will start on the Debtor Details screen.
Filters are tools or functionalities that allow you to narrow down or refine the results displayed on the Related Party screen.
Click on the Default Filter drop-down menu to select the filter that will be used.
Click on the Person field to search for the related person you wish to add to your selected Debtor.
Click on the Relationship field to select the relationship the person has to the Debtor from the drop-down menu that becomes available.
Click on the Update Results button to refresh the Related Party List after the filters have been selected.
Click on the Reset Filters button to clear the filters that have been set.
Screen Columns Action Buttons
Several additional Options are available for the Columns. These additional Options are to help you adjust the Related Parties, refine the Search and give more specific results.
Click on the Open Row button.
?Please Note: If you have not selected a related party, the Open Row button will not be available.
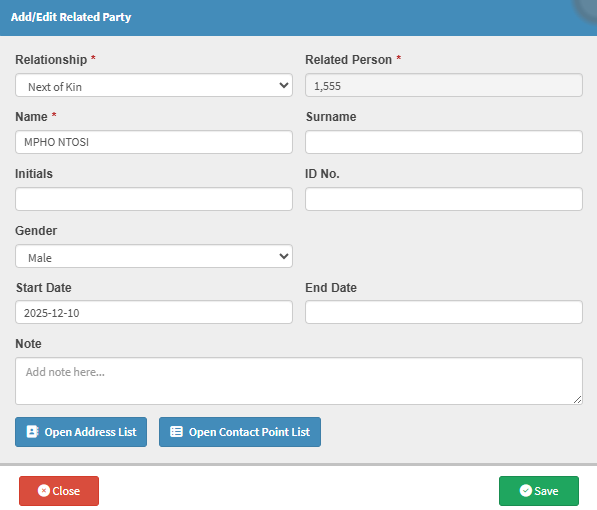
The Add/Edit Related Party screen will open.
For more information on the Add/Edit Related Party screen, please refer to the user manual: Add/Edit Related Party Screen.
Click on the Select All Results button to select all the results currently displayed on the list.
Click on the Expand Widths button to auto-fit the Column Width to the information within all columns.
Click on the Reset Widths button to restore the original Widths after any modifications were made.
Click on the Sort Columns button to sort the Columns in the order that you desire.
Click on the Default Layout drop-down menu to select the type of layout that will be used for the screen.
?Please Note: You are able to create and save personalised layouts by using the Save Layout feature. For more information on how to create your own customised layouts, please refer to the user manual: How to Save Column Layouts on List Screens.
Columns
All the information on the Add Related Party screen is divided into Columns to logically group related information together.
Related Person Type: Indicates the category of the related person, such as Debtor, Dependant, or Next of Kin.
Related Person Name: The name of the person linked to the Patient or Debtor account.
Name: The full first name(s) of the related person.
Relationship: Describes how the related person is connected, for example, Child or Guardian.
Gender: The gender of the related person.
ID No.: The identity number assigned to the related person.
Initials: The initials of the related person’s first and middle names.
Surname: The related person’s family name.
Start Date: The date when the relationship link became active.
End Date: The date when the relationship link ended, if applicable.
Note: Additional information or comments were captured about the related person.
Page Options
All the additional options that are available for the page.
Click on the Previous button to navigate to the previous page.
Click on the Page Number button to navigate to the desired page.
Click on the Next button to navigate to the next page.
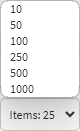
Click on the Items drop-down menu to select the number of items that will be displayed on the screen.
Click on the Export to PDF button to save a PDF file of all the data as a comprehensive report.
Click on the Export to PDF drop-up menu to access the Export Consolidated PDF option that allows you to generate a single document that combines all the data from multiple sources to provide an overview.
Click on the Export to CSV button to save the Report in a CSV format.