Text size
Line height
Text spacing
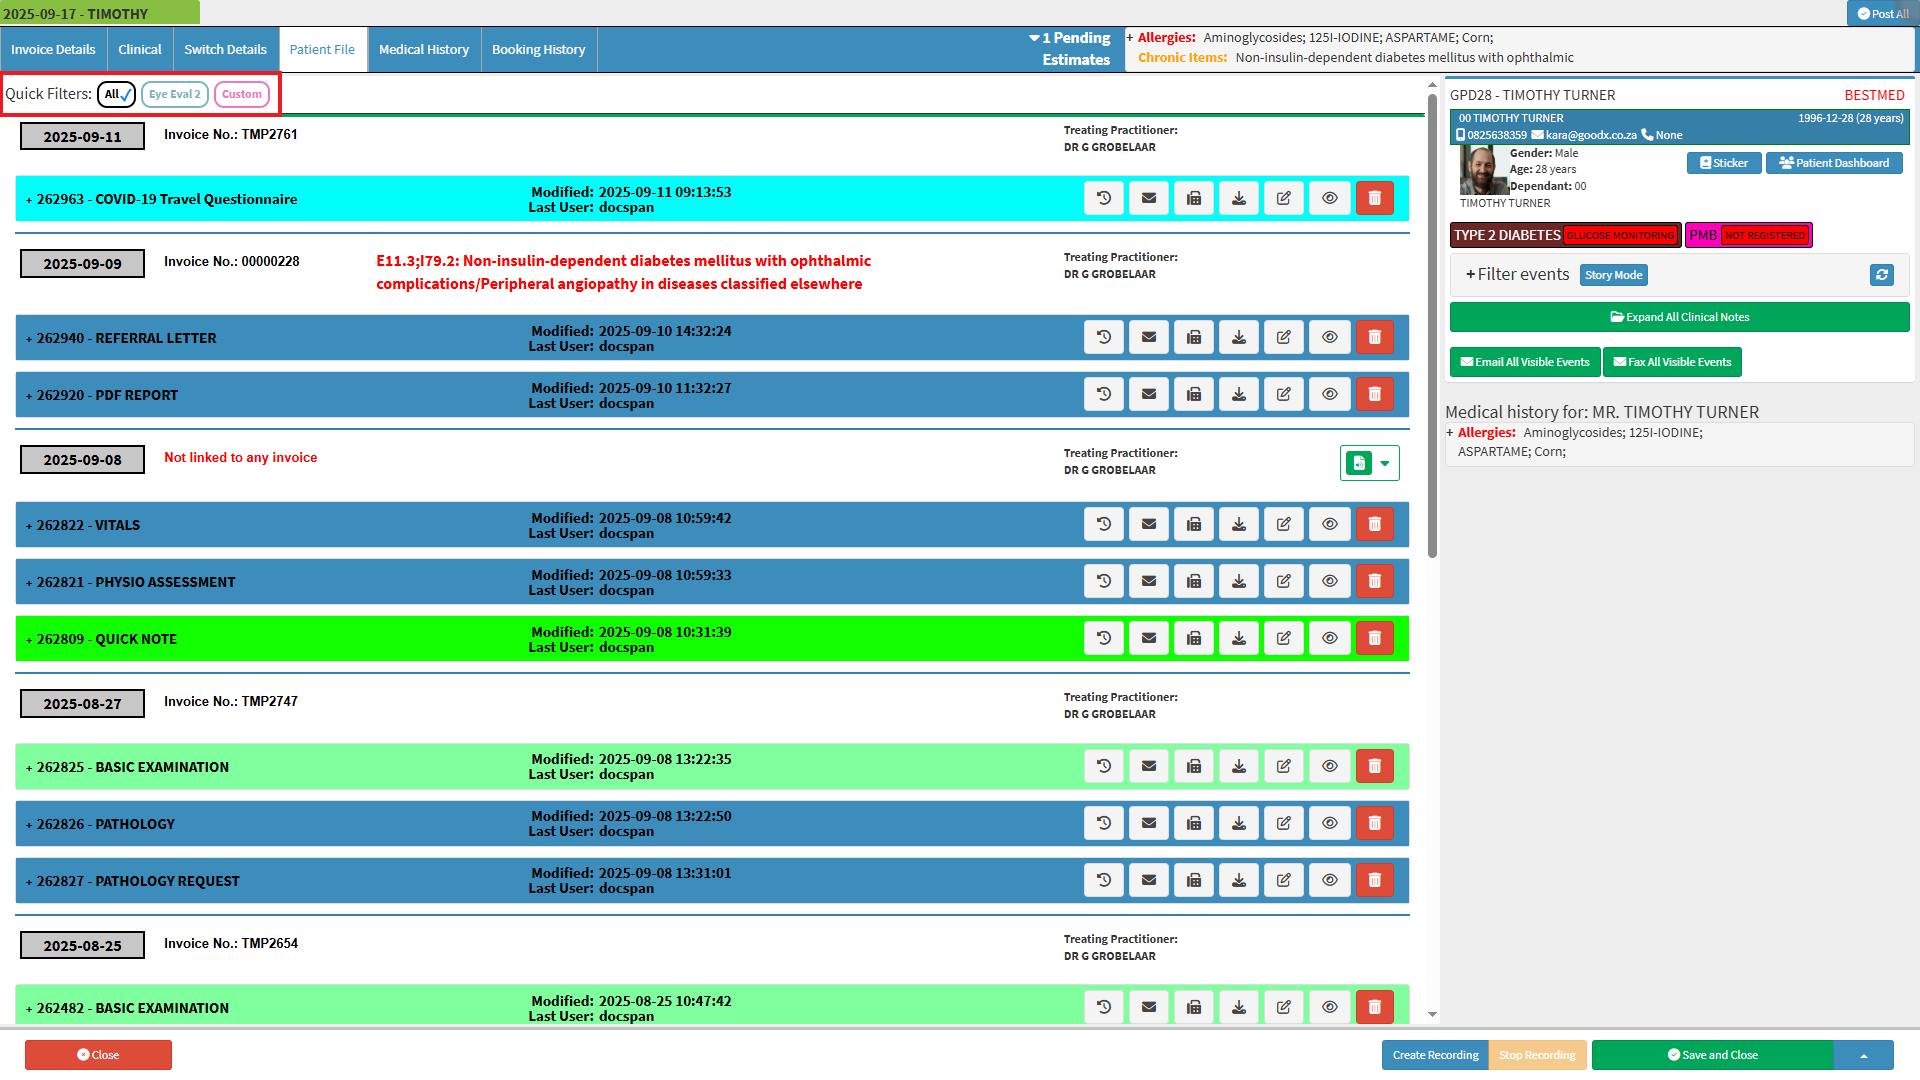
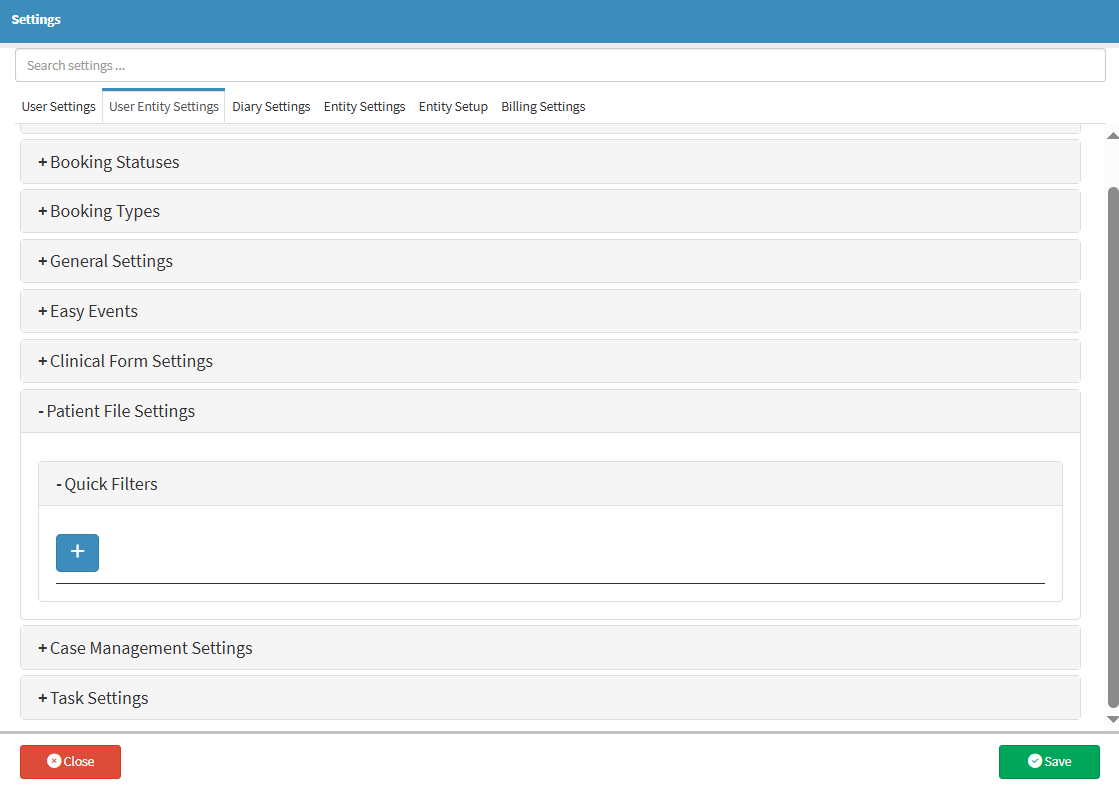
Patient File Settings allow you to manage how clinical events are displayed and accessed within the system. By setting up Quick Filters, the Practice can easily narrow down and organise Patient clinical records based on specific criteria.
This helps improve efficiency when reviewing a Patient’s clinical history, reduces the time spent searching for information, and supports consistent workflows across the Practice. It ensures that information is easy to find, enhances clinical decision-making, and helps maintain smooth and efficient administration within the Practice.


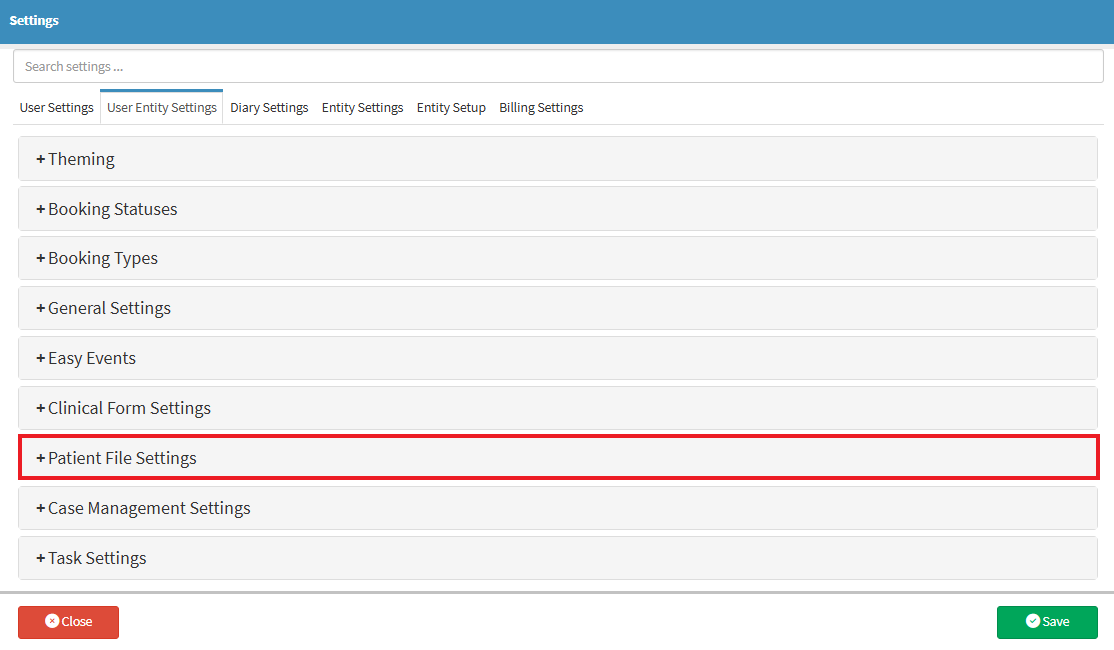
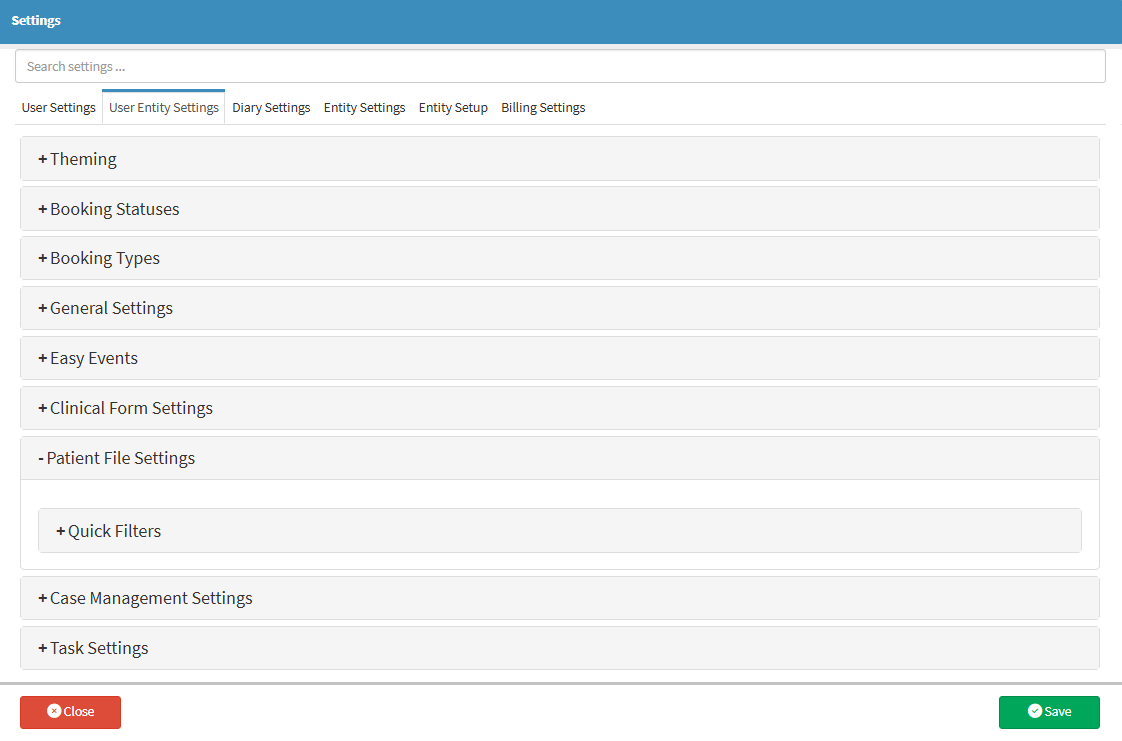
The Patient File Settings tab enables the customisation of how Patient information is presented and accessed within the system. It includes features such as Quick Filters, which enhance navigation and simplify the viewing and management of clinical events within a Patient’s file. By tailoring these settings, Practices can create more efficient workflows that align with their specific operational needs.
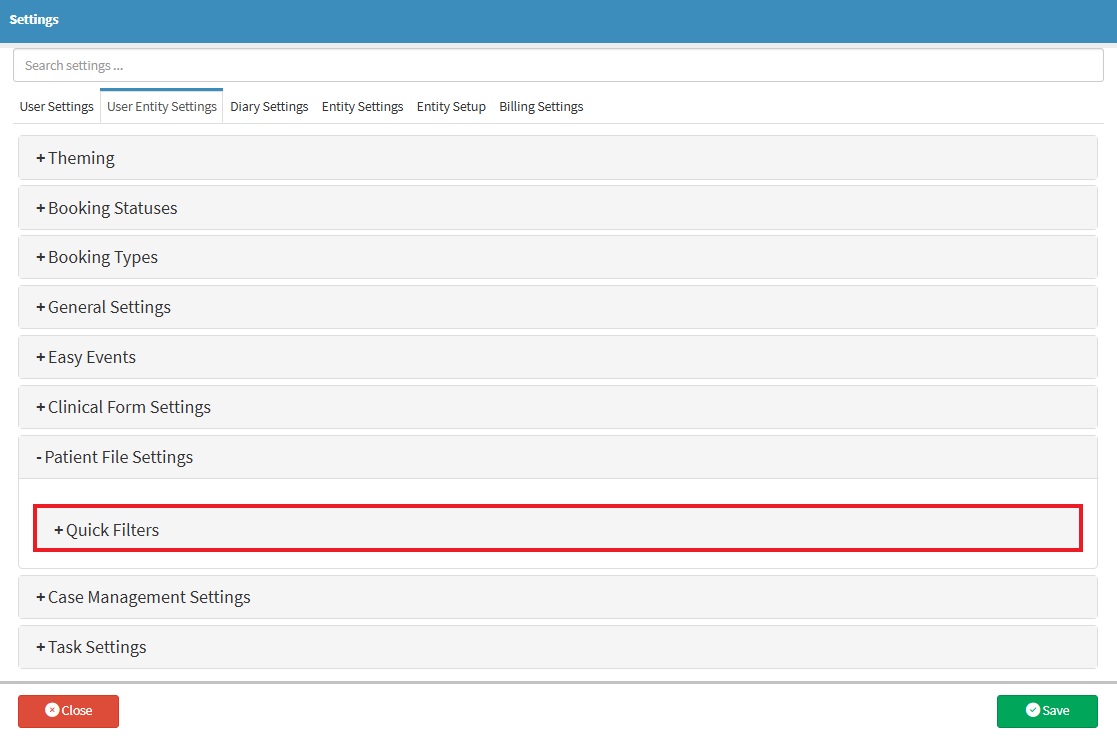
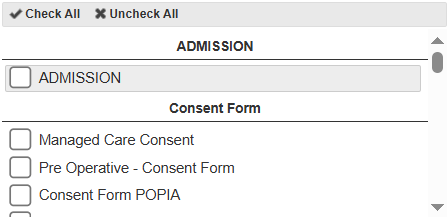
The Quick Filters panel enables you to create custom filters for Patient clinical events, facilitating the easy location and review of specific types of information within the Patient File. By setting up these filters, you can streamline the display of clinical data, reduce manual searching, and support faster, more focused decision-making during Patient care.


![]()
![]()

![]()
![]()
![]()
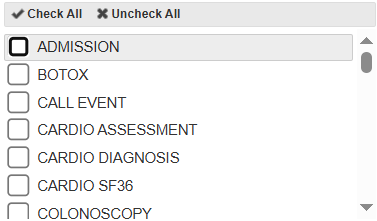
?Please Note: Templates can be reordered by dragging and dropping them into the desired arrangement.
![]()