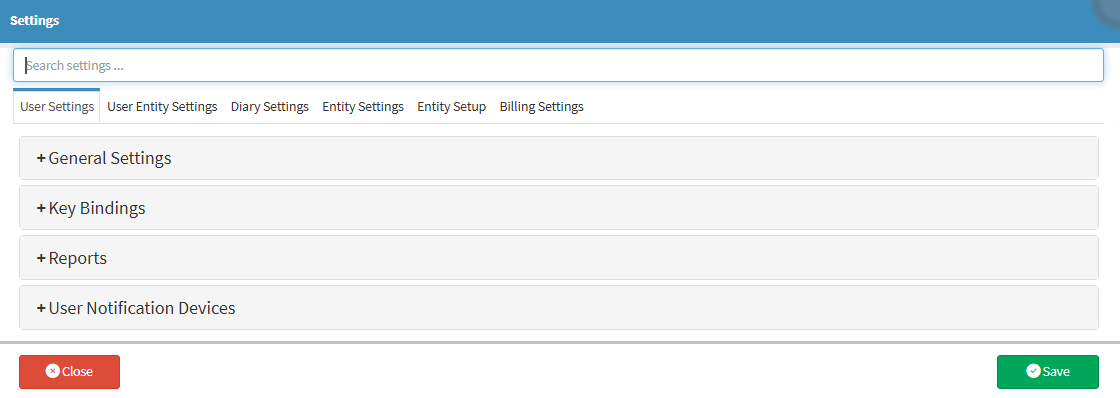
Text size
Line height
Text spacing
Script Line Macros Settings are used specifically for creating Macros used for Prescriptions, allowing you to create predefined lines that streamline Script creation and ensure accuracy and consistency. Each Macro can include all essential prescription line details, such as diagnosis, medication, dosage, route, frequency, days supplied, total quantity, time of day, meal relationship, repeats, and directions, etc.
You can also set up combinations of items based on what you would usually prescribe for a specific diagnosis, making it quick and easy to generate a complete, tailored prescription for each condition.
By using Script Line Macros, you can reduce manual-entry errors, save time, and maintain high standards of clinical and billing accuracy while ensuring all prescriptions are consistent and compliant.
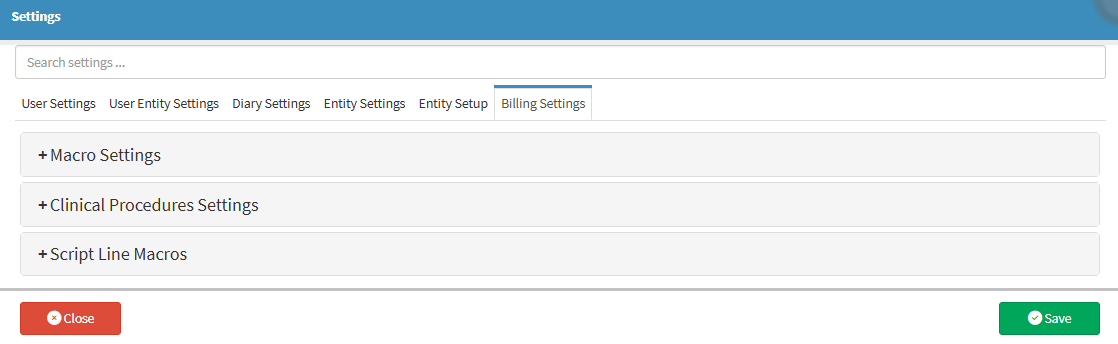
Click on the Script Line Macros panel.

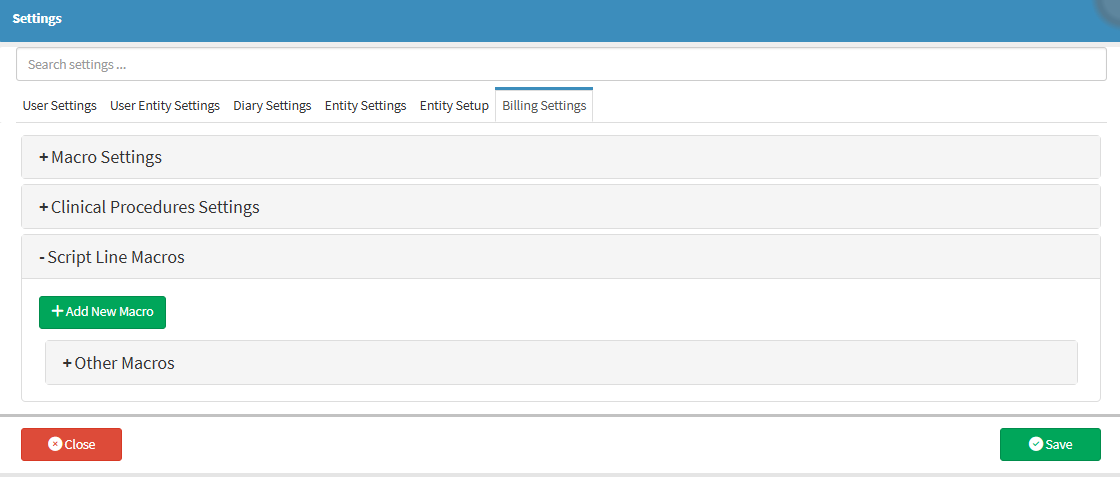
Adding New Macros allows new script macros to be created.
![]()
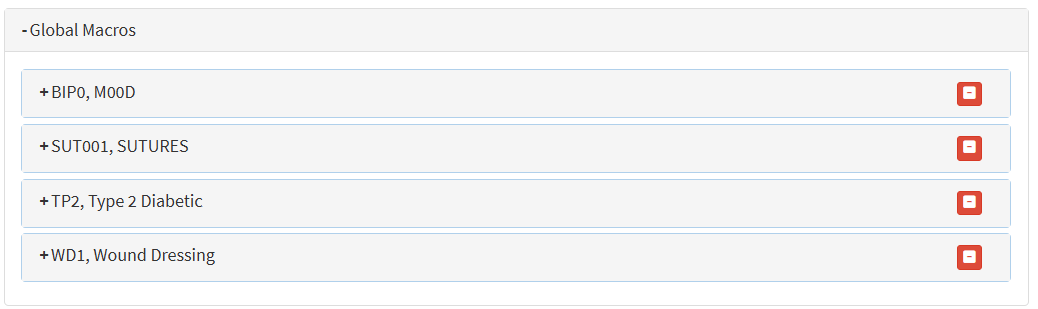
The Global Macros panel displays script macros that are available for use by all Practitioners in the Practice.
Other Macros provide Practitioner-specific script line macros that can be accessed and used within the system.
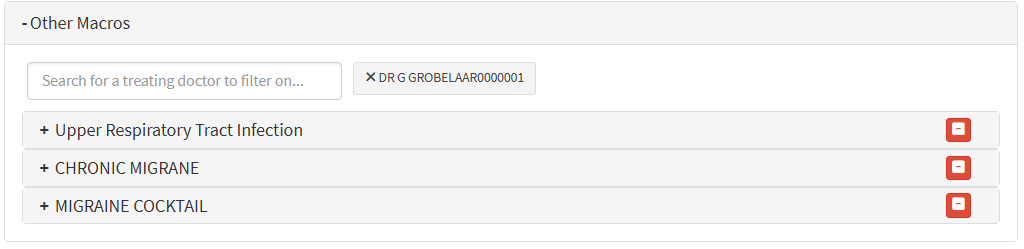
💡Please Note: One or more Practitioners can be added to display and access their linked other macros.