The Navigation (Wheel) Settings provides you with the flexibility to personalise the interface by selecting which features are displayed on the Navigation Wheel. In addition to customising the wheel’s layout, you can define which screen should automatically open when a specific Segment is accessed. Furthermore, this configuration allows you to set a default Segment menu to appear on the diary upon login, streamlining access to frequently used functions and enhancing overall workflow efficiency.
The Contents of This User Manual:
Hide Navigation Wheel
Default Menu
Menu Default screen
Custom Menu
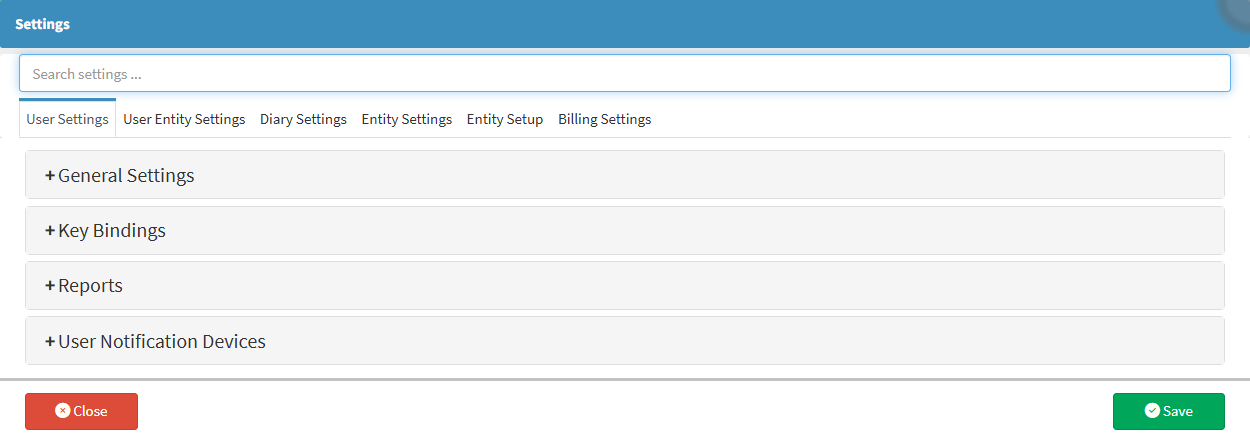
This user manual will start on the Settingsscreen.
A detailed explanation will be given of the Navigation section:
Hide Navigation Wheel
Allows Administrators to hide or unhide the Navigation Wheel. When hidden, the Navigation Wheel is removed from the menu bar, and only the default screen that has been configured will be accessible. This function is useful for simplifying the interface, reducing on-screen distractions, and ensuring focus on a specific workflow or task.
Tick the Hide Navigation Wheel checkbox to hide the Navigation Wheel.
The menu that will be displayed by default when you log in to the GoodX Web App.
Click the Default Menu drop-down menu to select which Segment should open by default.
?Please Note: Each main Segment contains its customisable Navigation Bar.
Click on the desired option to make a selection.
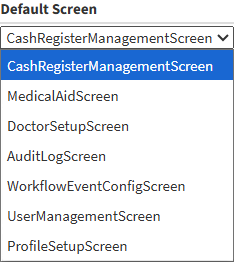
Menu Default Screen
This screen allows Practitioners to define which Segment should open by default when accessing the system via the Navigation Bar. By customising the default Segment, Practitioners can streamline their workflows, ensuring that frequently accessed or business-critical areas are immediately available. This level of personalisation enhances convenience, reduces unnecessary clicks, and improves overall efficiency.
Click the corresponding Menu Default screendrop-down menu to select the screen that should display when a specific Segment is opened.
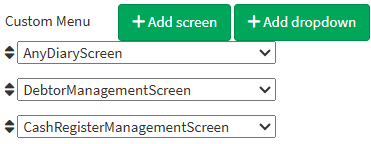
Custom Menu
The Custom Segment lets you choose which items appear on your Navigation Bar, based on what you and your Practice use most. This way, you’ll only see the tools and features that are relevant to your role, making it easier to focus on what’s important. It keeps your workspace tidy and clutter-free, helping you work more efficiently without distractions.
?Please Note: The screens will appear in the order in which they were added. You can change this order by Clicking and Dragging the desired Menu item to a new position.