Text size
Line height
Text spacing
Setting up services within the Settings section is a crucial step in laying the groundwork for seamless operations across your Practice or Entity. From facilitating smooth and professional communication to ensuring accurate invoicing and streamlined claim submissions, this configuration underpins every core function. It also enables efficient payment processing and effective call management. By properly configuring these services, you not only enhance operational efficiency but also ensure full compliance with system requirements, helping your Practice run reliably, compliantly, and with minimal disruption.
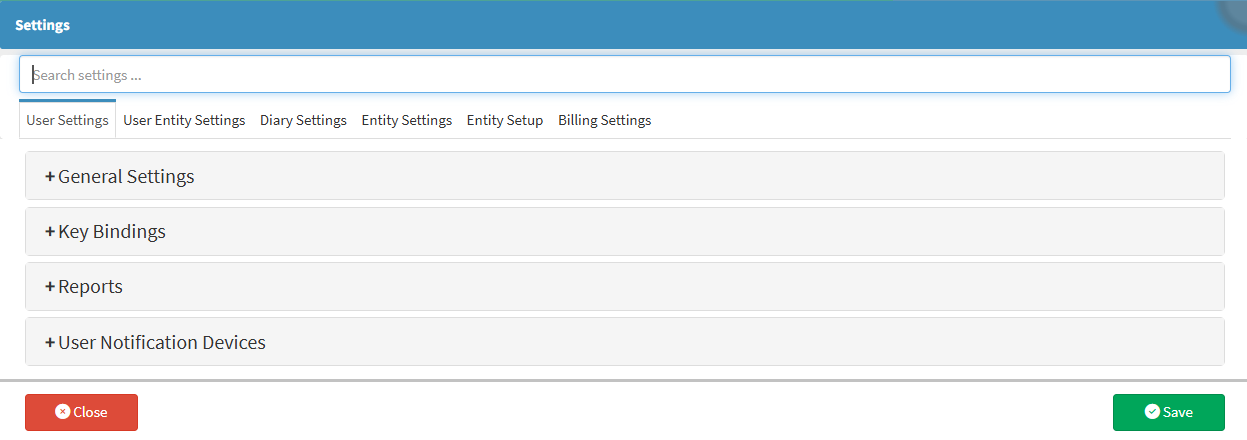
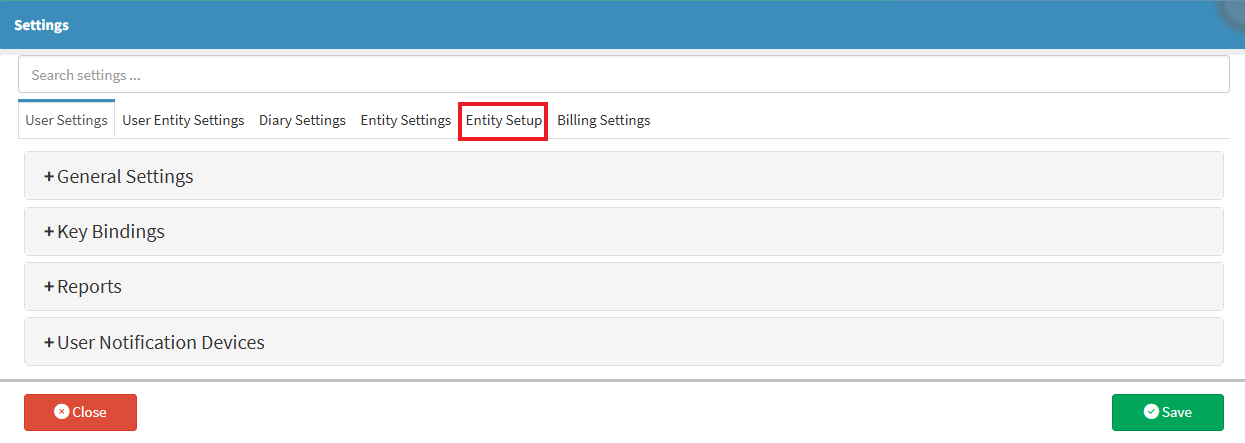

💡Please Note: The Entity Setup is set per entity to customise the program to the specific needs of the Practice.
![]()
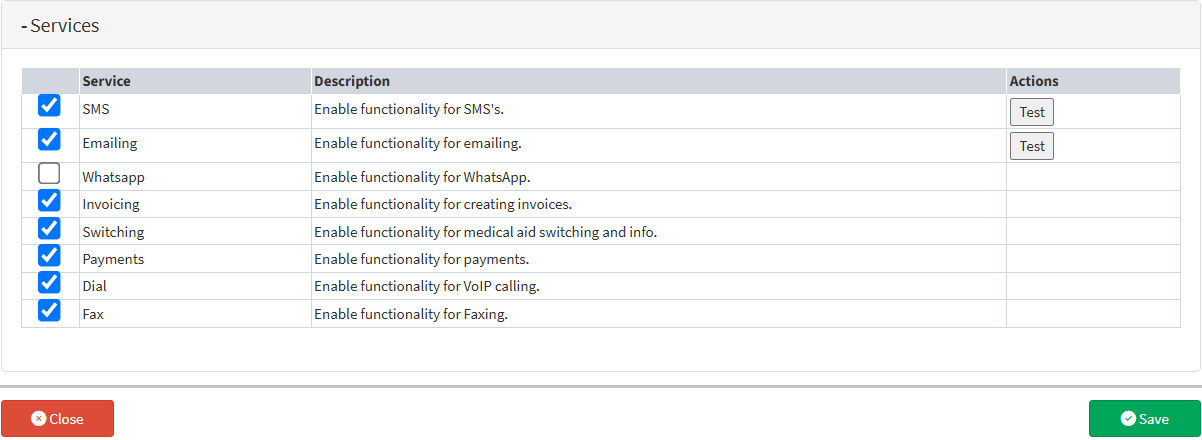
💡Please Note: Some services may require additional setup or activation by GoodX Support before they become fully functional. Ensure to liaise with the support team when enabling features like VoIP or WhatsApp integration.
Under the Actions column, test buttons allow you to check whether the SMS and Email services are functioning correctly after activation.
![]()
An Attention! pop-up will appear prompting you to enter a cellphone number.
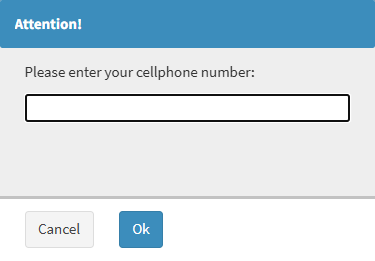
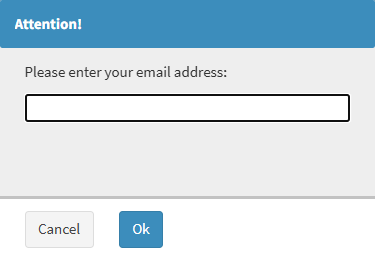
After entering the valid cell phone number or email address, Click the OK button.
![]()
A Test Services pop-up will appear to display the status of the SMS or email being tested.
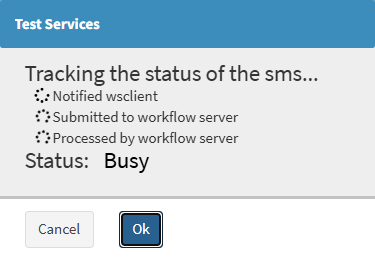
The Status will indicate the current stage of the tracking process. Possible statuses may include:
Time Out: The test was not completed within the expected time.
Busy: The system is still processing the test.
Done: The test was completed successfully.


![]()
💡Please Note: If the email is not in your Inbox, please check your spam folder.