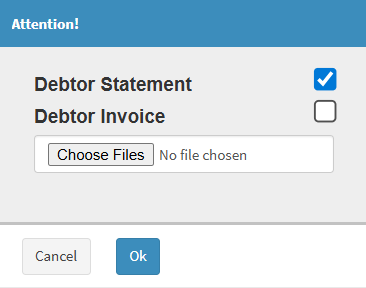
Tick the Debtor Statement and/or Debtor Invoice checkboxes to include them in the email.
Text size
Line height
Text spacing
Email Workflow Event Templates are pre-configured emails that help streamline your Practice’s email communication, making it faster, more efficient, and less prone to errors. These templates are ideal for repetitive tasks such as sending referral letters, appointment reminders, follow-ups, or official notifications, allowing you to focus on Patient care rather than manual messaging.
By standardising emails through Email Workflow Event Templates, the Practice ensures that all communication remains consistent, professional, and compliant with both operational and legal requirements, while maintaining a polished and reliable standard across all Recipients.
💡Please Note: These templates are set up per Entity, allowing each Entity to customise emails to its specific operational needs, Recipient types, and workflow requirements.
Assigned User
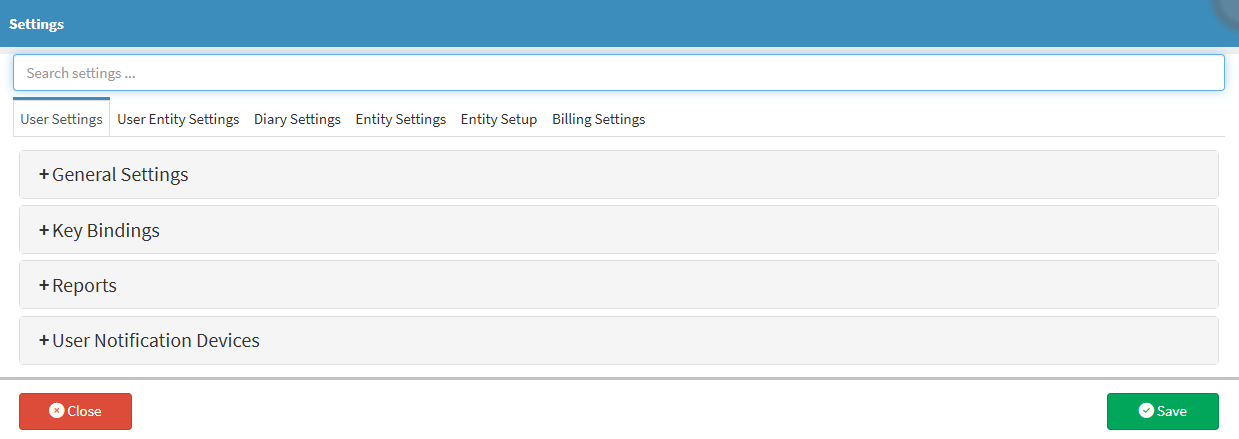
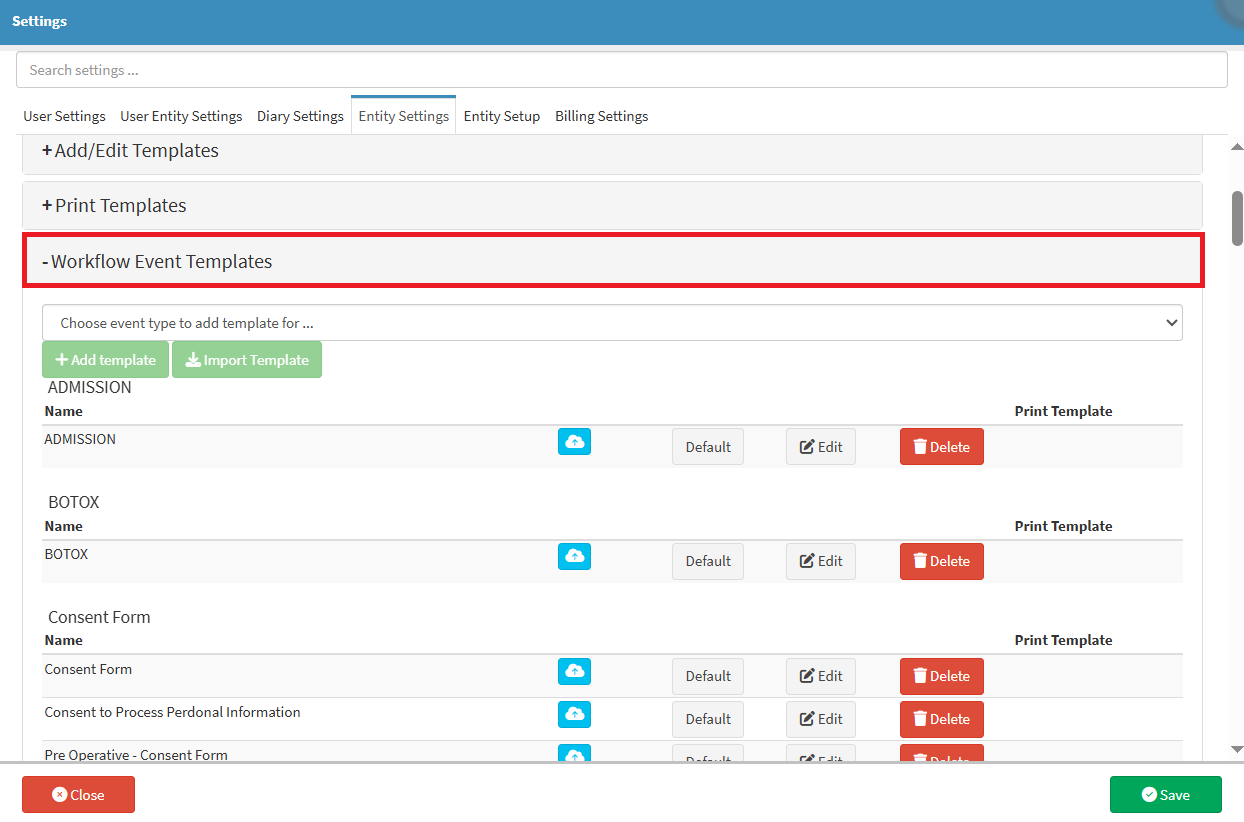
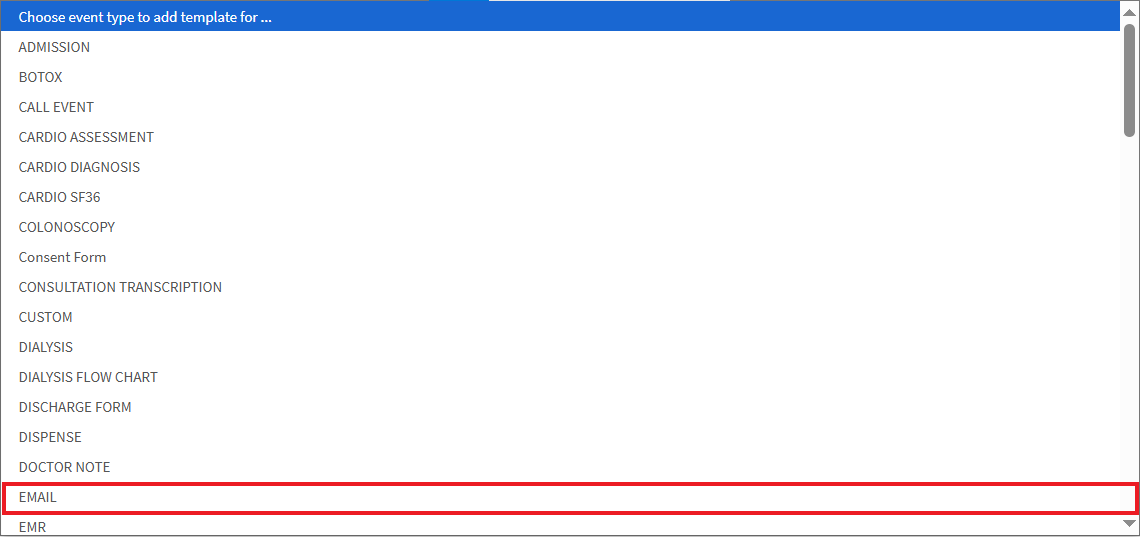

A Workflow Event Template provides a reusable email setup that allows the Practice to send automated emails consistently and at the correct time. These templates support communication such as appointment confirmations, reminders, and follow-ups. Customising email templates allows the Practice to match its own tone and branding, creating a professional and consistent communication experience while reducing administrative workload. For Patients, customised emails provide clear and timely information, helping them feel informed, prepared, and supported throughout their interaction with the Practice.
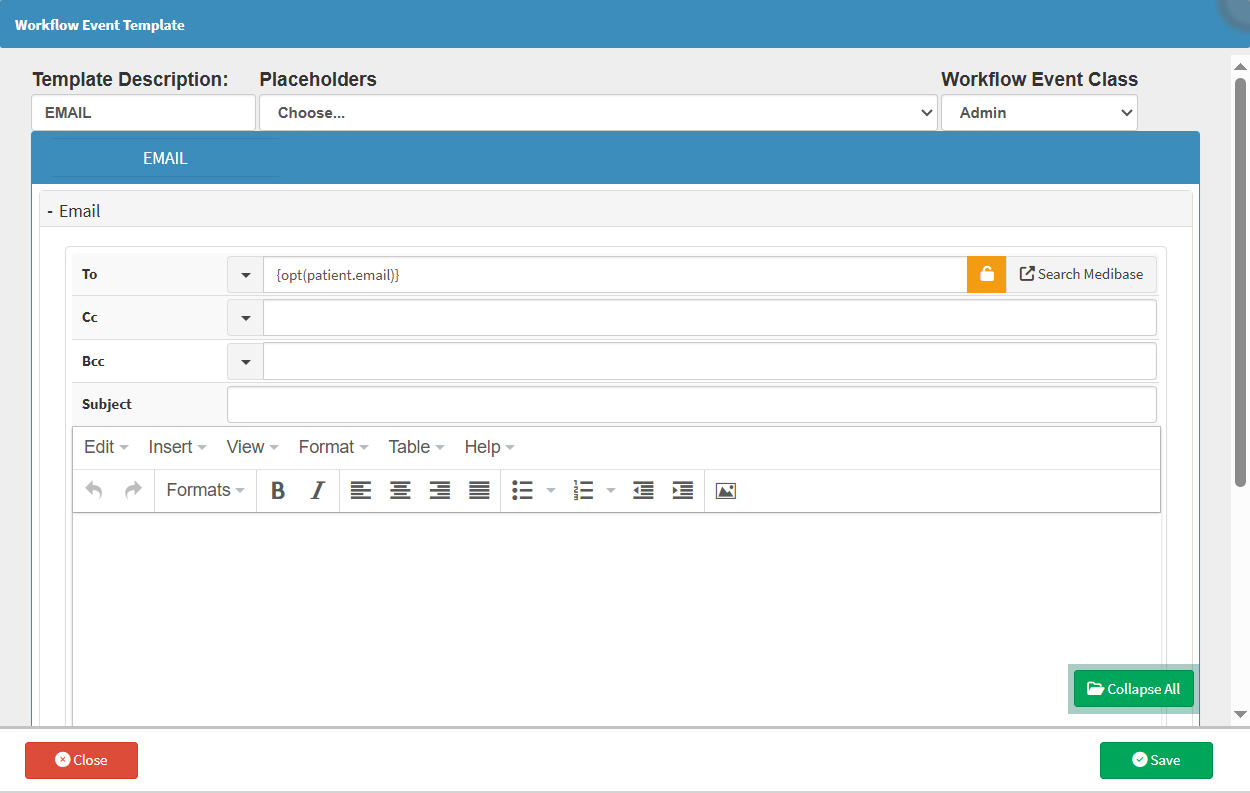

💡Please Note: The To field is completed automatically with the email address linked to the selected recipient, based on where the email action was initiated.




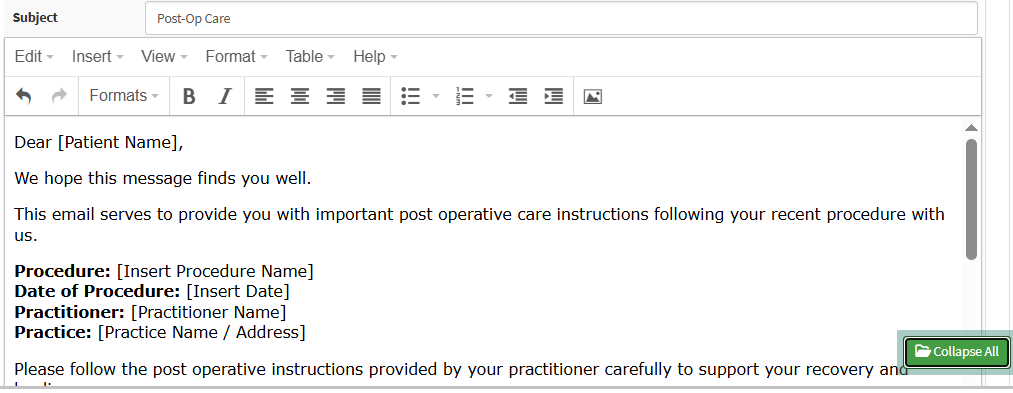
💡Please Note: If the Patient’s email address is not completed in their record, it will not be populated automatically. The email address will need to be entered manually.
Attachments are used to include supporting documents with an email template, ensuring that the Recipient automatically receives all relevant information together with the message. These may include items such as a Debtor Statement, Debtor Invoice, or any other required document. Once added, the attachment forms part of the email template and will be included each time the template is used, eliminating the need to attach documents manually.

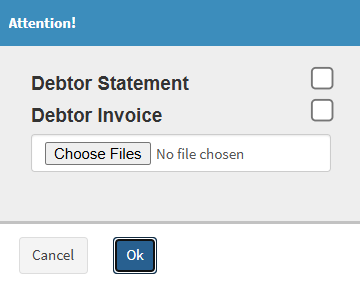
Tick the Debtor Statement and/or Debtor Invoice checkboxes to include them in the email.

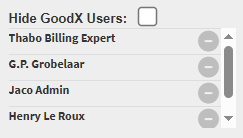
A task will automatically be created for the selected user when this template is used.

💡Please Note: You are able to select multiple users, to whom tasks will be assigned when the template is used.