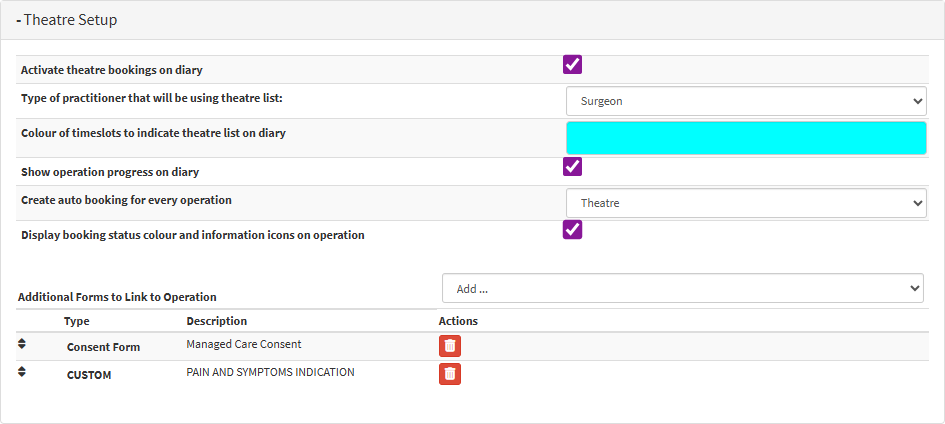
Theatre Setup allows you to customise how theatre bookings are displayed on the Diary and to configure forms that will automatically be added when a theatre booking is created. This ensures that all necessary documentation is linked to the booking from the start. Theatre bookings provide clear visibility of which Patients are scheduled for procedures, while time slots are marked to indicate that the Practitioner is at the hospital rather than at the Practice. By streamlining configuration and display, Theatre Setup supports accurate scheduling, improves organisation, and ensures efficient theatre management.
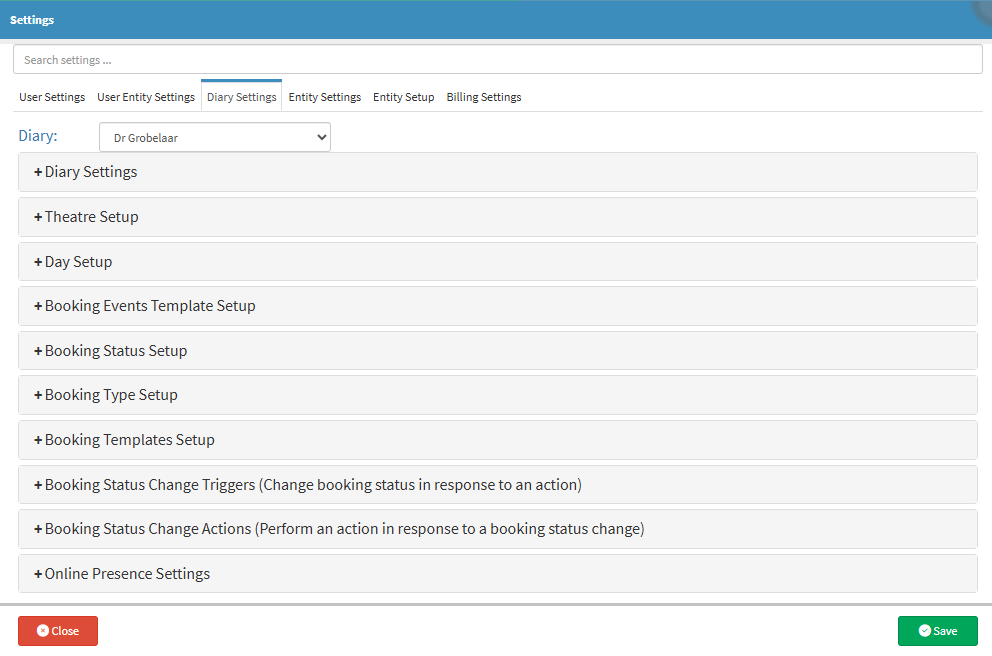
💡Please Note: Diary Settings customise each Diary to the specific needs of the Practitioner, ensuring accurate scheduling and a workflow tailored to their Practice. If the Practice has more than one Diary, each must be set up individually.
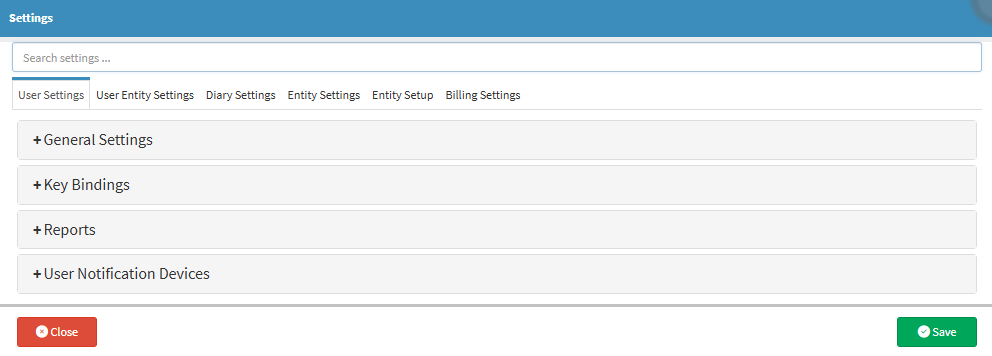
This user manual will start on the Settings screen.
Click on the Theatre Setup panel to expand the settings.
The Theatre Setup panel will expand.
Tick the Activate Theatre Bookings on Diary checkbox to enable the Practitioner to set up and use the Theatre Manager.
Click on the Type of Practitioner that Will be Using Theatre List drop-down menu and choose the Practitioner type that will be using the Theatre Manager.
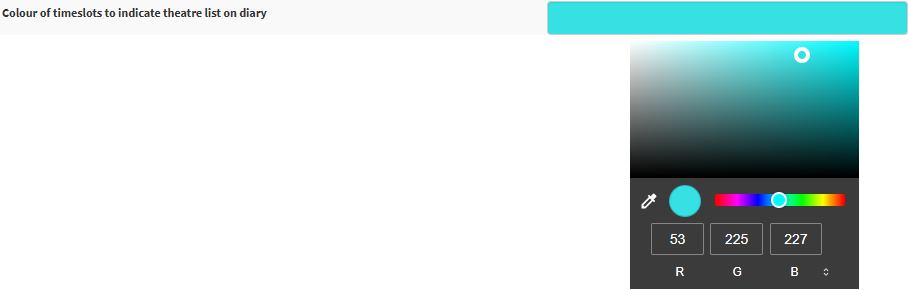
Click on the Colour of Timeslots to Indicate Theatre List on Diary field to open the colour selector and choose a preferred colour to indicate theatre bookings on the Diary.
Tick the Show Operation Progress on Diary checkbox to display operation progress on the diary, showing completed items such as Cost Estimates, Patient Consent, Authorisations, and Custom Forms.
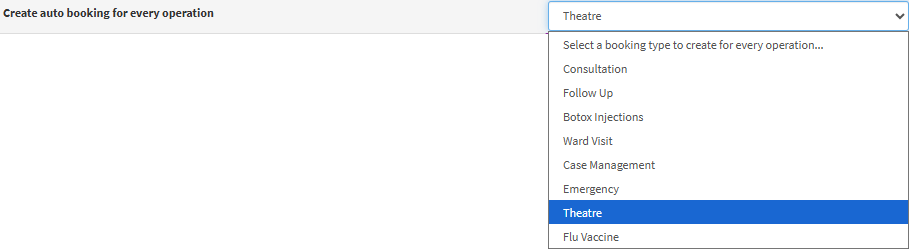
Click on the Create Auto Booking for every Operation drop-down menu and select the preferred option from the list that becomes available.
💡Please Note: The list that will appear will depend on the booking types that have been set up for the Practice.
Tick the Display Booking Status Colour and Information Icons on Operations checkbox to display booking status colours and information icons for the operation.
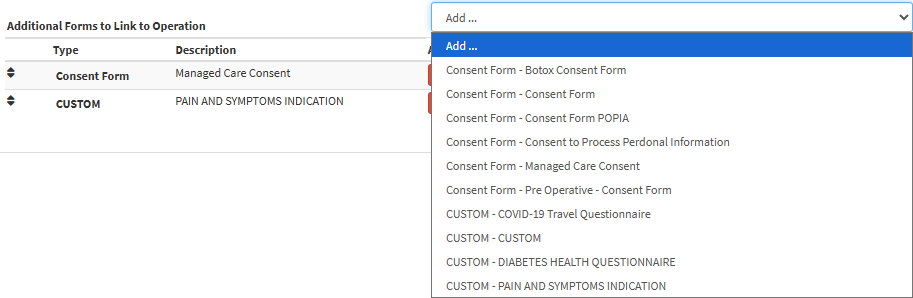
Click on the Add drop-down menu to link additional forms to the operation.
💡Please Note: The list that will appear will depend on the forms that have been set up for the Practice. For more information on how to set up the forms, please refer to the user manual: Work Flow Event Templates.
The Selected Form will be added to the forms list. More than one form can be selected to be added to the list.
Type: The kind of form that is linked to the Theatre booking.
Description: An explanation of what the form is used for.
Actions: The type of actions available on the line.
💡Please Note: More than one form can be selected to be added to the list.
Click on the Delete icon to delete the form from the list.
Click and Drag on the Sorting Arrows up or down to move the desired form and drop it into a new position on the list.
When the Form is dropped into the desired position.