Debtor Demographic data refers to all of the debtors' personal information, such as their Name, Surname, ID number, Telephone Number and Address etc. A SyncVite is an invitation that the practice sends the patient asking them to share their personal information. The patient has the choice if they would like to share certain information with the practice. The practice can also use the SyncVite feature to allow the user to update and edit the information that is currently on the practice's database. A SyncVite can be sent with every booking to ensure that the patients' information is correct and up to date.
Setting up the Debtor Demographic SyncVite Form allows the user to select which fields will be mandatory or required when a SyncVite is sent to a Debtor/Patient to request that they update their information. For more information on how to send a Debtor Demographic SyncVite, please refer to the user manual: Debtor Demographic Syncvites.
Log into the GoodX WebApp using your GoodX username and password.
The main Diary screen will open.
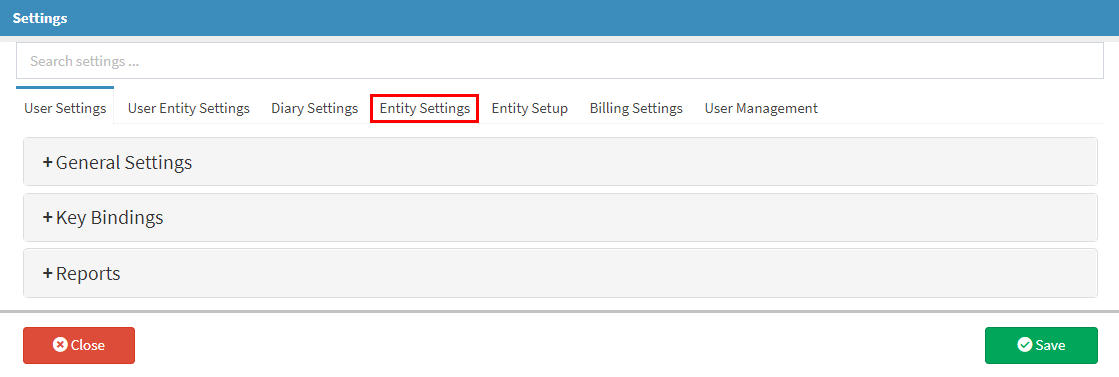
Clickon the Settings button in the top right corner.
Click on the Entity Settings tab.
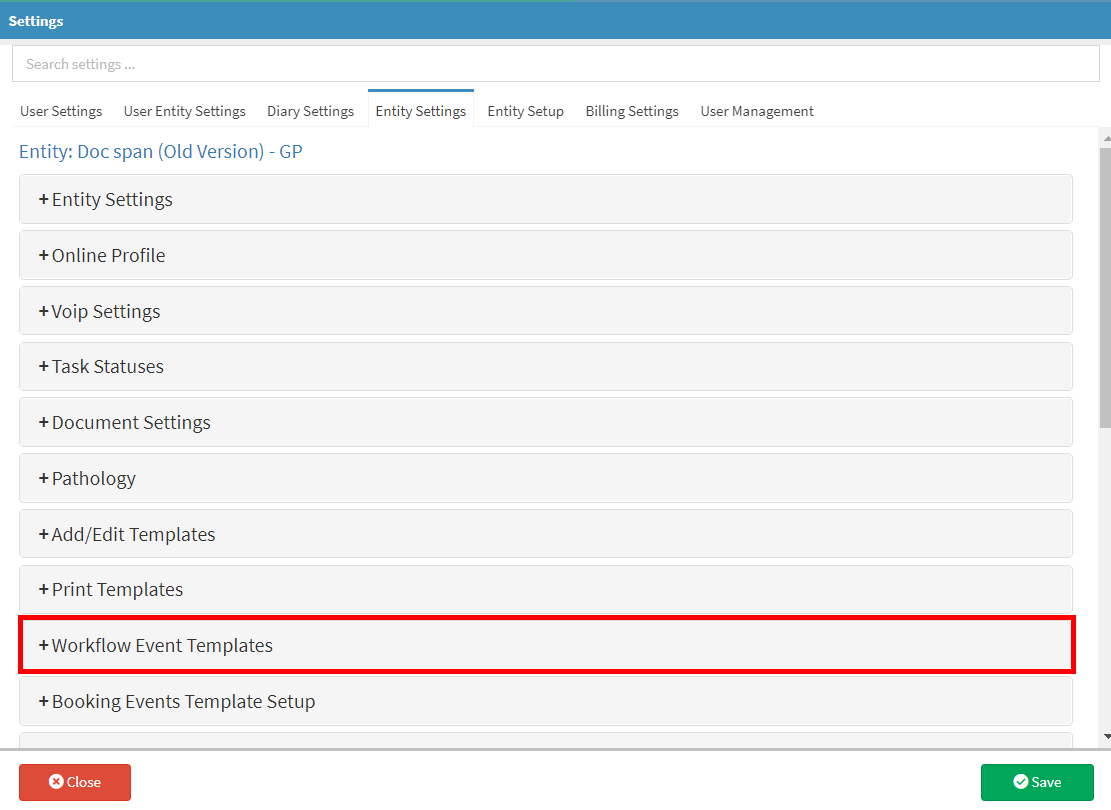
Click on the Workflow Event Templates panel.
The Workflow Event Templates panel will expand.
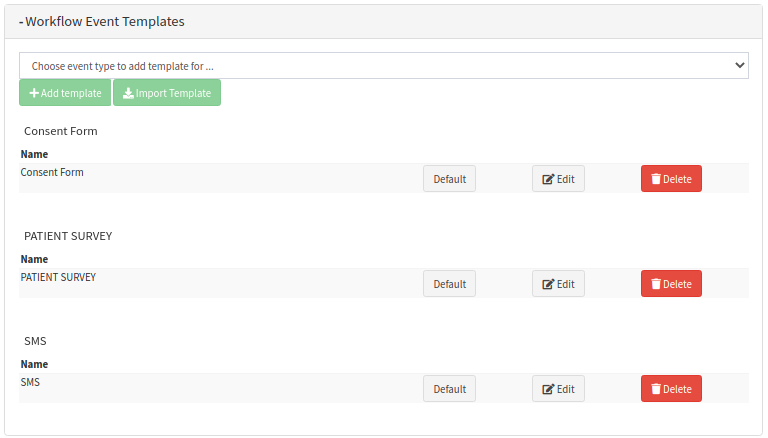
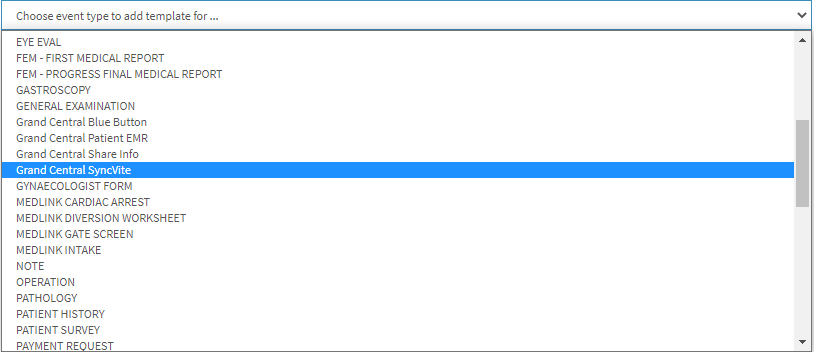
Click on the Choose event type to add template for... drop-down menu.
Click on Grand Central SyncVite on the drop-down menu.
Click on the + Add template button to add the Grand Central SyncVite template as a workflow event.
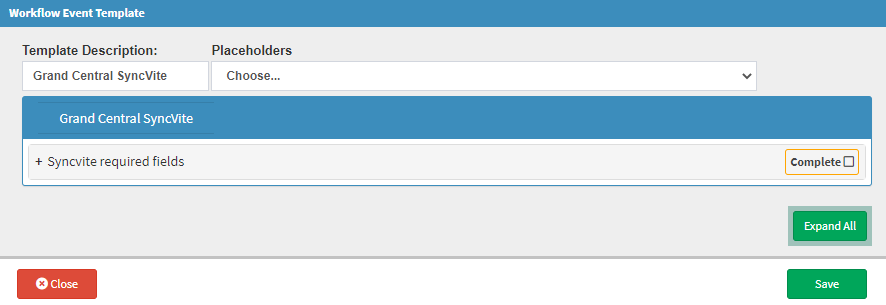
The Workflow Event Template will open.
Click on the Syncvite required fields panel.
The Syncvite required fields panel will expand.
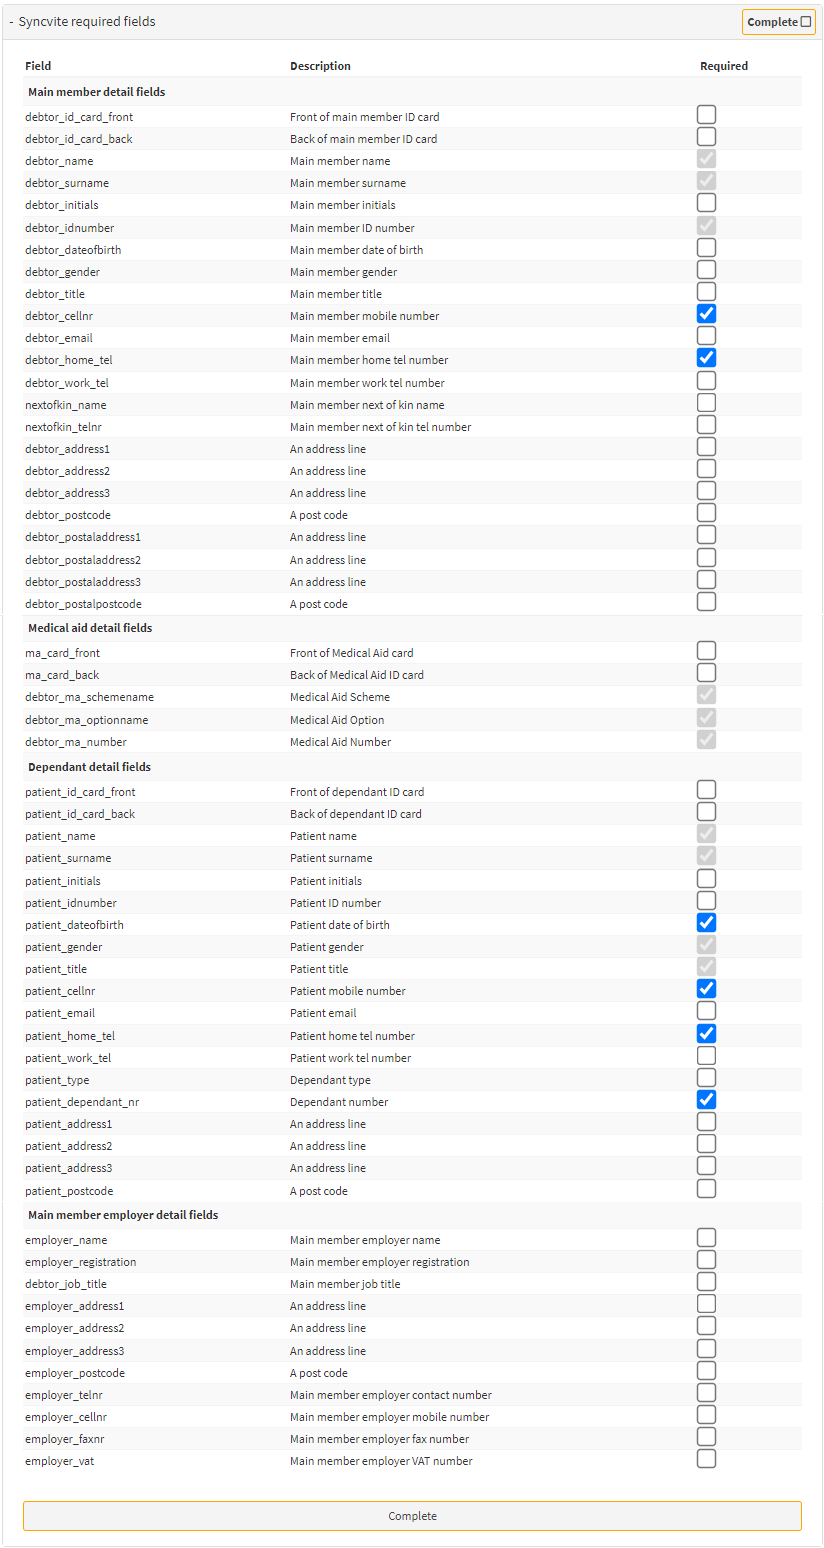
Please Note: Required fields that have been greyed out, are by default set as mandatory fields, and cannot be changed.
Tick the Check box of the corresponding field that the user would like to mark as a required field when the Debtor SyncVite is sent to the patient.