Entity Settings are essential for ensuring that a Practice's operational and administrative processes run smoothly and efficiently. Since these settings are configured per Entity rather than per User, they allow for a customised system setup that aligns with the specific needs and workflow of the Practice. By defining how key functions operate - such as Invoicing, Payment Requests, Cash Register usage, and Diary Access - Entity Settings ensure consistency across the Practice while still allowing flexibility in how different entities function. This level of customisation enhances efficiency, improves financial and administrative control, and ensures that the system supports the Practice's unique requirements, ultimately contributing to better overall management and service delivery.
This user manual will start on the Diary screen.
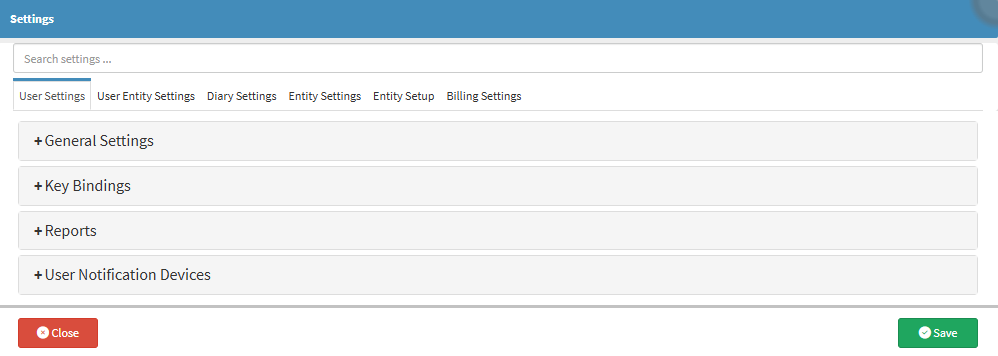
Click on the Settings button in the top right corner.
The Settings screen will open.
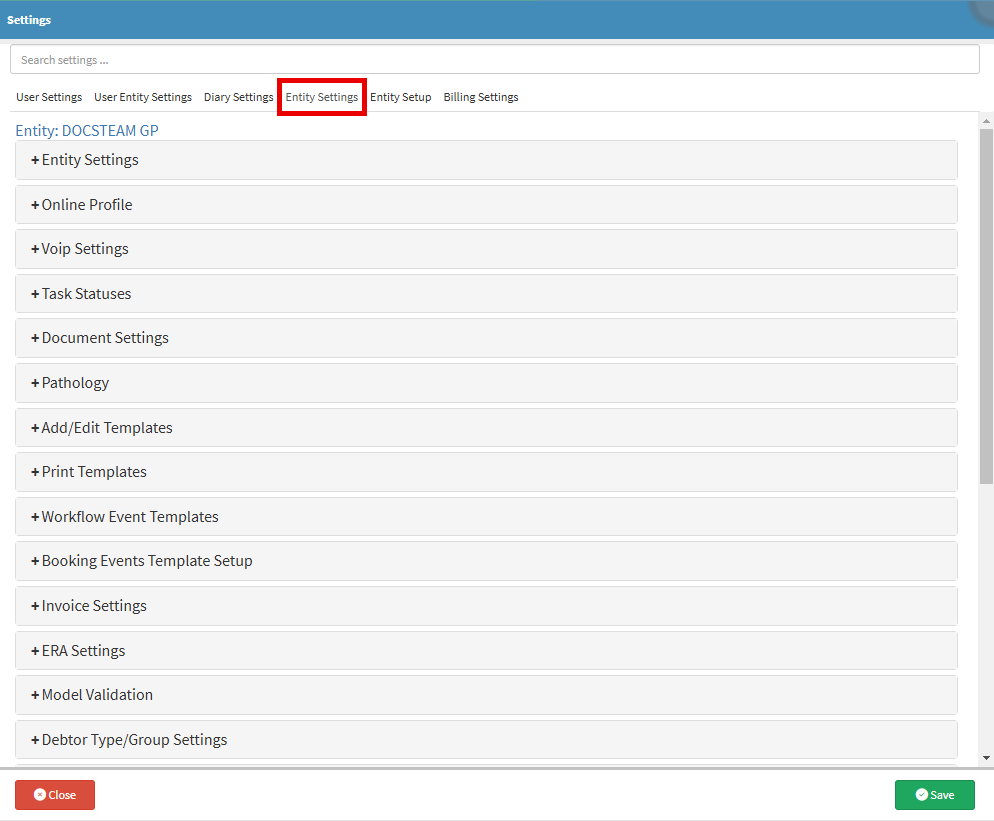
Click on the Entity Settings tab.
Click on the Entity Settings panel.
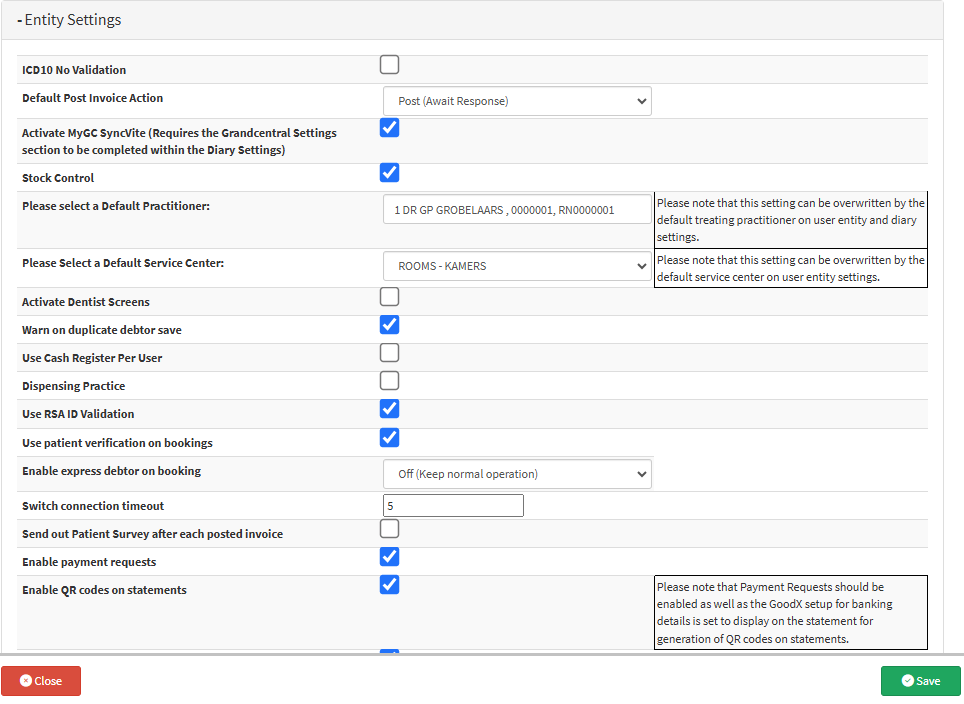
The Entity Settings panel will expand.
Tick the ICD10 No Validation checkbox to enable the setting.
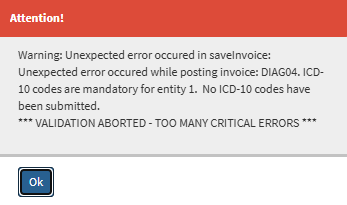
?Please Note: By default, this setting is disabled, preventing invoice posting without an ICD10 code, as indicated by the error below.
Click on the Default Post Invoice Action dropdown menu for you to choose the Default Invoice Posting action for the entity, the following options are available: Post Only, Post to Switch, Post (Await Response).
Post Only: Posts and saves the Invoice as a transaction in the system and does not send the data to the Medical Aid.
Post and Switch: Posts andsaves the Invoice as a transaction in the system and sends the data via the Switch but with no immediate response from the Medical Aid.
Post (Await Response): Posts and saves the Invoice as a transaction in the system and sends the data via the Switch and will give an ImmediateResponse from the Medical Aid if the Medical Aid is able to send a Real-Time response.
Tick the Activate MyGC SyncVite (Requires the Grandcentral Settings Section to be Completed within the Diary Settings) checkbox to enable the setting.
?Please Note: A SyncVite with a reminder of the Patient's booking will automatically be sent to the Patient after the booking is saved on the Diary.
Tick the Stock Control checkbox to enable the setting to be able to do the Stock Control on the Web App.
Click on the Please Select a Default Practitioner field and start typing to search for the desired Practitioner. If multiple Practitioners are saved on the Entity, a drop-down list will appear, allowing you to select the appropriate one as the Default Practitioner.
?Please Note: This Setting can be overwritten by the Default Treating Practitioner on User Entity and Diary Settings.
Click on the Please Select a Default Service Center drop-down menu to select the Default Service Center as Rooms or Hospital where Patients will be treated.
?Please Note: The Service Center options may vary between Practices as they are customised to meet each Practice's specific needs. Additionally, the Default Service Center in User Entity Settings may override this setting.
Tick the Activate Dentist Screens checkbox to activate the option.
?Please Note: This must only be set up on the Dentist Entity and not on the other Entities.
Tick the Warn on Duplicate Debtor Save checkbox to enable the system to alert you when attempting to create a Debtor with an existing ID number, this prevents duplicates from being added to the system.
Tick the Use Cash Register Per User checkbox to enable a separate Cash Register session for each User on the same entity.
Tick the Dispensing Practice checkbox to enable the option, allowing the Practice to dispense its own medication from an in-house pharmacy.
?Please Note: A Practice is only allowed to dispense medication if they have a valid Dispensing Licence as accredited by the South African Pharmacy Council (SAPC).
Tick the Use RSA ID Validation checkbox to enable validation of the Debtor/Patient ID Number before saving.
For more details on how the ID Number is validated, please refer to the Glossary Entry: ID Number - RSA.
Tick the Use Patient Verifications on Bookings to verify a Patient on their booking arrival.
Click on the Enable Express Debtor on Booking dropdown menu to enable saving the details of the Patient on the booking directly as a Debtor in the system.
Off (Keep Normal Operation): This disables the Express Debtor on booking and you will still have to manually open the Debtor file.
On (Auto open Debtor on booking save. Not normal operation): Enables the Express Debtor on a booking and when the booking is saved with the Patient details, the Debtor file is created and saved on the system automatically.
MedAire Mode (Auto Open Medaire Debtor on Booking Save.): This option is for MedAire use only.
💡Please Note: The same setting in the User Entity Settings, General Settings panel can overwrite this setting.
Click on the Switch Connection Timeout field to set the timeout duration (in seconds) for when a claim is being switched.
💡Please Note: This feature determines how long the Switch program waits for a response when sending electronic claims to the Medical Aid. If the claim isn’t processed within the specified time or the connection times out and does not reach the Medical Aid, you will need to resubmit the claim to the Medical Aid.
Tick the Send Out Patient Survey After Each Posted Invoice checkbox to activate the option. A survey will be sent to the Patient after their invoice is posted to rate the Practitioner and their experience at the Practice.
💡Please Note: The Survey must first be set up. For more information regarding how to set up a Survey, please refer to the user manual: Workflow Event Templates.
Tick the Enable Payment Requests checkbox. APayment Link will be sent to the Patient to request payment for their Account. Patients are then able to pay their Account, fast and securely through an online payment platform.
Tick the Enable QR Codes on Statements checkbox to enable the feature. A QR code will be printed on statements that Debtors/Patients can scan to make a payment, directing them to a secure payment site.
💡Please Note:Payment Requests should be activated to Enable the generation of QR Codes on Statements. The GoodX setup for banking details should also be set, for the payments to go to the correct account.
Tick the Request Payment on Account Update checkbox to enable the feature. A payment request will automatically be sent to the Patient whenever the account is updated, such as when an invoice is posted.
Tick the Process Payment Requests Immediately checkbox to enable the feature. A payment request will be automatically sent immediately after the Debtor/Patient is billed.
Tick the Notify Payment Requests by SMS checkbox to enable the feature. A payment request will be sent via SMS to the Patient's cellphone number.
Click on the SMS Payment Request Template dropdown menu to select an SMS Template that will be used when sending a Payment Request via SMS.
💡Please Note: An SMS Template will first need to be set up before it can be added here. For more information regarding how to set up an SMS Template, please refer to the user manual: Workflow Event Template Setup: SMS Template.
Tick the Notify Payment Requests by Email checkbox to send the Payment Request via email to the Patient.
Click on the Email Payment Request Template dropdown menu to selecttheEmail Template that will be used when sending a Payment Request via Email.
💡Please Note: An Email Template will first need to be set up before it can be added here. For more information regarding how to set up an Email Template, please refer to the user manual: Workflow Event Template Setup: Email Template.
Click on the Maximum Number of Days to Display on Multi-day View field and enter the desired number of days to set how many days are displayed on the Diary when the Multi-day View is selected.
Tick the Exclude Credit Note on the Audit Statement checkbox to prevent Credit Notes from appearing on the Audit Statement when Printed, Emailed, or Downloaded for a Debtor.
Tick the Automatically Apply Patient Authorisations to Invoices checkbox to ensure Authorisation Details are automatically added and displayed on the Invoice when loaded onto the Patient file.
Click on the Clinical Print Header image to uploadthe Header that will display on all the Clinical Forms.
💡PleaseNote: The Size and Type of the Image must be a Bitmap - 1680 x 480 pixels. The Size of the Image should not exceed 200KB.
Click on the Logo on Statement image to upload the Logo that will be displayed on Statements.
💡Please Note: An Image of the Practice Logo can be uploaded. The Size and Type of the Image must be a Bitmap - 192 x 75 pixels.
Click on the Entity Logo image to upload the Logo that will be displayed in thetop left corner of the screen.
💡Please Note: The Size and Type of the Image must be a Bitmap - 192 x 75 pixels.
Click on the Practice Stamp image to upload an Image that is added to Workflow Events such as Scripts, Sicknotes, Referral Letters etc. to authenticate the validity of the document.
💡Please Note: The Size and Type of the Image must be a Bitmap - 192 x 75 pixels.
Tick the Activate CCA checkbox to enable the Credit Control Manager for Debt Management in the Practice.
💡Please Note: If you would like to make use of the CCA, please contact the Practices' FCL to set up.
When the Activate CCA option is ticked, extra options will become available:
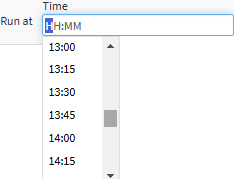
Click on the Run At field to enter the Time that the Credit Control Manager will run.
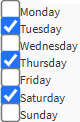
Tick the desired Days of the Week for the Credit Control Manager to run Invoices, Statements, Age Analysis Reports, and other processes.
Tick the Activate Sticker Timer checkbox to enable an automatic timer that sends Patient communication for Smart Stickers with added Workflow Events.
💡Please Note: Smart Stickers and their Workflow Events will need to be set up. For more information, please refer to the user manual: Adding a Smart Sticker Protocol.
When the Activate Sticker Timeroption is ticked, extra options will become available:
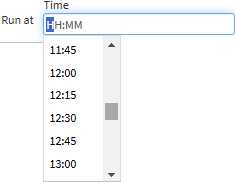
Click on the Run At Time field to enter the Time at which the Smart Sticker run will take place.
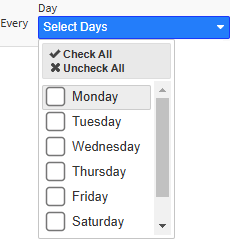
Click on the Every Day drop-down menu to Tick the specific days checkbox for the Smart Sticker to run.
💡Please Note: The Workflow Events on your Smart Sticker Protocols will be triggered on all the Days that you have selected.
Timer Monthly: The Day and Time of the Month at which the Smart Sticker events will run.
Click on the Run At Time field to enter the Time at which the Smart Sticker run will take place.
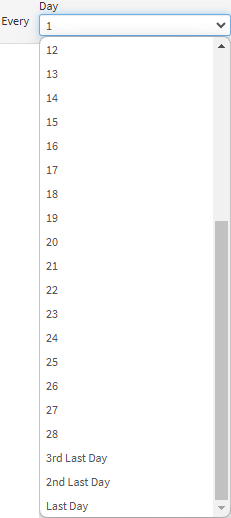
Click on the Every Day Select Day of the Month drop-downmenuto select the Day of the Month on which the Smart Sticker run will occur.
💡Please Note: The Workflow Events on your Smart Sticker Protocols will be triggered on the Day of the Month that you have selected.
Tick the Activate Radiology HL7 Integration checkbox to enable the integration of HL7 software and machinery with GoodX Web, allowing Radiologists to use the system.
Click on the Admission Diary drop-down menu to select the desired Diary, which is the default used for Admission Bookings made by the Discharge form from another GoodX Web.
💡Please Note: This will only be possible if the Practice has Multiple Diaries.
Click on the Admission Booking Type drop-down menu to select the desired Booking Type, which will be used by default when making an Admission booking for the Hospital.
💡Please Note: Booking Types will need to be set up in order for the User to be able to select the Booking Type from the drop-down menu. For more information regarding how to set up Booking Types, please refer to the user manual: Booking Types.
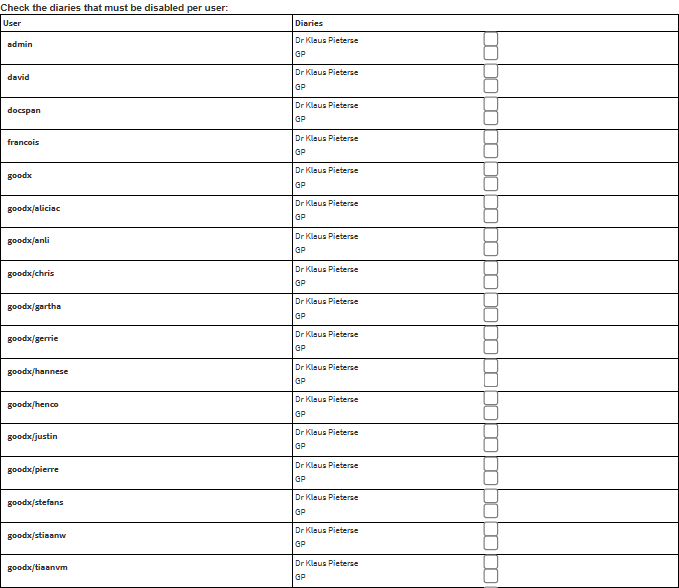
Tick the checkbox for the corresponding Diary to disable access for each User within your Practice.
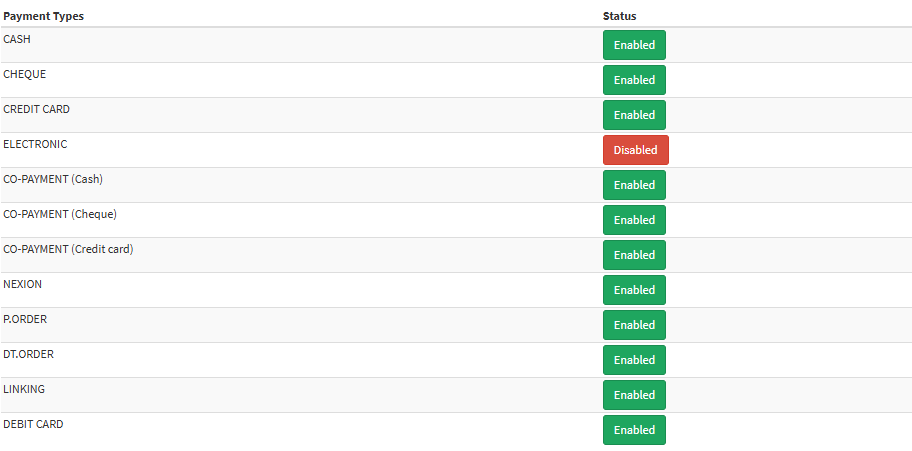
Payment Types will be used on the Receipt screen to indicate the Type of Payment that was received.
Click on the Enabled button if you would like to Disable the Payment Type.
Click on the Disabled button to Re-Enable a Payment Type that was previously Disabled.
💡Please Note:Payment Types can be disabled depending on the preference of the Practice and the Payment Types they wish to offer. If the Practice, for example, decides to go Cashless, the Cash Payment Types can be Disabled.
Click on the Send Batch SyncVite buttontosend a batchSyncvite to all Patients using myGC.
Click on the Save button to save the new Settings.