To use the PDF Printover form, setup first needs to be done. Once set up, the PDF Printover simplifies and speeds up the completion of forms like PMB Registration or Medical Aid Registration forms by automatically filling in the required information. This automation is beneficial as it saves time and minimises the chances of entering incorrect information.
Please Note: There are several PDF Printover Templates that have already been plotted and set up with the placeholders. Please enquire with your FCL to find out if the forms you are going to use have been set up to save time. Your FCL will be able to upload the required forms which have already been plotted and configured.
The contents of this user manual will consist of the following information:
Template Description
Placeholders
PDF Printover
Choose File
Quick Actions
Add
Sort
Show Only Manual Questions
Expand All
Collapse All
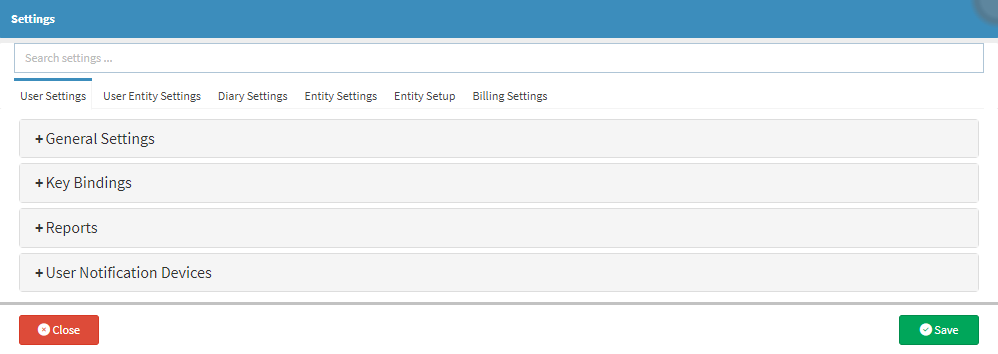
This user manual will start on the Diary screen.
Click on the Settings button on the Navigation bar.
The Settings screen will open.
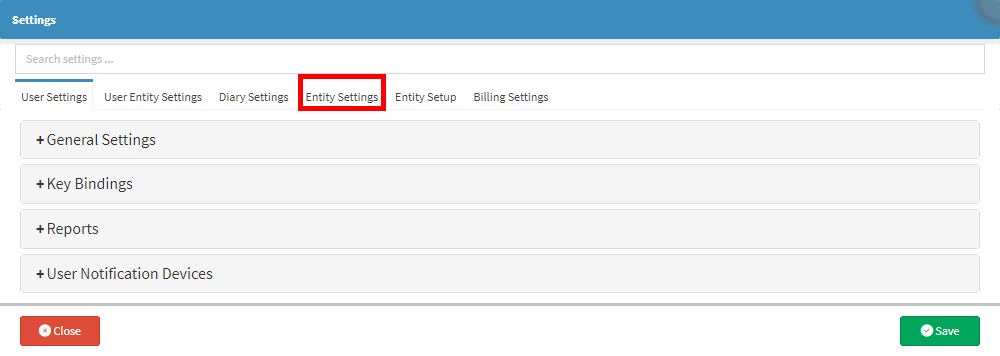
Click on the Entity Settings tab.
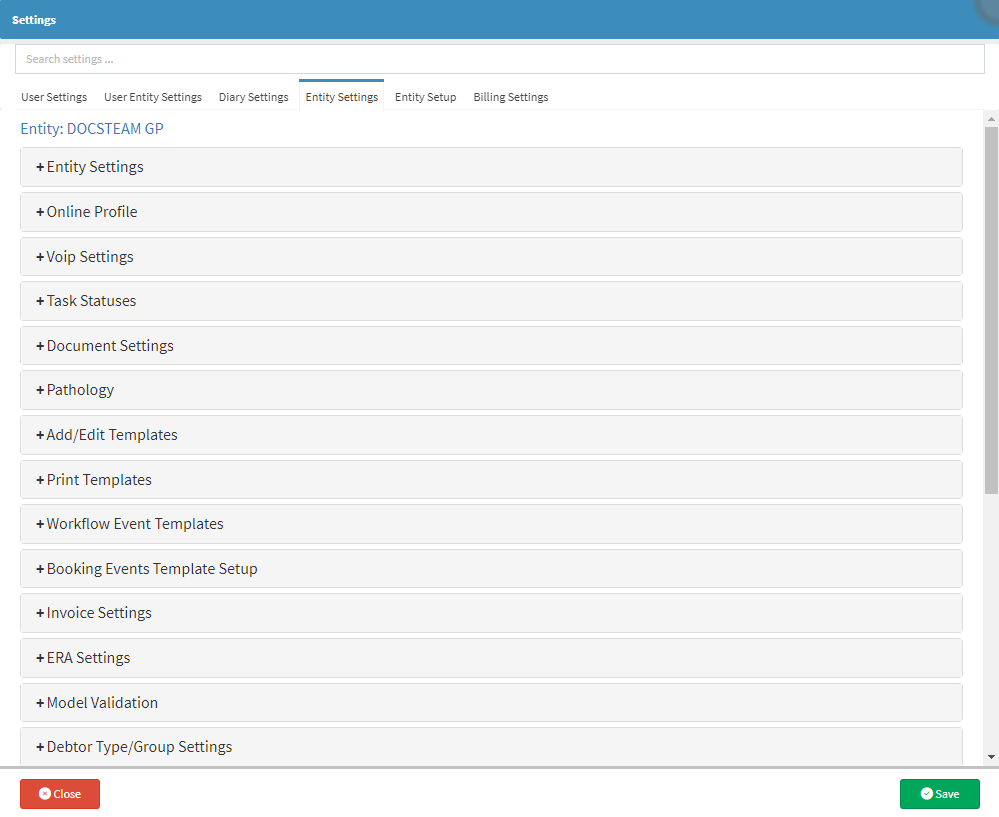
The Entity Settings screen will open.
Click on the Workflow Event Templates panel.
The Workflow Event Templates screen will open.
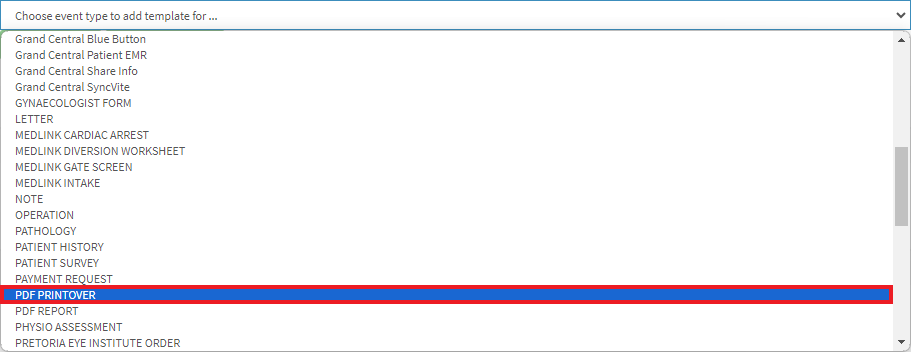
Click on the Choose Event Type to Add Template For... drop-down menu.
Select the PDF Printover option.
Click on the Add Template button.
The PDF Printover - Workflow Event Template screen will open.
The following information needs to be completed in order for the Workflow Event Template to be set up:
Template Description
A unique Name needs to be given to the Template in order for it to be identified when selected and used.
Click on the Template Description field to enter the desired name for the template.
Placeholders
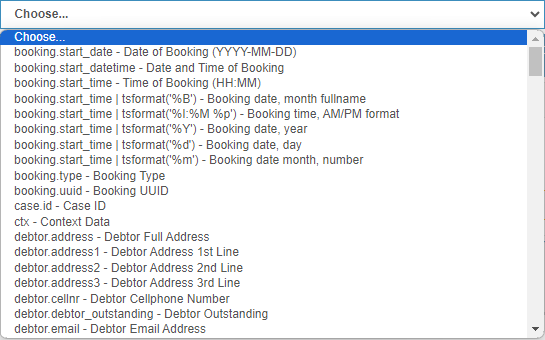
The Placeholders can be used to pull through information from the system automatically without entering it manually.
Click on the Placeholders drop-down menu to select the relevant Placeholder to add.
In order to use the PDF Printover, a PDF document must first be uploaded to this Workflow Event.
Click on the Choose File button to add the desired document saved on your computer.
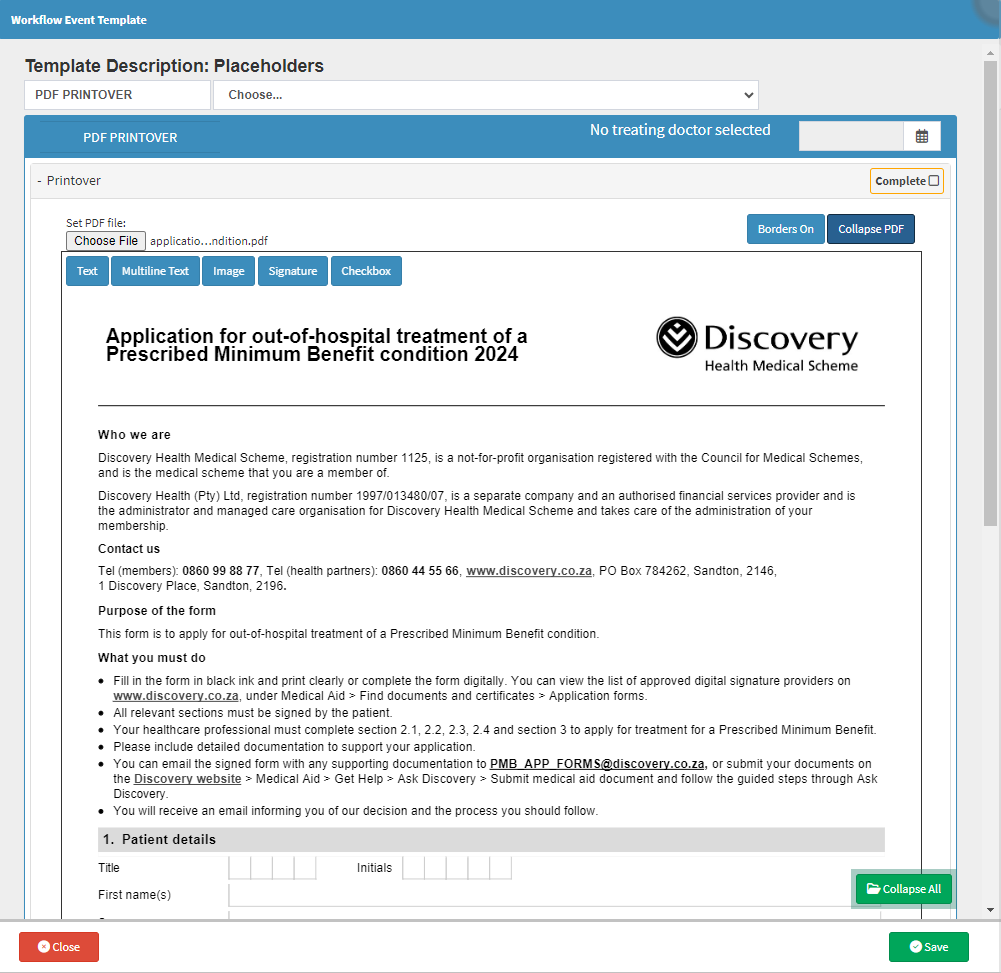
The selected form will open on the Workflow Event Template screen.
Quick Actions
Buttons are available that allow you to quickly add fields to the PDF Printover, making it easier to complete the form.
Click on the Collapse PDF button to minimise the form in order to start with the customisation.
The PDF Printover form will collapse to the left side of the screen.
Click on the Borders On button to show the field borders on the PDF Printer document to make navigation to the fields you want to customise easier.
Click on the Text button to add a text field.
Click on the Multiline Text button to add a Multiline Textfield.
Click on the Image button to add an Image field.
Click on the Signature button to add a Signature field.
Click on the Checkbox button to add a Checkbox.
Add
Allows for customisable fields to be added.
Click on the +Add button to start adding the custom navigation of the form's fields.
Please Note: For each field that needs to be customised a new panel needs to be opened.
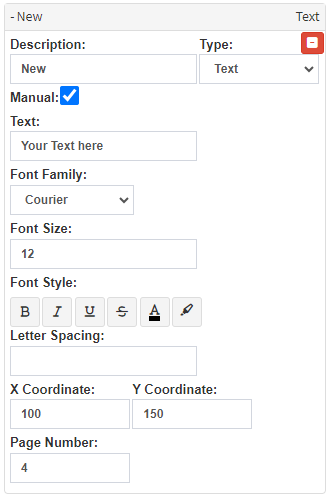
The New panel will open.
Click on the New panel to expand.
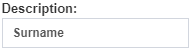
Click on the Description field and Complete the name of the field.
Enter the desired information into the Description field.
Click on the Type drop-down menu to Select the appropriate field you want to add.
Text: Adds a Text box to the form that can be used to add text to the desired area of the form.
Multiline Text: Adds a text box that spans over multiple lines that you can use for paragraphs.
Image: Adds a field where you are able to upload an Image.
Signature: Adds a field where you are able to upload your digital signature.
Checkbox: Allows you to add a field that will tick the relevant checkbox.
Please Note: Each field type has its own set of options.
Manual: Allows you to change the details of the text once the form has been generated.
Tick the Manual checkbox to indicate that fields can be manually overwritten.
Text: The contents of the field.
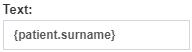
Click on the Text field to enter the relevant information.
Please Note: Placeholders can be used to set up the information that will automatically be populated on the form, once it has been generated for the Patient.
Please Note: Once a Placeholder has been selected, the detail thereof will display in the desired field.
Font Family: Allows you to change the Font that is used in the field.
Click on the Font Family drop-down menu to change the font of the field.
Font Size: The size of the font that fits into the field that is being completed. It can be set bigger or smaller depending on the field size.
Click on the Font Size field to change the default font size of this field.
Please Note: the default Font Size will always be 12.
Font Style: Allows you to format the text.
Click on the Bold button to bold the text in the field.
Click on the Italics button to format the text in the field to be slanted.
Click on the Underline button to add a line to the bottom of the text in the field.
Click on the Strikethrough button to draw a line through the text.
Click on the Font Colour button to change the colour of the text in the field.
Please Note: The default Font Colour is always black.
Click on the Highlighter Colour button to select a colour to highlight the text in the field.
Please Note: The default Highlighter Colour is always white.
Letter Spacing: The Spacing between each letter can be adjusted in order to fit into the spaces or blocks on the form that need to be completed.
Text Fields: The spacing of 1 is suggested.
Block Fields: The spacing spacing of 3 is suggested.
Co-ordinates: Specifies the X and Y Co-ordinates of the precise location where information should be placed on the page when completed, to ensure accurate placement on the page.
Page Number: The number of the Page on which the customisation is done.
Sort Rearranges the order in which the fields have been added.
Click on the Sort button to rearrange the list of added fields.
The list of added fields will be rearranged according to the order in which they were added on the PDF Printover form.
Show Only Manual Questions
Allows you to filter the list of added fields to only display those that need to be filled in manually.
Click on the Show Only Manual Questions button.
The list of added fields will only show manual questions.
Click on the Show All button to remove the filter.
Expand All
Allows you to expand all the panels that have been added to the PDF Printover.
Click on the Expand All button to Expand All the panels.
Collapse All
Allows you to collapse all fields that have been expanded.
Click on the Collapse All button to Collapse All expanded fields.
All expanded fields will Collapse.
Click on the Save button to save the contents of the PDF Printoverthat you have just set up.
The PDF Printover that was set up will appear on the Workflow Event Template list.
Please Note: The Template has not been saved as yet and has been highlighted in red, the Template will first need to be Saved.
Click on the Save button to save all changes that have been made.
Please Note: The information will only be displayed once the PDF Printover form is used. For more information on How to Use the PDF Printover, please refer to the user manual: How to use the PDF Printover.