Text size
Line height
Text spacing
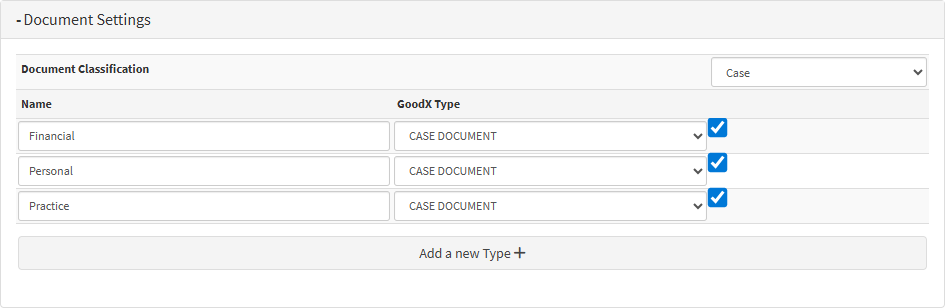
Document Settings allow the Practice to define, create, and enable various Document Types to support and promote a paperless workflow, ensuring that paperwork is organised, secure, and easy to access.
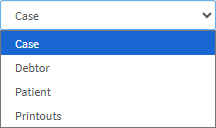
Documents are classified according to Debtor, Patient, Case, or Printout, and further sub-categorised into groups such as financial, personal, practice-related, and more. By grouping documents according to their purpose and category, the Practice can maintain consistent, structured, and compliant digital records. Document Settings also allow you to specify which documents are required, ensuring that essential document types are uploaded for every Patient. This promotes accuracy, supports legal and operational compliance, and helps the Practice maintain a fully streamlined and paperless environment.
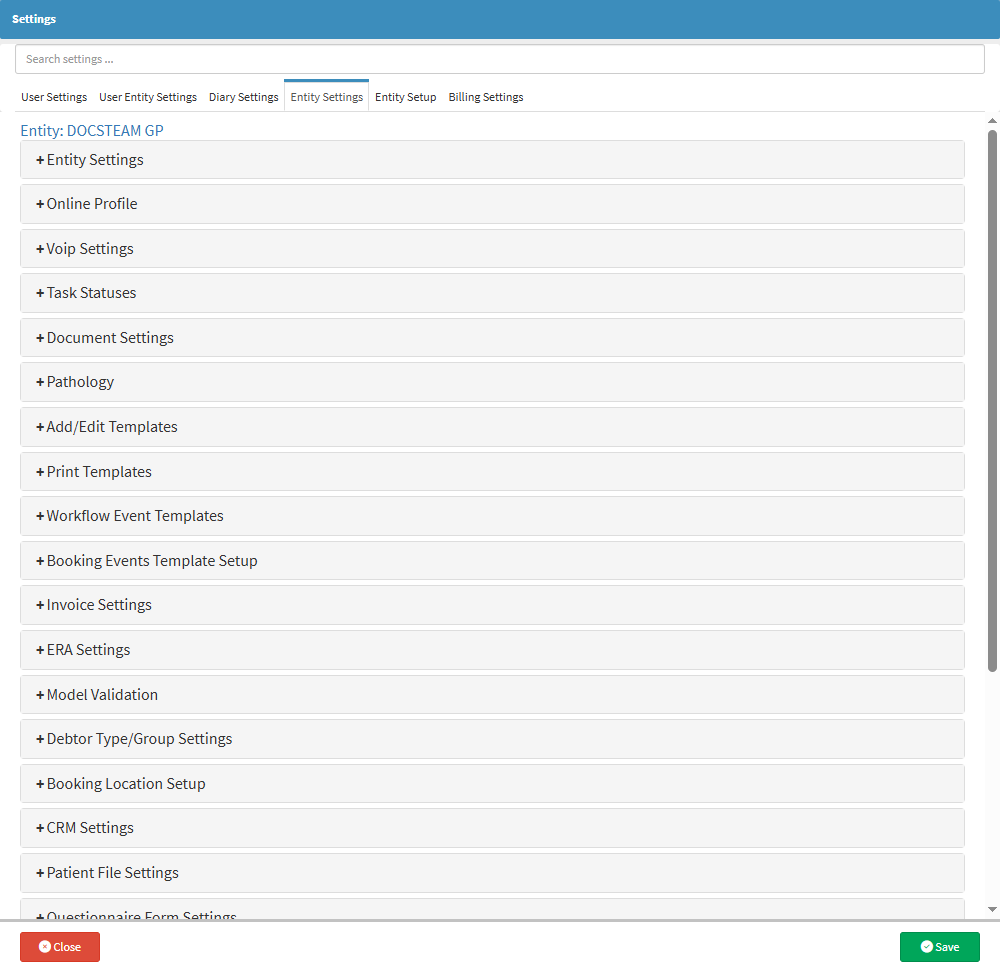
💡Please Note: Document Settings are set up per Entity so that each Entity can maintain its own customised document types and categories, according to its specific operational processes and record-keeping needs.
![]()
![]()
💡Please Note: The document types listed in the GoodX Type drop-down will change depending on the Document Classification selected.

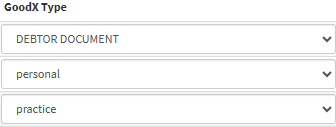
💡Please Note: The default document types are set to default options upon set-up; however, you can contact GoodX support if changes are required.
![]()
![]()
![]()
![]()