An Authorisation Factor, also known as an Authentication Factor, is a type of security credential that is used to validate a User's identity and authorisation before granting access to the system.
Please Note: Not all Users have access to the following settings. Users with admin rights, such as Practitioners, Practice Owners, and Practice Managers, have access. This is to ensure optimum security and privacy of the Practice's system.
The contents of this user manual will consist of the following information:
Access the Settings
Authorisation Factors
Add pin
Add pushnotify
Generate QR Code
Register this device
Add face
Keyfobs
Add userfob
Add stationfob
Edit and Delete
Login Combinations
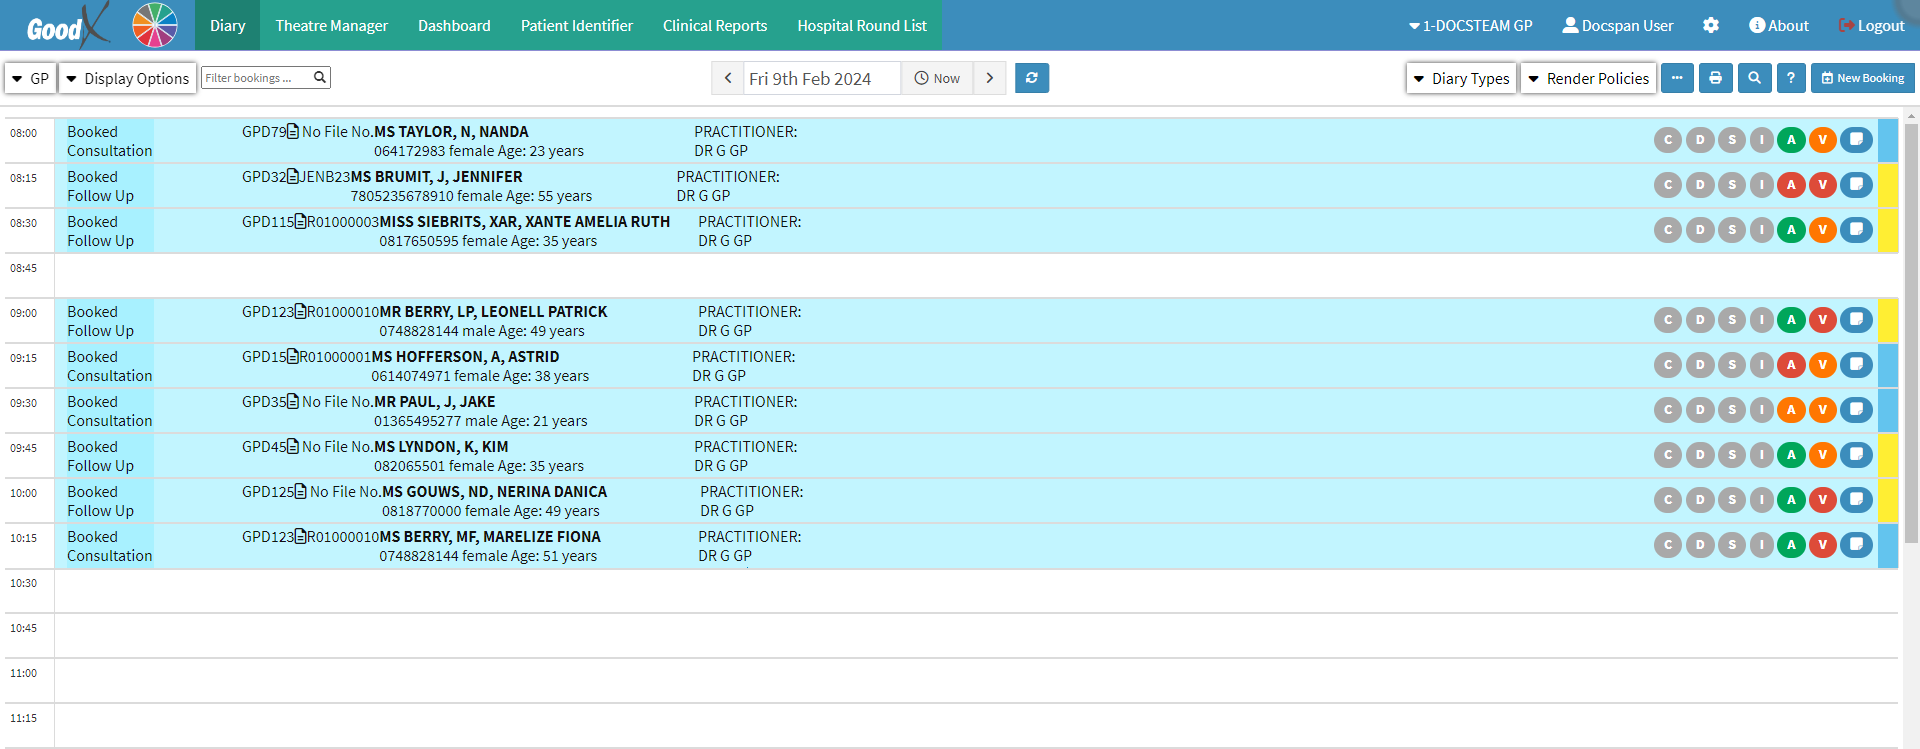
This user manual will start on the Diary screen.
Access the Settings
To access the Settings, from the Diary screen, Click on the Settings button in the top right corner.
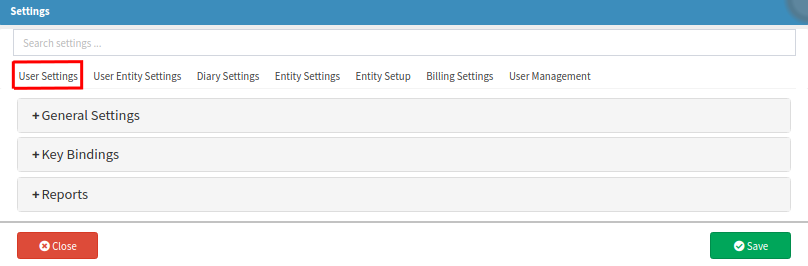
Click on the User Settings tab.
Click on the General Settings panel.
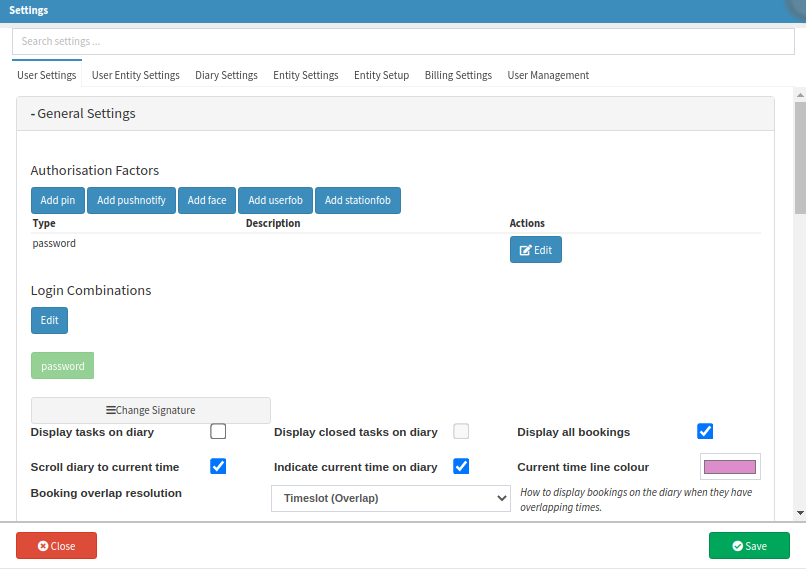
The General Settings panel will expand.
Authorisation Factors
Add pin
The user can set up a Security Pin that will be required when adding a Doctor Signature. This Pin ensures that the Doctor's signature is used securely, offering an extra layer of security against unauthorised Users.
Click on the Add pin button.
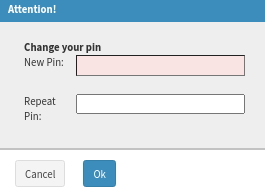
An Attention! pop-up will open asking the user to Change the Pin by adding and repeating the New Pin in the text fields.
Please Note: The Pin must be at least Four Characters.
Click on the Cancel button to exit the Attention! pop-up without Saving any changes.
Click on the Ok button to Save the Device Name and to continue.
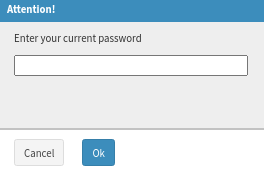
An Attention! pop-up will open asking the User to Enter the User's current Password used to log into the system.
Typethe Current Password in the text field.
Clickon the Cancelbutton to Exit the Attention! pop-up without Saving any changes.
Click on the Ok button to continue.
The newly added Pin Authentication Factor will show underneath.
Add pushnotify
Pushnotify is the function name on the system for login Push Notifications. Push Notifications are clickable pop-up Messages that appear on a Users’ Device. These Notifications asks the User to either Approve or Deny login requests.
Click on the Add Pushnotify button.
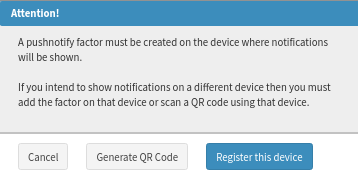
An Attention! pop-up will open stating that the Pushnotify Factor must be created on the Device where Notificationswill be shown.
Click on the Cancel button to exit the Attention! pop-up.
Click on the Generate QR Code button to generate a QR code that should bescanned byanother Device.
Click on the Register this Device button to register the Device you are currently on.
Generate QR Code
Click on the Generate QR Code button to generate a QR code that should bescanned bydifferent Device.
Please Note: For the purpose of this user manual, the User is registering a Cellphone.
An Attention! pop-up will open asking the user to Enter a Name for the Device.
Typethe Device Name in the text field.
Clickon the Cancelbutton to exit the Attention! pop-up without saving any changes.
Click on the Ok button to save the Device name and to continue.
An Attention! pop-up will open asking the user to Enter the User's Current Password used to log into the system.
Typethe Current Password in the text field.
Clickon the Cancelbutton to exit the Attention! pop-up without saving any changes.
Click on the Ok button to continue.
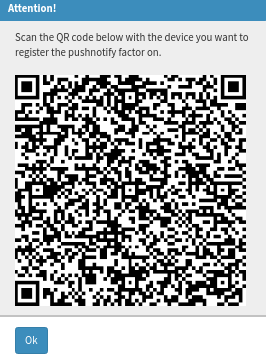
An Attention! pop-up will open asking the user to scan the generated QR code with the Device the User wants to register the Pushnotify Factor on.
With the selected Device, use any QR Scanning Application, ensuring that the QR code is inside the frame.
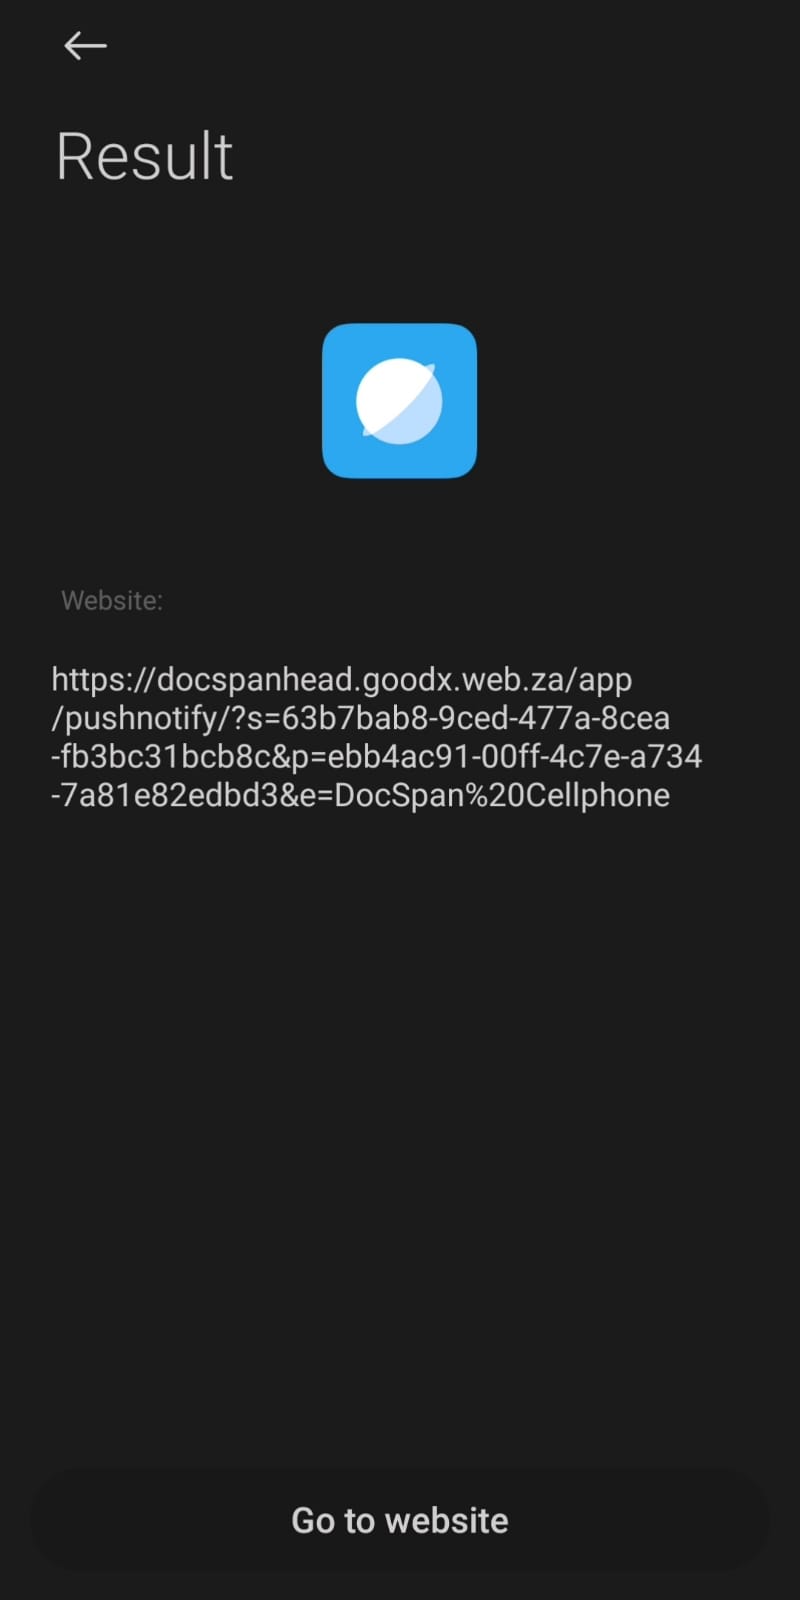
Once the user Scanned the QR code, a Link will show as a result where the Pushnotify Factor needs to be registered.
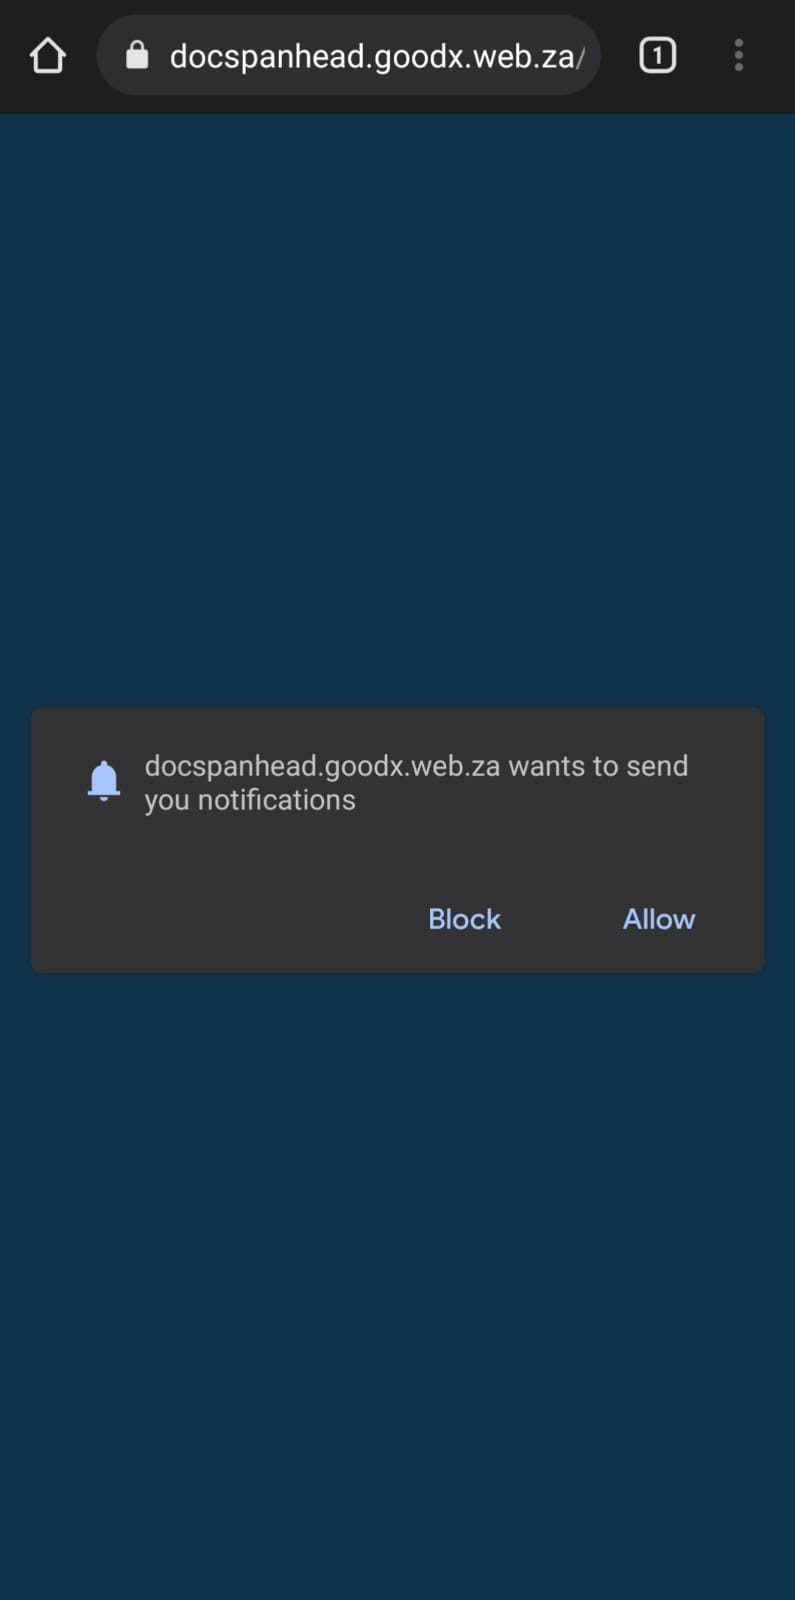
Once the user Navigated tothe Link, the screen will show that it is busy Working.
The User's Device will then ask the user to Allow Notifications from this site.
Select the Allow option, otherwise, the Pushnotify Factor registration will fail.
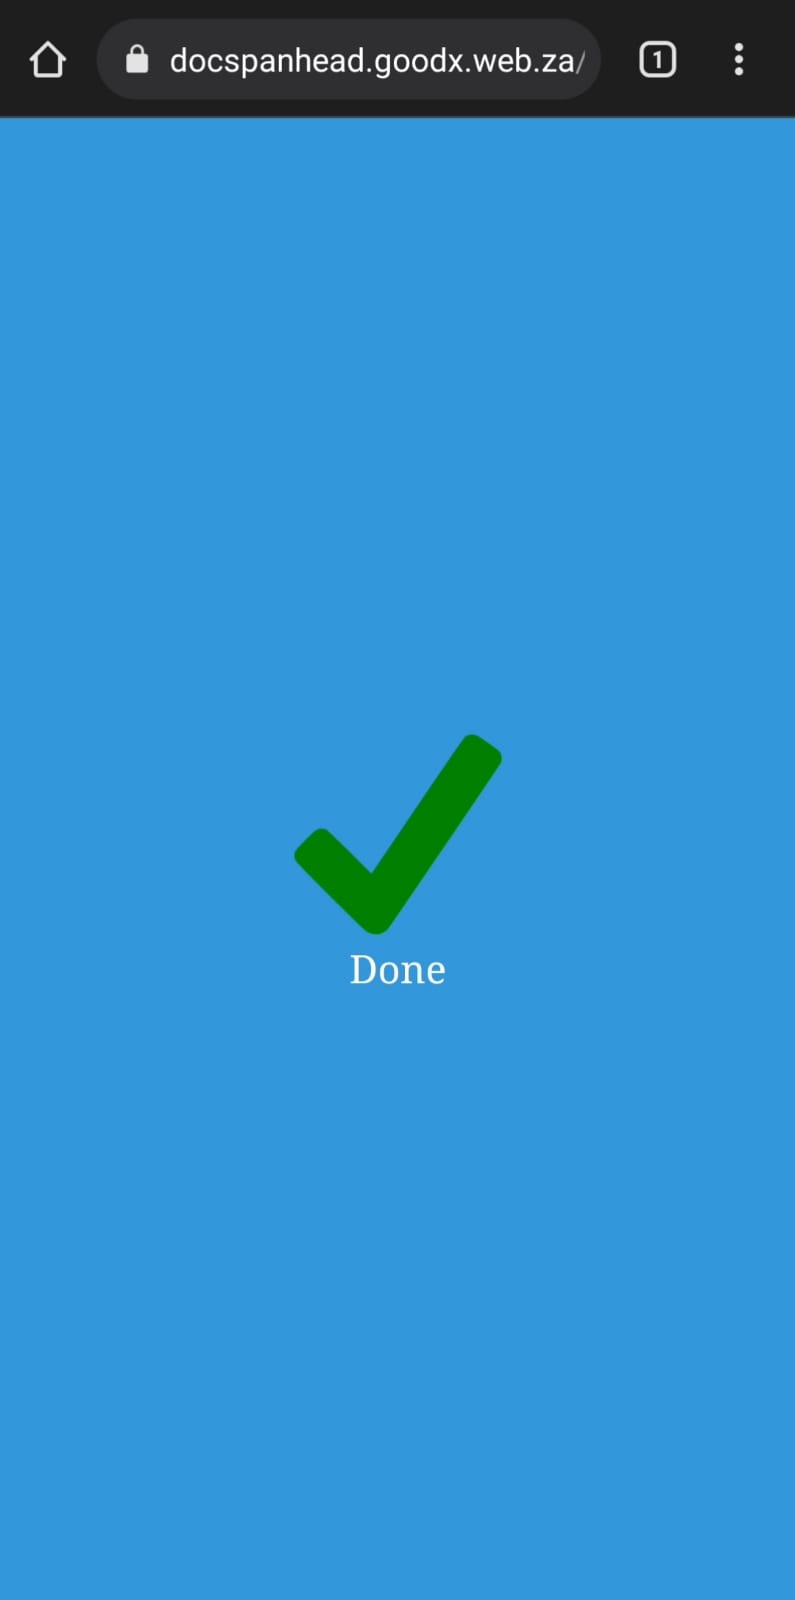
Once registered, the Device's screen will display a Green Checkmark indicating that it is Done.
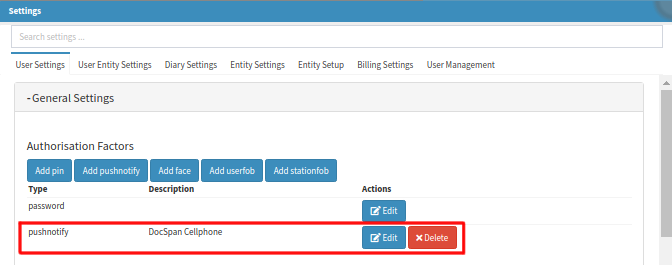
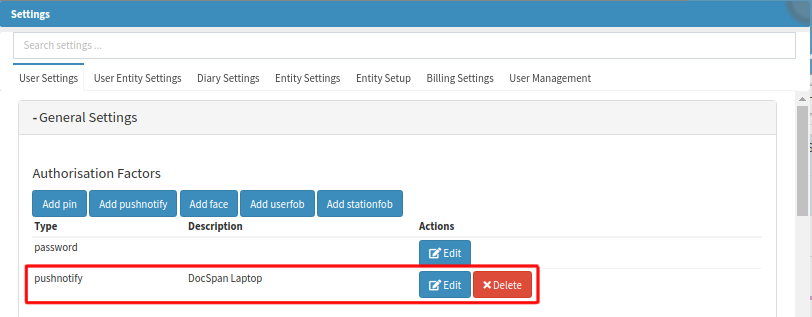
The Newly Added Pushnotify Authentication Factor will show underneath.
Register this Device
Click on the Register this Device button to Register the Device you are currently on.
An Attention! pop-up will open asking the user to Enter a Name for the Device.
Typethe Device name in the text field.
Clickon the Cancelbutton to exit the Attention! pop-up without saving any changes.
Click on the Ok button to save the Device name and to continue.
An Attention! pop-up will open asking the user to Enter the User's Current Password used to log into the system.
Typethe Current Password in the text field.
Clickon the Cancelbutton to exit the Attention! pop-up without saving any changes.
Click on the Ok button to continue.
The newly added Pushnotify Authentication Factor will show underneath.
Add face
To log into the system, the User can enable Face Recognition. Facial Recognition is a technique that can authenticate a User based on a digital image or a video frame from a video source.
Click on the Add face button.
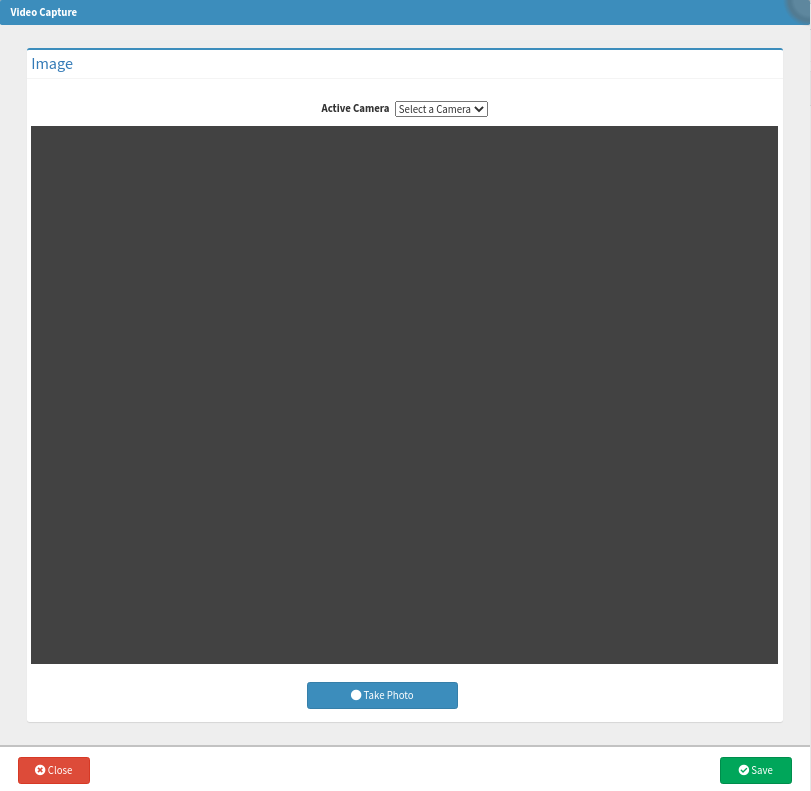
The Video Capture screen will open.
At the Active Camera drop down menu, Select a camera that you will use to take a photo of your face.
Ensure that the selected camera is turned on and allowed in the Google Chrome settings.
Once a camera is selected, ensure that the user looks straight into the camera and that the User's face is in the video capture block.
Click on the Take Photo button to capture the User's photo.
Once a photo is taken, the user has the option to click on the Clear button if the photo needs to be taken again.
Click on the Close button to exit the Video Capture screen without saving the captured photo and to try again.
Click on the Save button to save the captured photo.
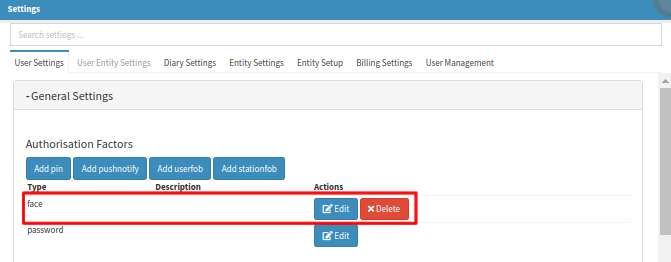
The Newly added face Authentication Factor will show underneath.
Keyobs
To log into the system, the user can enable a Keyfob. A Keyfob, also known is a small piece of security hardware with built-in Authentication that is used to control and secure access to mobile Devices, computer systems, network services, and data. It is a remote and keyless entry system. In the GoodX Web App, a User can set up a Keyfob per user or per station.
Add Userfob
Set up a Keyfob per User.
Click on the Add userfob button.
Ensure that the User has their user-specific security key (Keyfob) ready.
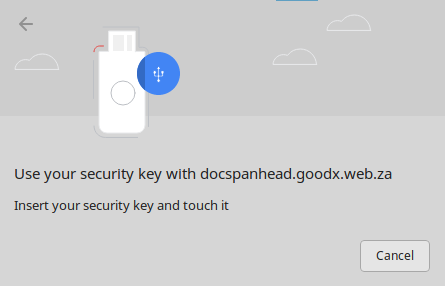
A pop-up screen will open stating that the user inserts the security key into the Device and to touch it.
Click on the Cancel button to close the pop-up screen without saving the security key.
Click on the Save button.
The Newly Added Userfob Authentication Factor will show underneath.
Add stationfob
Set up a Keyfob per station.
Click on the Add Stationfob button.
Ensure that the user has their station-specific security key (keyfob) ready.
A pop-up screen will open stating that the user inserts the security key into the device and to touch it.
Click on the Cancel button to close the pop-up screen without saving the security key.
Click on the Save button.
The Newly Added Stationfob Authentication Factor will show underneath.
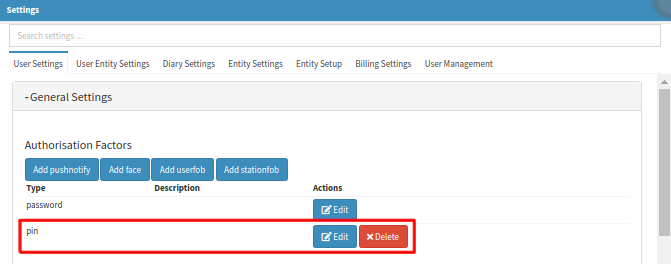
Edit and Delete
Under the Authorisation Factor buttons, the user can find all the existing and newly created Authorisation Factors. From here, the user has the option to either Edit or Delete an existing Authorisation Factor.
Edit
To edit an Authorisation Factor, Click on its respective Edit button.
Password: An Attention! pop-up will open asking the user to type in the New Password and to repeat the new password.
Pin: An Attention! pop-up will open asking the user to type in the New Pin and to repeat the new pin.
Pushnotify: An Attention! pop-up will open stating that the pushnotify factor must be created on the Device where notifications will be shown.
Face: The Video Capture screen will open where the user can take a photo of their face that must be recognised.
Userfob: ...
Stationfob: ...
Delete
To delete an authorisation factor, Click on its respective Delete button.
Take note that the Password authorisation factor cannot be deleted.
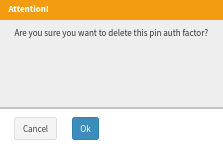
Once the user clicks on a Delete button, an Attention! pop-up will open asking whether the user is sure that they want to delete the selected authorisation factor.
Click on the Cancel button to exit the Attention! pop-up without saving any changes.
Click on the Ok button to confirm the deletion.
Click on the Close button to exit the Settings screen without saving any changes made and to return to the Diary screen.
Click on the Save button to save the changes made and to return to the Diary screen.
Login Combinations
Login Combinations serve as extra layers of security and privacy when logging in to the system and when populating a doctor's signature on clinical notes.
A Login Combination always consists of a password with additional Authorisation Factors within GoodX Web; such as the pin, pushnotify (push notifications), face (facial recognition), and keyfob factors.
For more information, please refer to the user manual: Login Combinations.