Text size
Line height
Text spacing
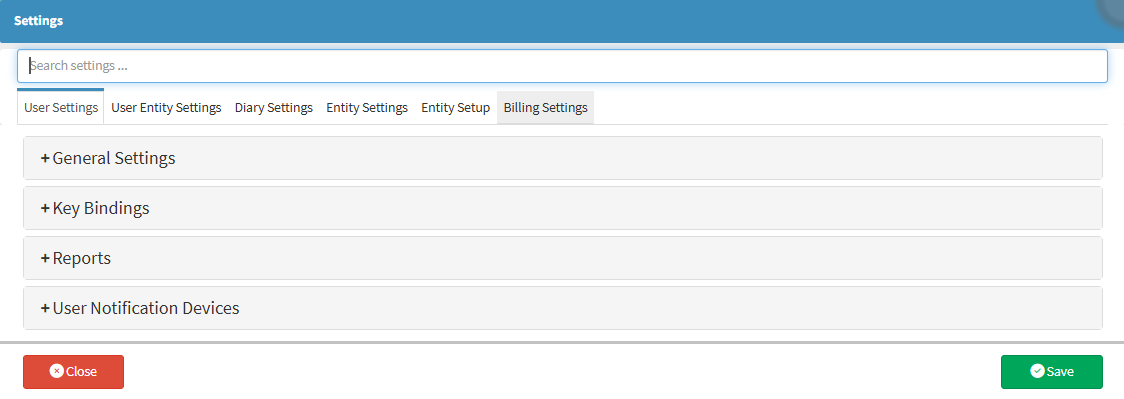
Report Settings allow the Practice to customise how reports are generated within the system, ensuring that financial and operational data reflect the Practice’s specific requirements. Within these settings, users can select billing codes to be excluded from the Turnover Report, ensuring that only relevant items contribute to the Practice’s turnover calculations.
This is particularly useful in scenarios where multiple Practitioners operate within the same facility but maintain their own independent turnover. By excluding their codes, the Practice can accurately report its financial performance without including income that does not belong to the Practice. This level of customisation supports precise reporting, enhances financial transparency, and prevents misinterpretation of revenue figures.
By configuring these settings, the Practice can maintain accurate, meaningful, and tailored reports that align with operational and administrative requirements, supporting efficient analysis and decision-making.
💡Please Note: User Entity Settings will always override Entity and Diary settings for the specific User. If the User Entity Settings are not set up, the Settings will default back to the Entity Settings.
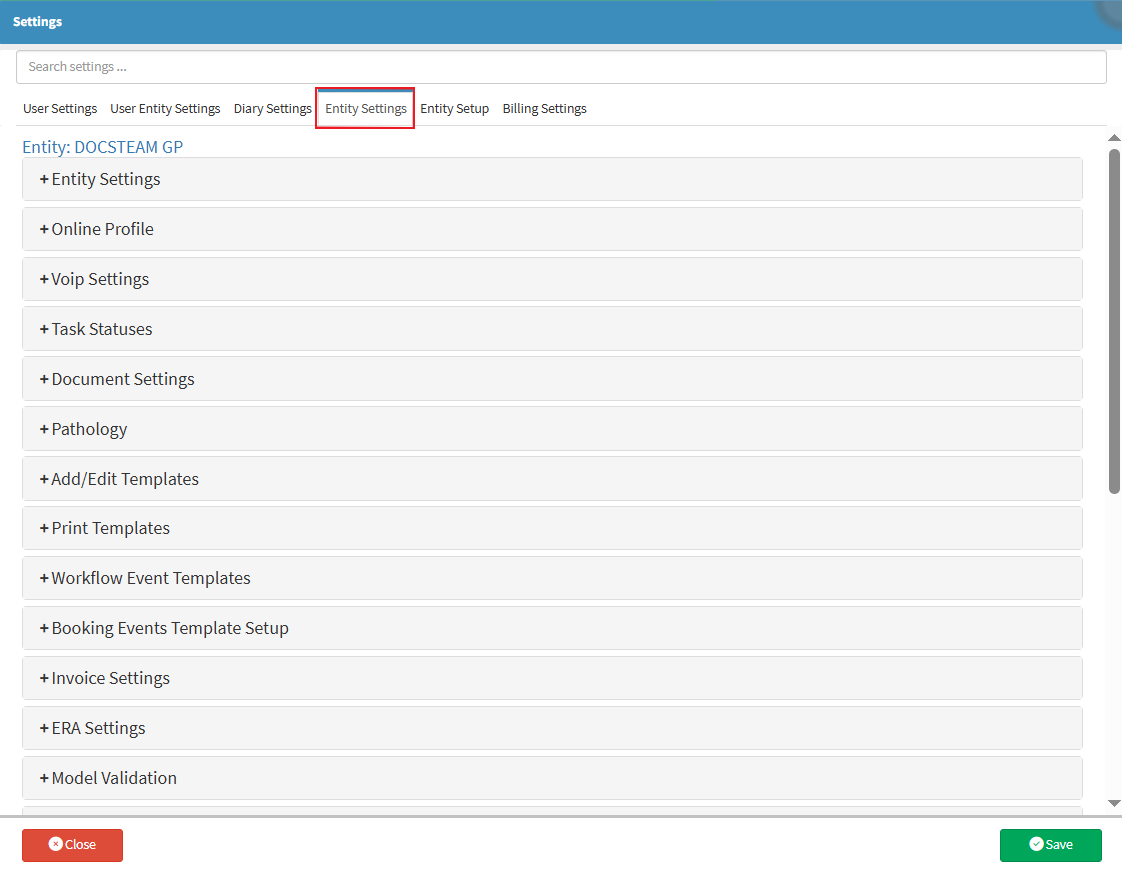

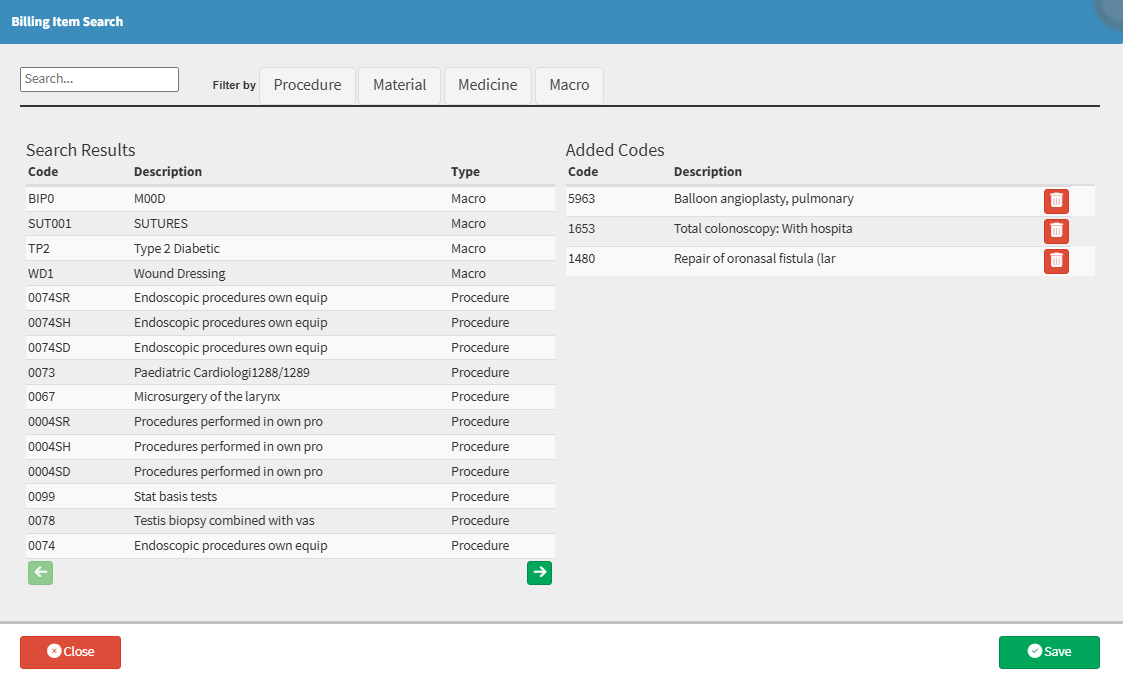
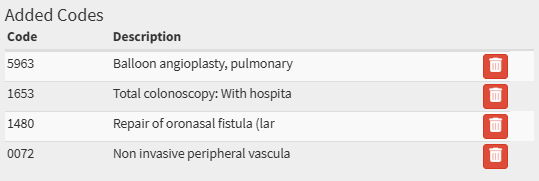
Allows you to create an exclusion list of Billing Items that will not display on the Entity's Turnover Report.
![]()
![]()

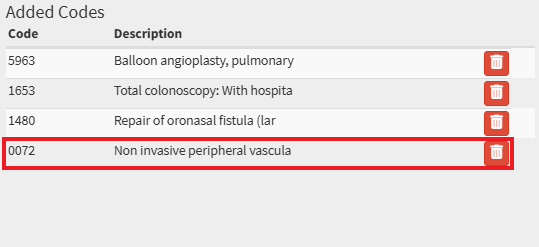
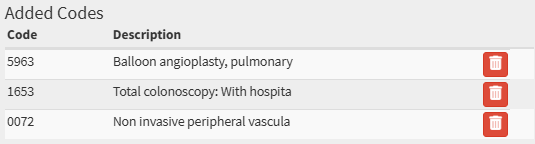
Allows you to reinstate all Billing or Procedure Items that have been excluded from the Turnover Report. This helps keep the Practice’s reports accurate, up to date, and aligned with its specific reporting requirements.
![]()

![]()