Text size
Line height
Text spacing
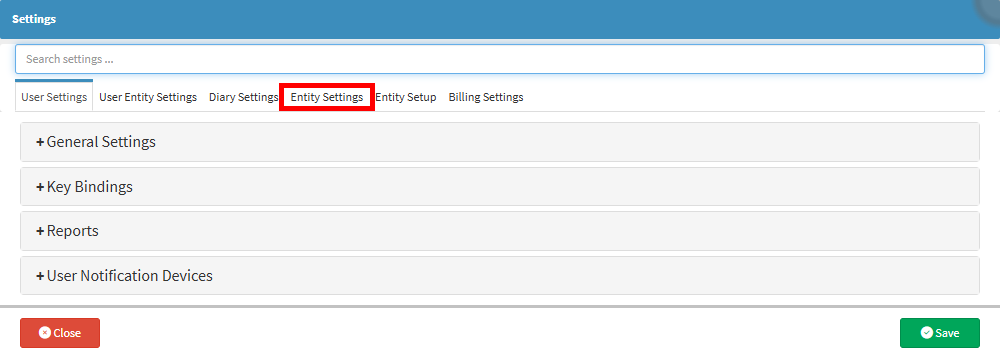
Entity Settings enable a Practice to configure and customise a wide range of preferences and functions at the Entity level, allowing each Entity to operate in a way that best suits its specific workflow and needs. This includes settings for Online Profiles, VoIP, Tasks, and Documents, as well as the setup of Templates, Forms, and other configurations linked to Patient Files and Case Management.
Entity Settings define how functions behave within the Entity, enabling smooth workflows, accurate documentation, and an overall tailored experience that aligns with the unique requirements of the Practice. By setting preferences at the Entity level rather than per User, the Practice can ensure consistency, efficiency, and standardisation across all operations while still allowing for flexibility where required.

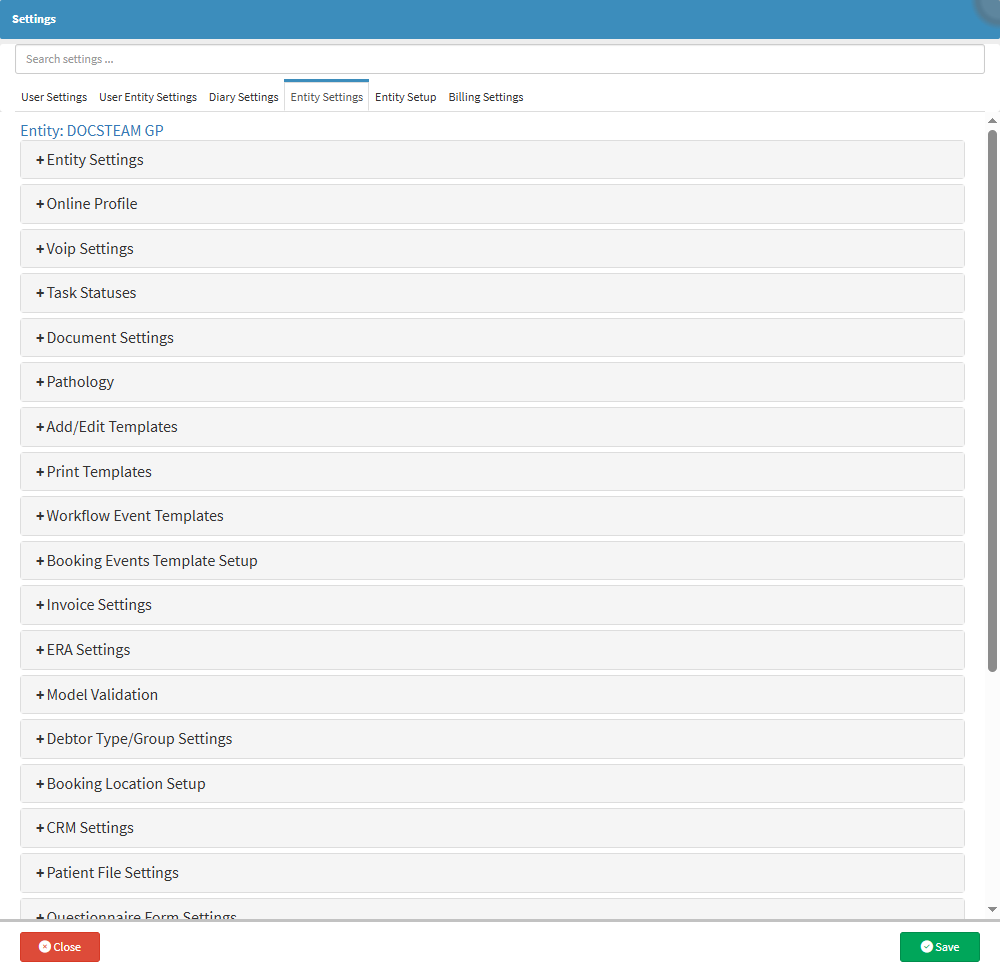
Entity Settings are essential for ensuring that a Practice's operational and administrative processes run smoothly and efficiently. Since these settings are configured per Entity rather than per User, they allow for a customised system setup that aligns with the specific needs and workflow of the Practice. By defining how key functions operate - such as Invoicing, Payment Requests, Cash Register usage, and Diary Access - Entity Settings ensure consistency across the Practice while still allowing flexibility in how different entities function. This level of customisation enhances efficiency, improves financial and administrative control, and ensures that the system supports the Practice's unique requirements, ultimately contributing to better overall management and service delivery.
![]()
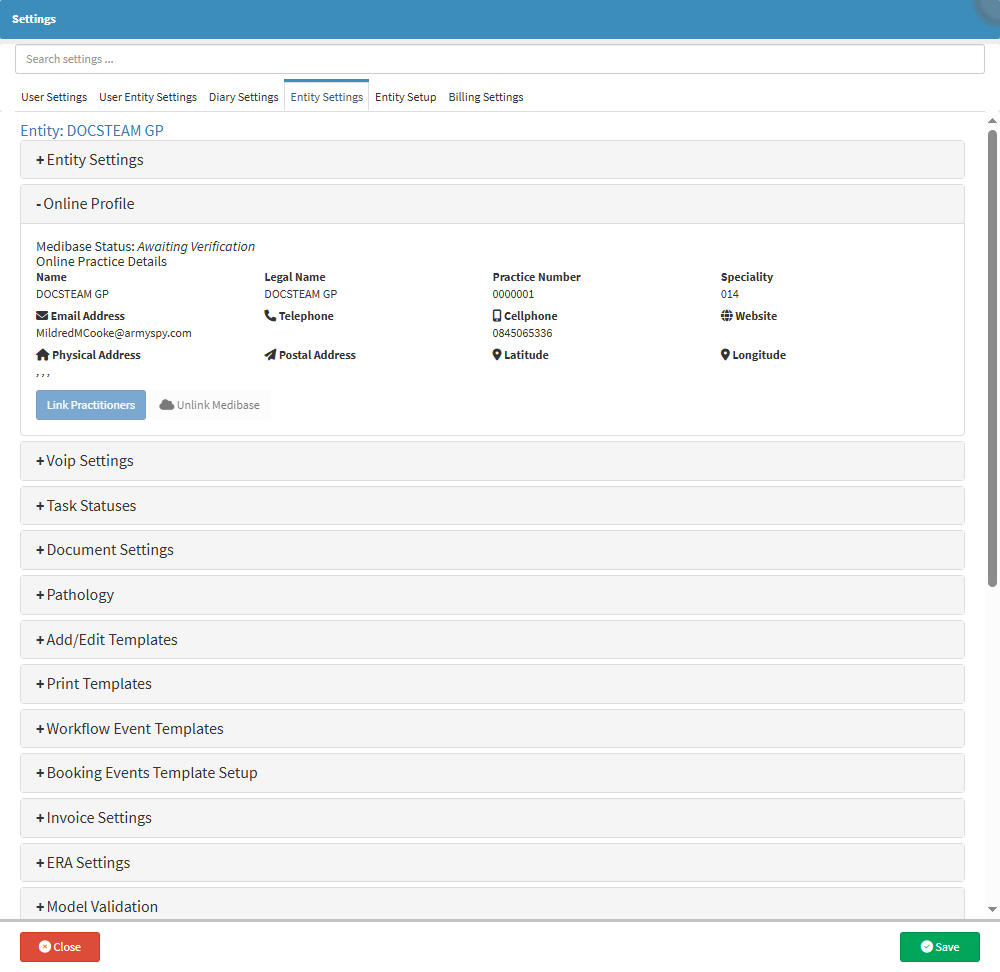
The Practice can link the Entity to Medibase, which is the largest, most accurate, most complete and most up-to-date source of healthcare contact information available. The Medibase directory is freely available to GoodX clients.
![]()
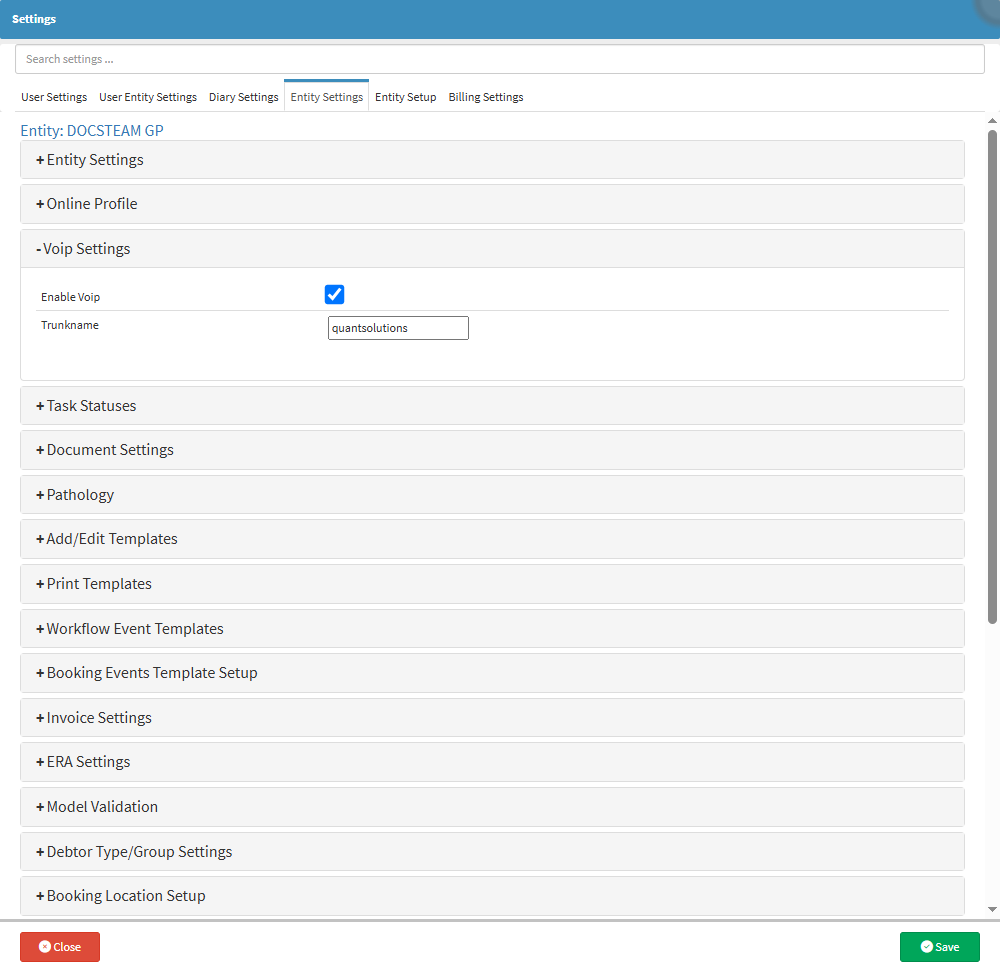
A VoIP Call (Voice over Internet Protocol) allows you to make voice calls using an internet connection instead of a regular telephone line. Calls made to a VoIP number allow sharing of a phone number across multiple devices, which means the call can be answered from any device, which will eliminate missed calls from Patients. VoIP calls are cheaper than regular calls and have a higher-quality sound.
![]()
The Practice can customise Task Statuses to streamline Task management. Additionally, the Task screen can accommodate additional columns for statuses as needed, enhancing flexibility in task tracking and organisation.
![]()

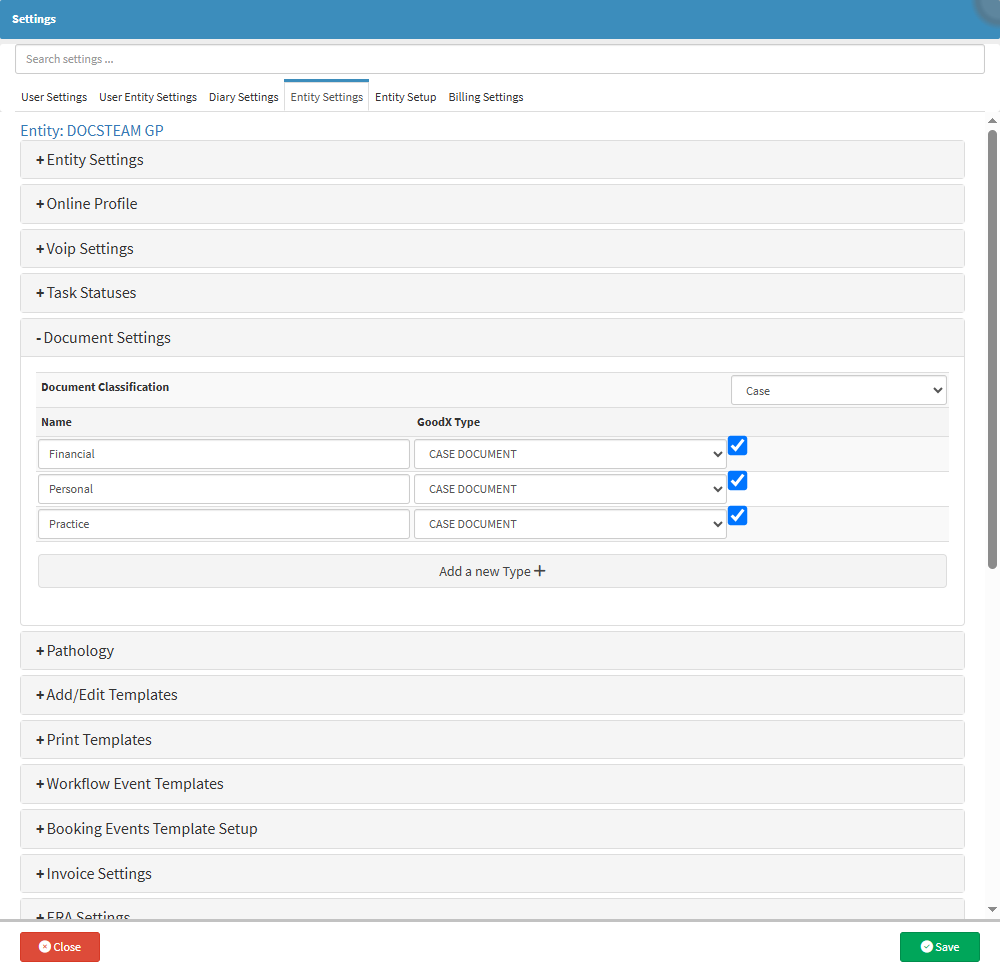
Creating and enabling Document Classifications promotes a paperless environment within the Practice. This setting encourages the scanning and uploading of all Documents and papers into the GoodX system, allowing for organised grouping of Documents into specific types.
![]()
Pathology settings allow Practices to configure how laboratory tests and results are managed within the system. Since Entity Settings are applied per Entity (not per user), they ensure that the program aligns with the specific needs of the Practice. Pathology is used for conducting and overseeing laboratory tests on body fluids, such as blood work and other diagnostic samples.
![]()

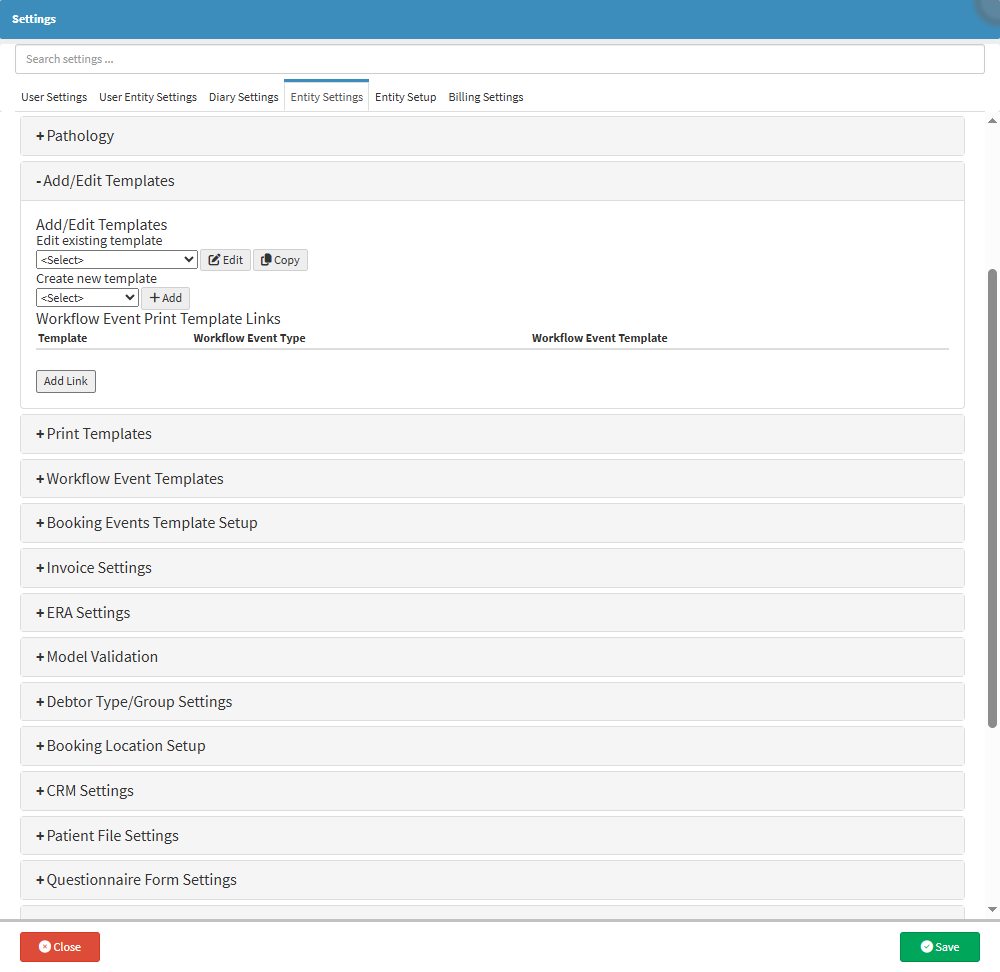
This panel allows for custom Templates to be set up for certain types of documents, such as Statements, Invoices and Receipts.
💡Please Note: The initial setup for Printing Templates will need to be done by your designated FCL.
![]()
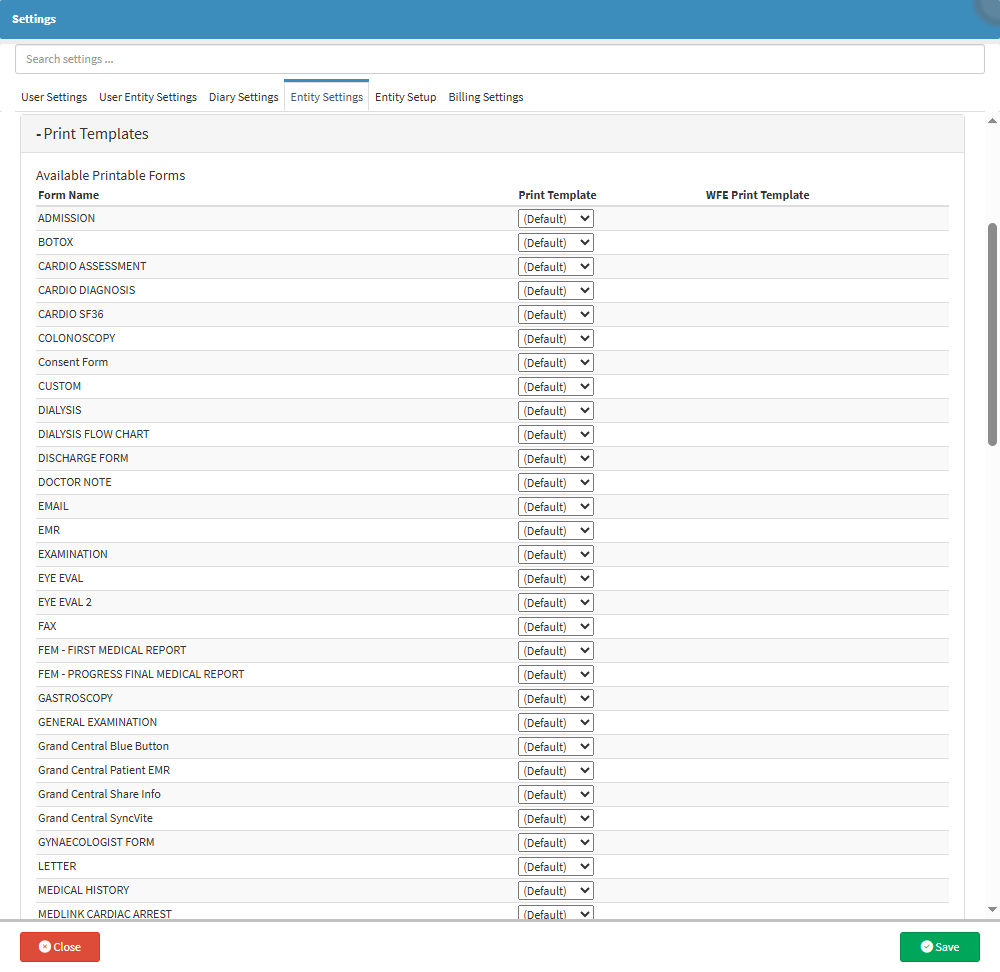
All the available Printable Forms for the Practitioners to use in the Practice. Practitioners will use different forms depending on their Speciality.
💡Please Note: Not all forms on the list will be available for everyone, and some might need setup upon request.
![]()
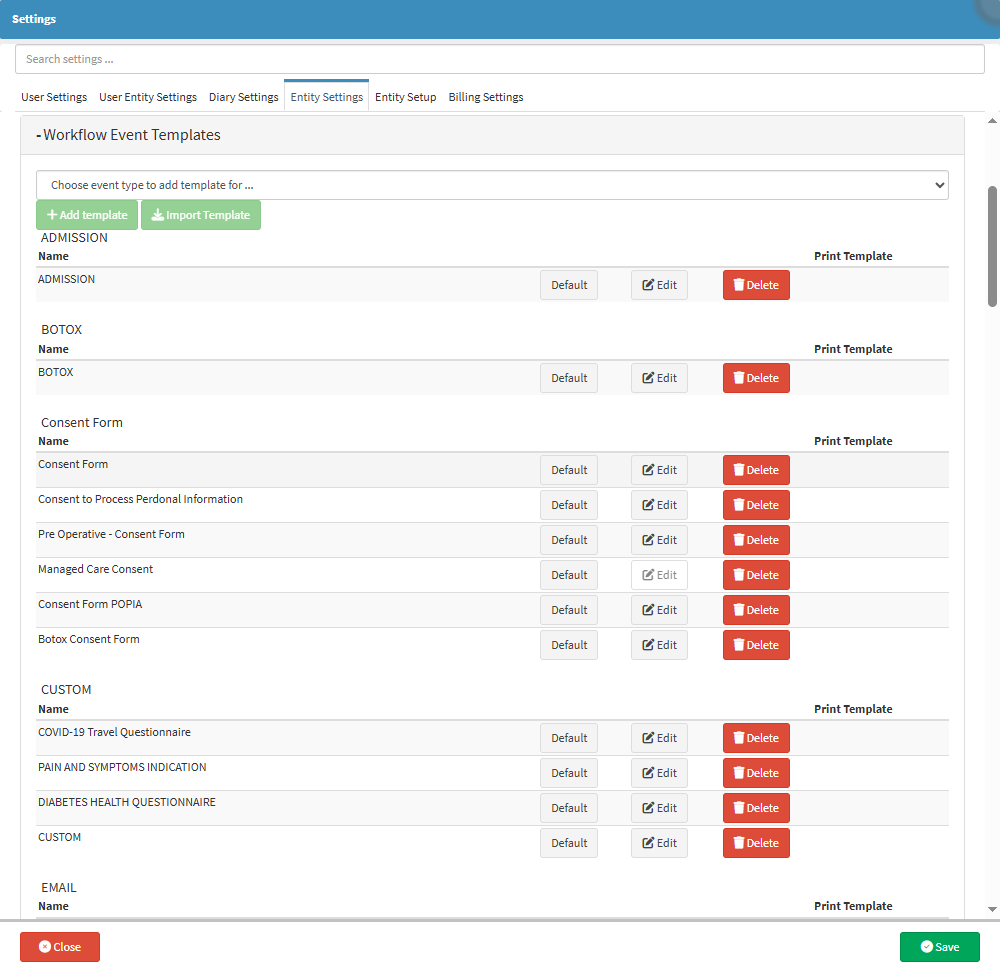
Workflow Events are actions that are created in the system to integrate Tasks and Forms as part of the Clinical Information. Templates are used to make the process of filling in and documenting Patient notes easier and more efficient. Different Workflow Event Templates are available, for example, General Examination, Scripts, Sick Notes, etc.
![]()
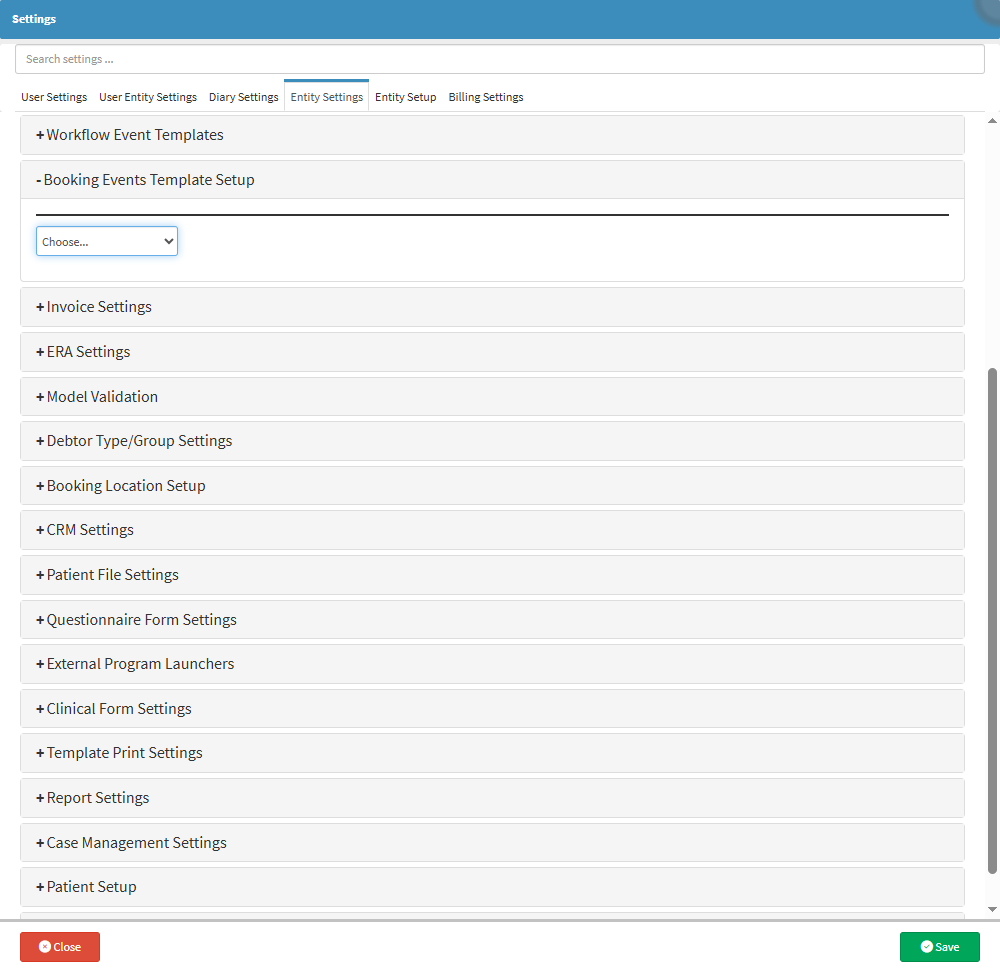
This allows you to set up custom communication events using Workflow Event Templates to schedule them to be sent out before or after the booking takes place or at a specific time, which will be triggered when a booking is made on the Diary. This saves time and allows the Patient to complete forms before they visit the Practice, and surveys after they have been to the Practice. This also ensures that communication from the Practice is automated.
![]()
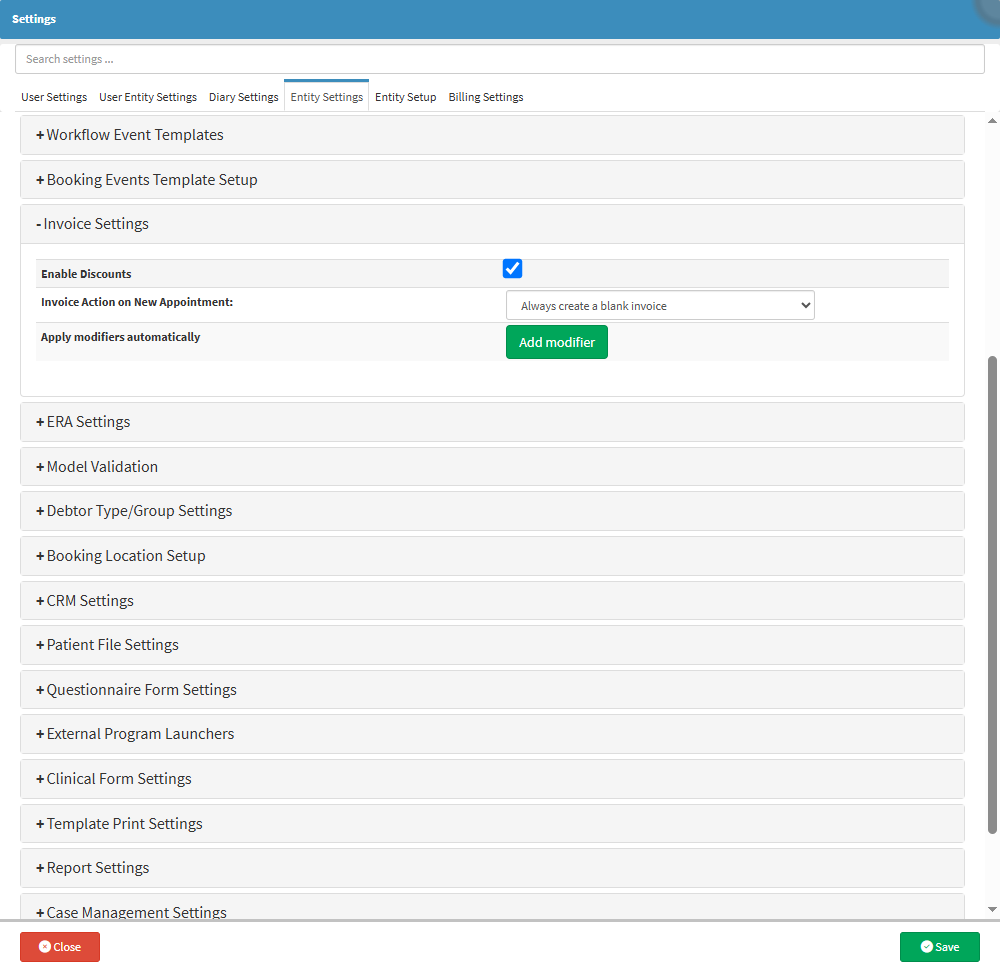
This panel allows you to Enable Discounts and add Actions that are triggered on Invoices when new appointments are made on the Diary and to set up Modifiers that will automatically apply.
![]()
Setting up your ERA (Electronic Remittance Advice) settings will allow you to receive ERAs from Medical Aids after submitting claims.
![]()

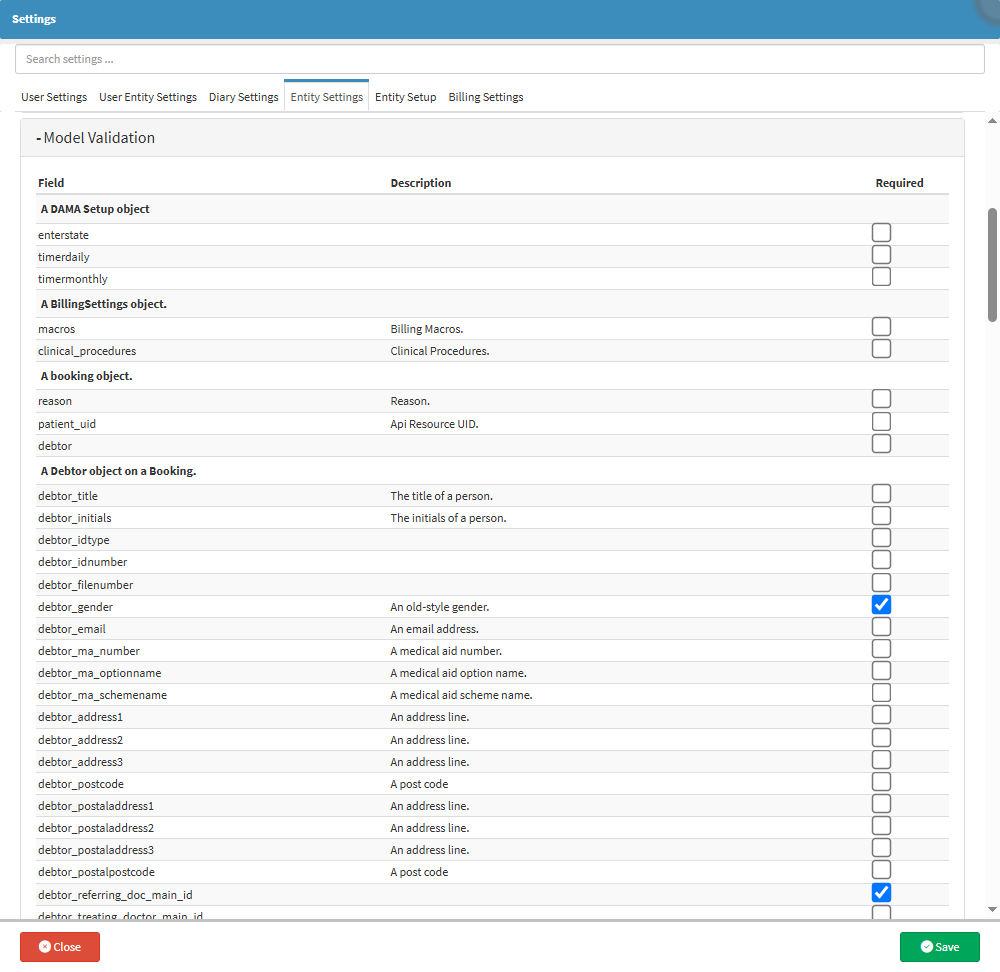
This panel allows you to select what fields are marked as required on certain screens. All the fields that are marked as required in the Model Validation that are not completed on the relevant screens will block the user from saving the changes on the specific screen.
![]()
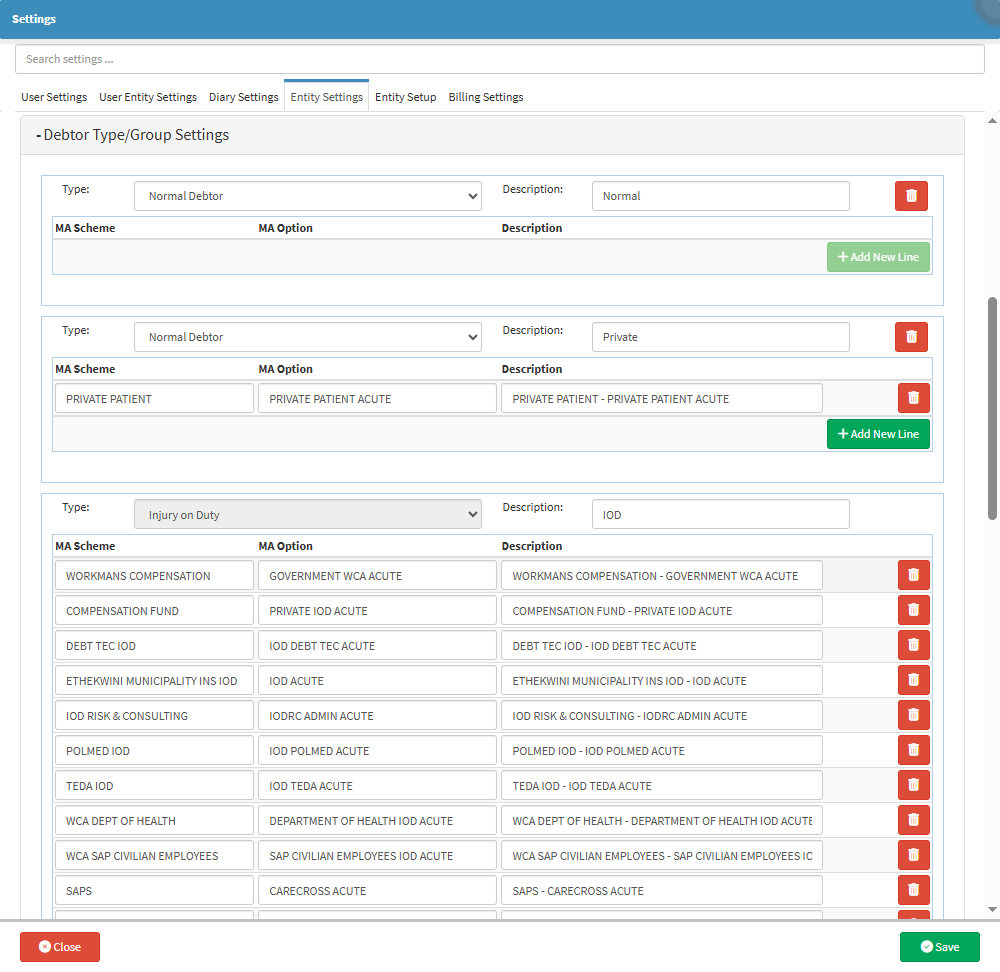
Allows you to set up your own Debtor Types/Groups to help classify Debtors, for example, Normal, Private/Medical Aid Debtors, Injury on Duty Debtors OR Insurance Debtors.
![]()
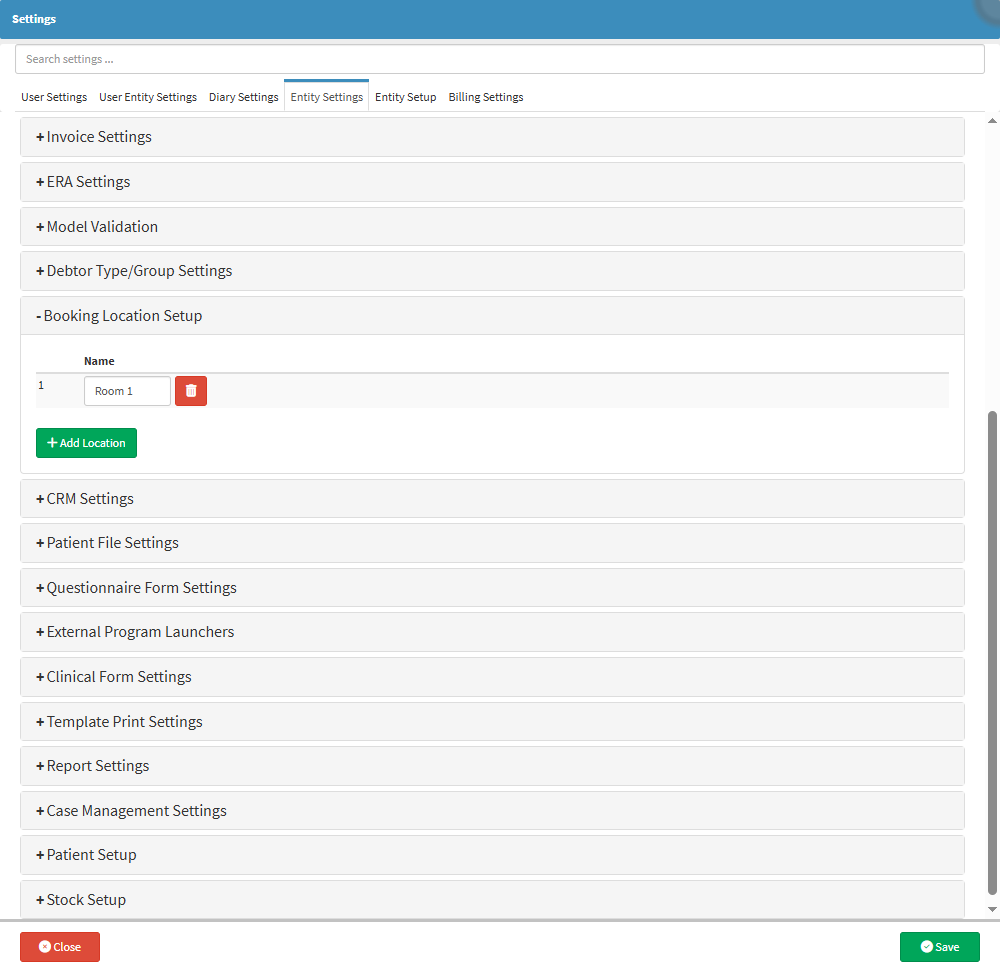
The setup of Booking Locations makes it easy to allocate Patients to a specific treatment room. This is beneficial in large Medical Practices/Day Clinics/Hospitals with multiple consultations or treating rooms. This will indicate where each Patient is within the Practice on the Diary to see which rooms are open and or occupied.
![]()
The CRM settings are used to determine how and where the Patients heard about the Practice for marketing purposes.
![]()

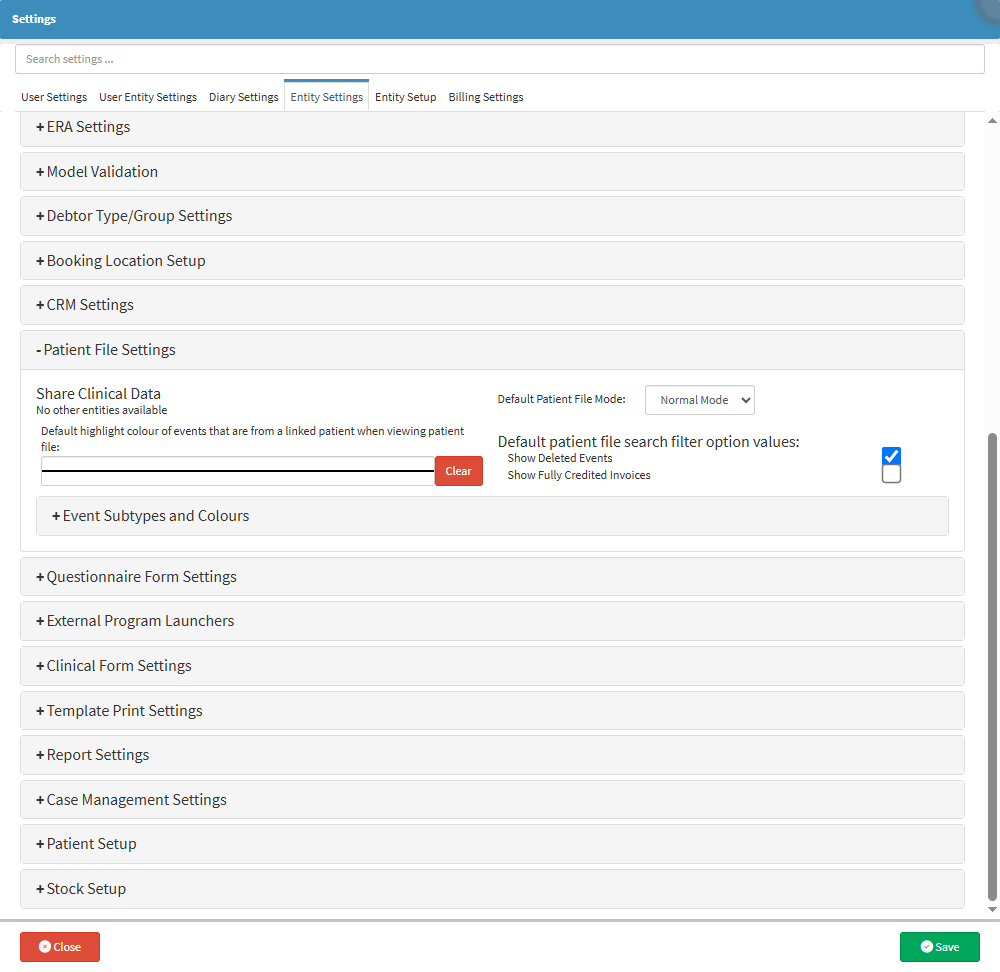
Used to set up the settings that determine what the Patient File screen will look like in the system. It is also used to control what Clinical Data can be shared with other Entities, and to configure Event Subtypes and Colours for the Patient’s Clinical History.
![]()
This panel allows you to set up a form that can be displayed on Bookings, which gathers vital information regarding the Patient. The form can be sent out to the Patient or Debtor with Bookings, and the information can determine certain factors regarding the Patient or Debtor's answers.
![]()

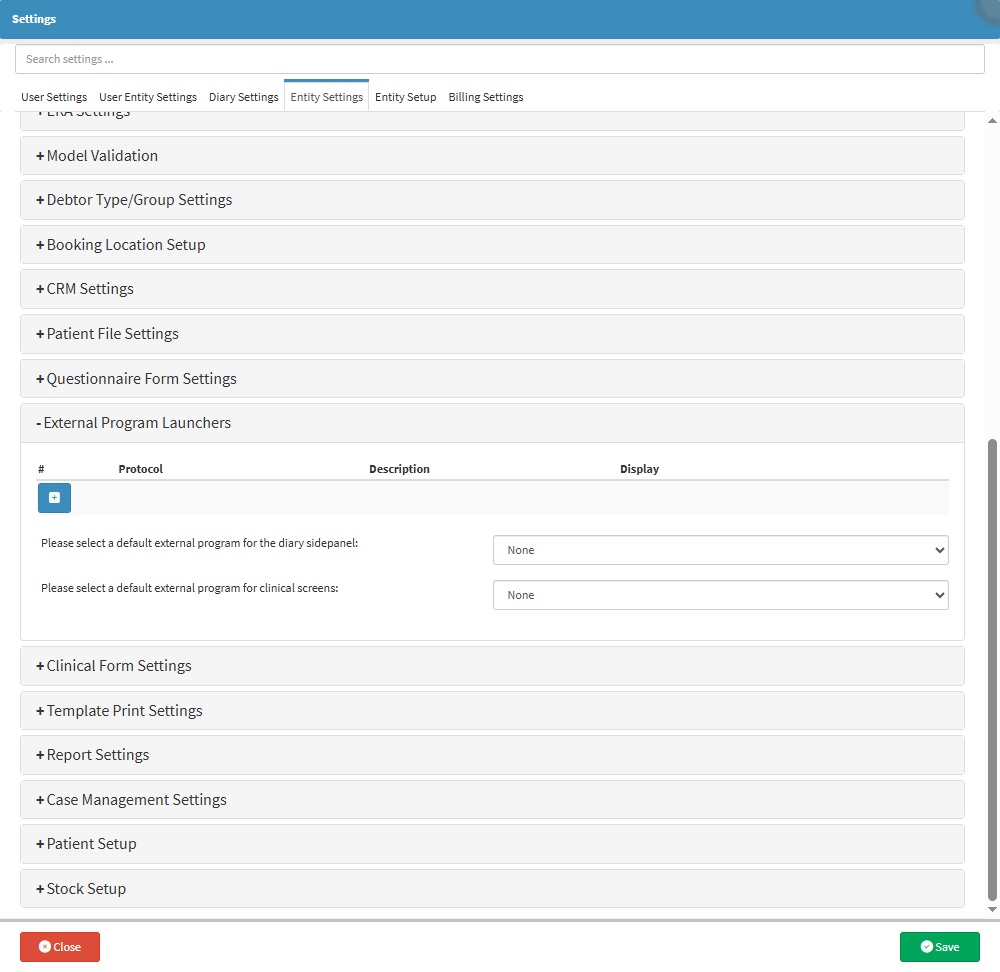
Enabling the External Program Launchers allows the Practitioner to access a multitude of external programs. A Practitioner is able to launch an external program from within the GoodX Web App, such as the Kodak X-ray machine.
![]()
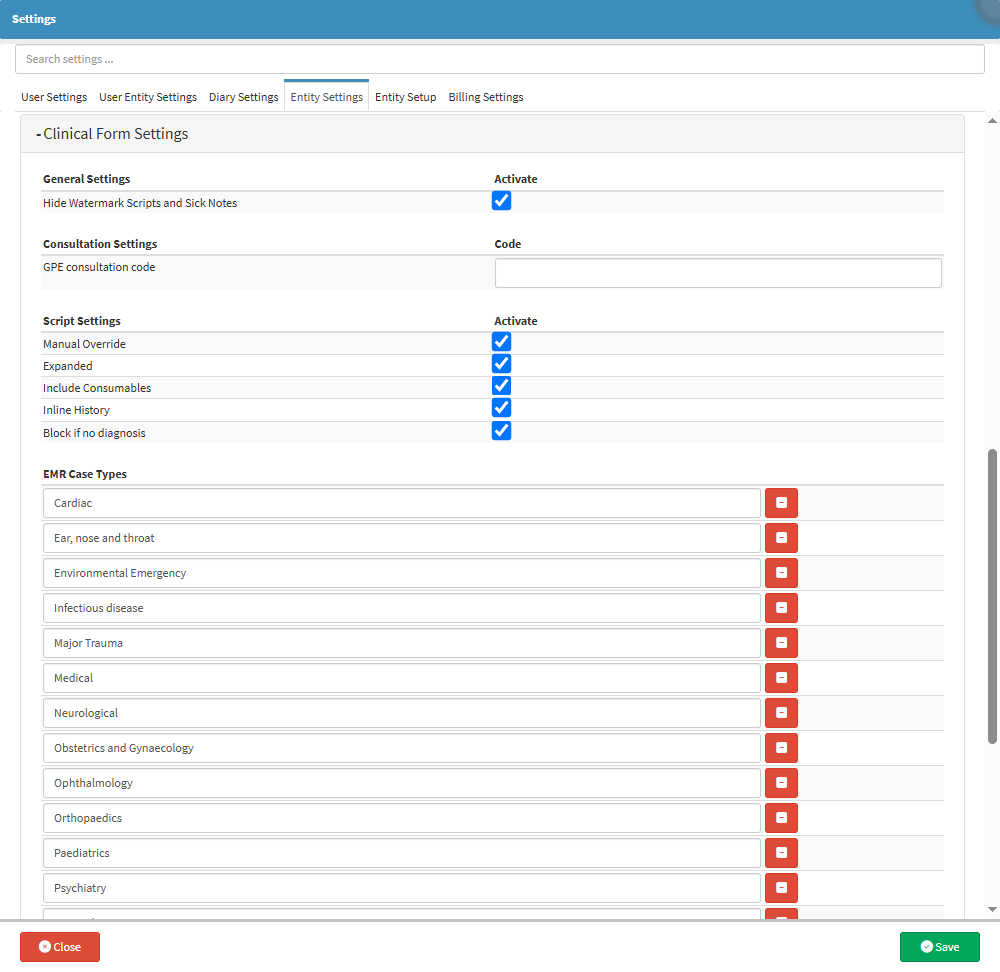
The Clinical Form Settings include the Script and Sick Note settings. These settings are designed to support accurate prescribing and documentation, ultimately contributing to better health outcomes. Correct medication use is one of the most important factors in ensuring effective treatment, and properly configured prescription settings assist the Practitioner in prescribing medication safely, efficiently, and in line with medical standards.
![]()
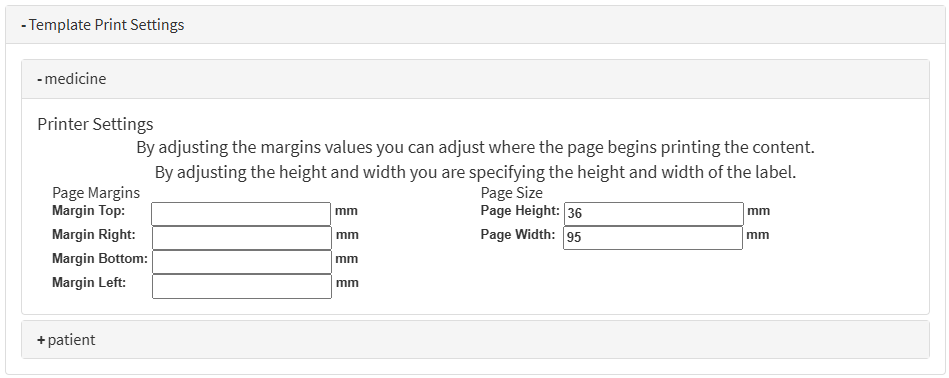
Template Print Settings will allow you to set up and configure the sizes and margins of Patient and Medicine Labels when printed.
💡Please Note: The initial setup for Printing Templates will need to be done by your designated FCL.
![]()
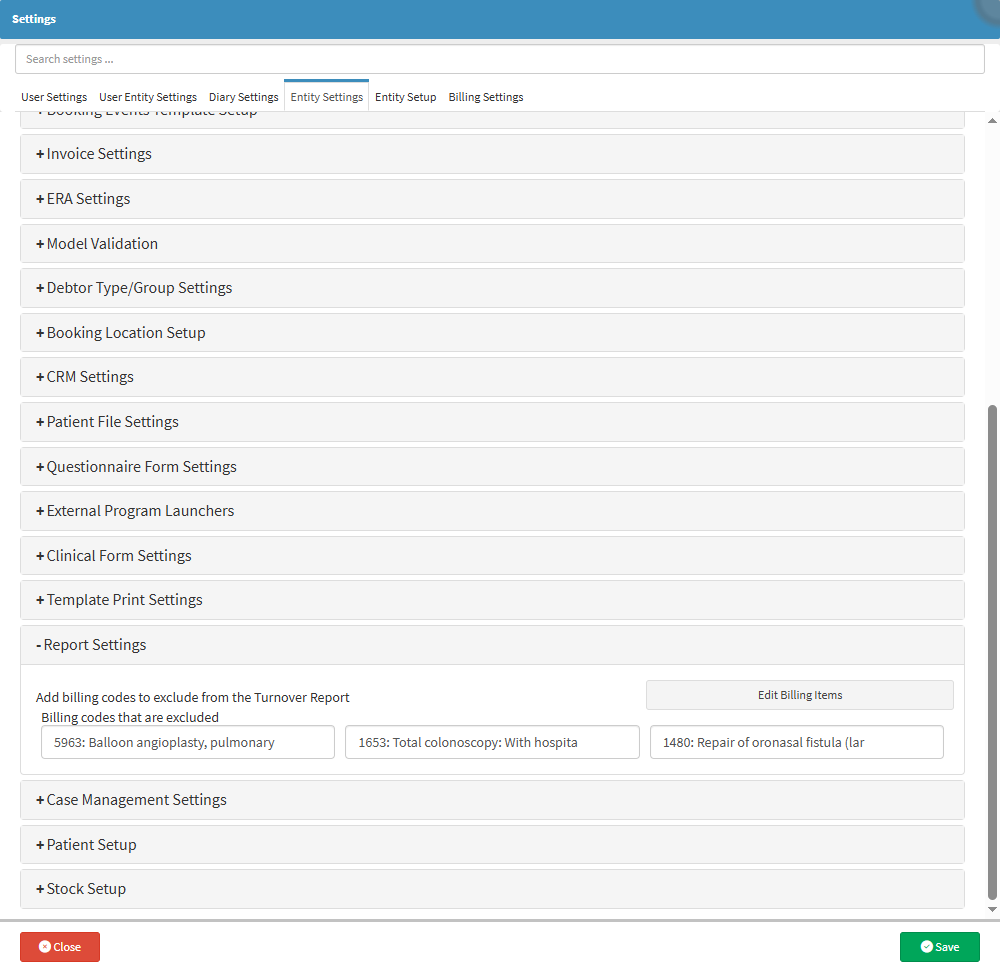
This panel allows you to set which Billing Codes will be excluded from the Turnover Report.
![]()
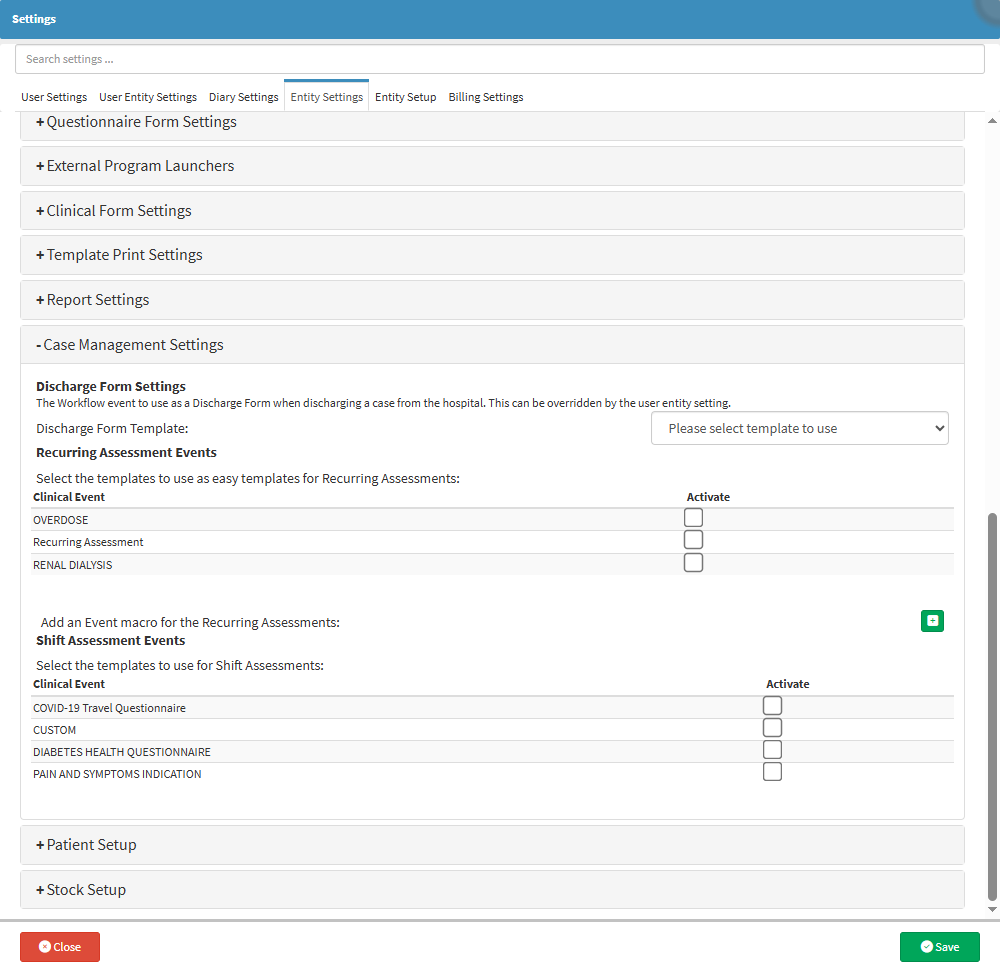
These Settings are used to set up what Template of the Discharge Form will be used when a Patient is discharged from the Hospital, to configure what templates are used as Easy Templates for Recurring Services and to set up the Templates that will be used for Shift Assessments.
![]()
Patient Setup allows Practices to create and configure Patient Classifications and Tags, providing a flexible way to organise and identify Patients. Tags can be customised to suit the Practice’s needs and applied in multiple combinations to a single Patient, making it easy to highlight important information or group Patients by specific criteria. This improves visibility, enhances record management, and helps Practitioners quickly identify key details about their Patients.
![]()

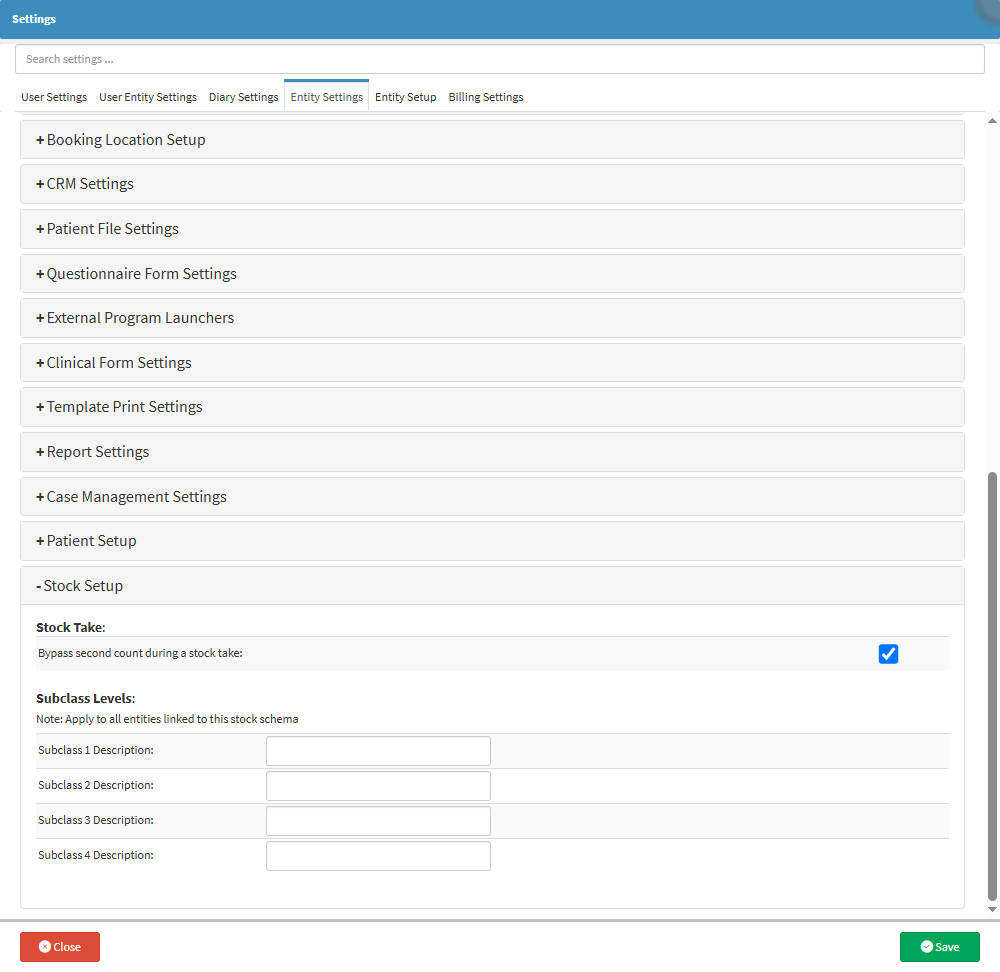
The Stock Setup panel provides configuration tools that support accurate, efficient, and well-structured stock management within the system. It allows you to define how stock items are organised, categorised, and processed during routine activities such as stock takes, reporting, and daily operational tasks.
![]()
![]()