Booking Templates are set up to preconfigure a variety of templates for the different types of bookings offered at the Practice. By setting these up in advance, the Practice ensures a smoother and more efficient booking process, as all essential details will already be populated on the Add/Edit Booking screen. This not only saves valuable time when booking in Patients but also promotes accuracy, consistency, and a seamless experience for both the Practitioner and the administrative team.
💡Please Note: Booking Templates are set up per Diary, ensuring that each Practitioner’s booking options are tailored to their speciality, schedule and requirements.
This user manual will start on the Settings screen, User Settings tab.
For more information regarding the Diary Settings screen, please refer to the user manual: Diary Settings (General).
💡Please Note:If a Practice has multiple Diaries, each Diary and its settings must be configured to meet the specific needs of the Practitioner.
Select the desired Practitioner'sDiary from the drop-down menu.
Click on the Booking Templates Setup panel.
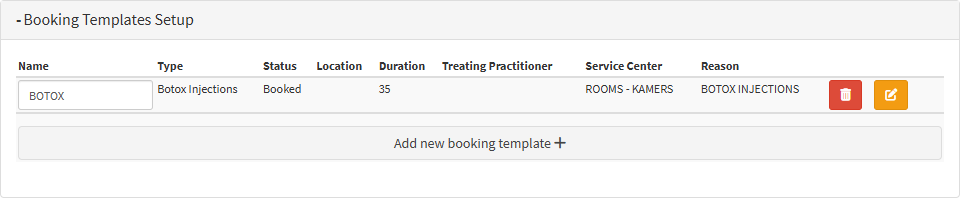
The Booking Templates Setup panel will expand.
An explanation will be given for all the options available in this panel:
Name: The name of the booking Template.
Type: The booking Type, for example, Consultation, Follow Up, Walk-In, Botox Injections, etc.
Status: The booking Status, for example, Booked, Arrived, Ready for Treatment.
Location: The exact room where the booking will take place within the Practice.
Duration: The default booking duration time.
Treating Practitioner: The default Practitioner that will treat the Patient.
Service Centre: The place where the service and department where the booking will take place, for example, Room 1.
Reason: The reason for the booking. This will indicate what the Patient is booked for, for example, a Consultation or Follow-Up appointment.
Delete button: This button will allow you to delete the selected booking template.
Edit button:If you wish to change or remove any information on the selected booking template, this button lets you edit the booking template.
Click on the Add New Booking Template button to create a new booking template.
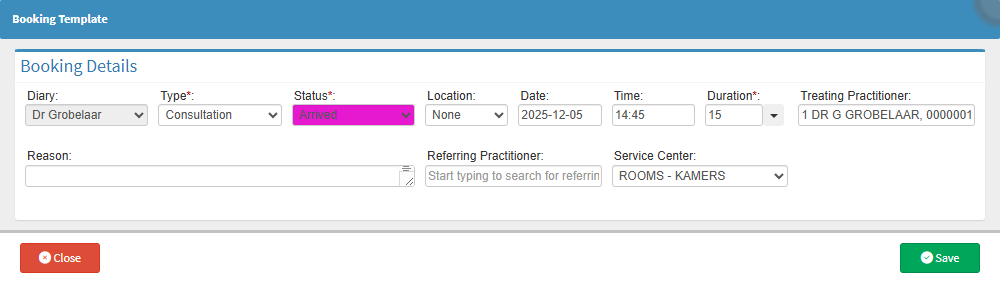
The Booking Template screen will open.
💡Please Note: The Diary option will not be accessible since the Diary was already selected on the Diary Settings screen. Also note that Type and Status are required fields and marked by a red asterisk (*).
Diary: The name of the current selected Diary.
Type: The booking Type, for example, Consultation, Follow Up, Walk-In, Botox Injections, etc.
Status: The booking Status, for example, Booked, Arrived, Ready for Treatment.
Location: The exact room where the booking will take place within the Practice.
Duration: The default booking duration time.
Treating Practitioner: The default Practitioner that will treat the Patient.
Service Centre: The place where the service and department where the booking will take place, for example, Room 1.
Reason: The reason for the booking. This will indicate what the Patient is booked for, for example, a Consultation or Follow-Up appointment.
Click on the Save button.
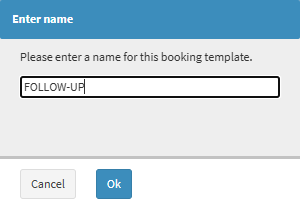
TheEnter Name screen will open. Please Enter the desired name for the Booking Template.
Click on the Ok button,
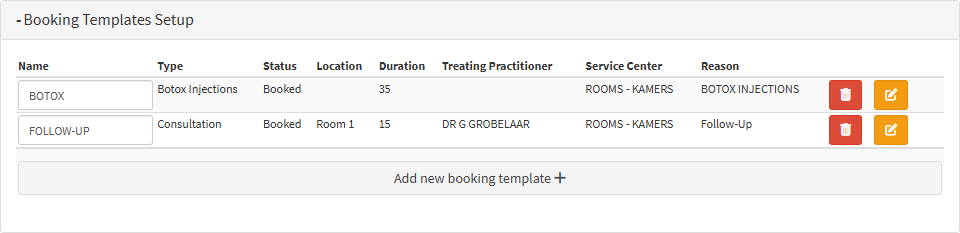
The new template will display in the Booking Templates Setup panel.
Click on the Save button.
The new Booking Template will display in the New Bookings drop-down menu on the Diary screen.