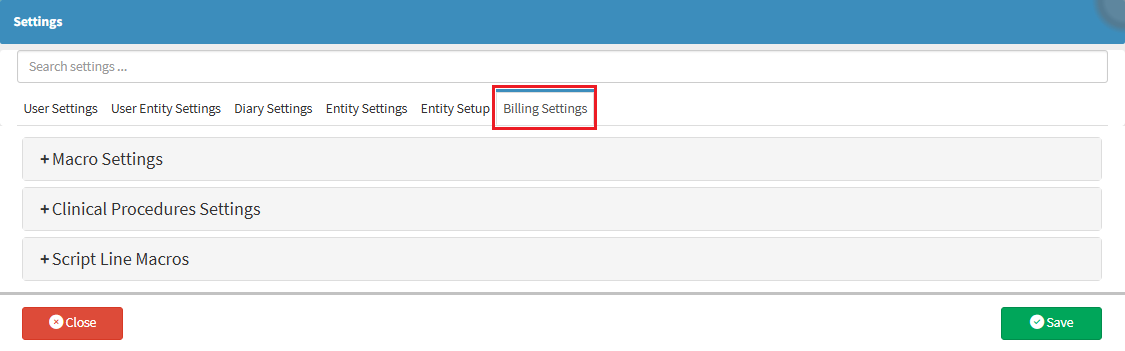
Macro Settings allow you to set up and maintain Billing Code Macros. A Billing Code Macro is a predefined combination of Procedures, materials, medicines, or other billable items grouped together for quick billing.
Within Macro Settings, you can create user-specific Macros, global Macros, and shared Macros used by other treating Practitioners in the Practice. These Macros streamline the billing process, ensure consistency, and reduce the time required to bill commonly used Procedure combinations.
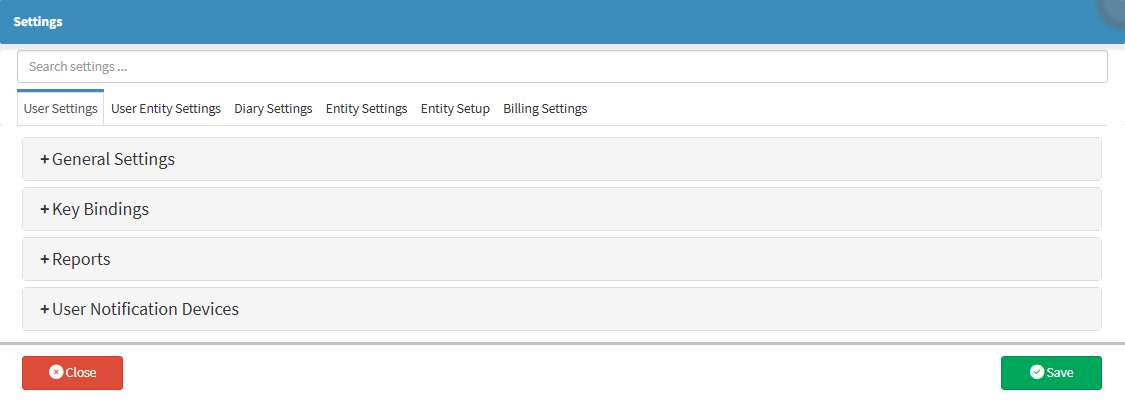
This user manual will start on the Settings screen, User Settings tab.
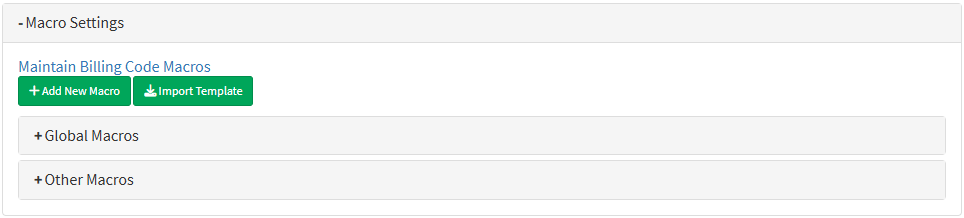
This section displays all newly created macros that have not yet been saved to the system. It allows you to review, edit, and confirm these macros before finalising them.
Click on the New Macro panel to expand.
Customisation Section
These fields allow you to assign a unique code and a clear name to the macro you are creating. This code and description identify the macro itself, not the billing item, ensuring it can be easily recognised, selected, and managed throughout the system.
Each field will be explained below:
Code: A text field where you assign a unique code to the macro you are creating. This code serves as the macro’s identifier, for example, SUT001 for a suture-related macro. It helps users quickly locate and reuse the macro within the system.
Description: A text field where you provide a clear, meaningful name for the macro. This should briefly describe what the macro represents, such as Sutures on Face. The description helps users instantly recognise the macro’s purpose when selecting or managing it.
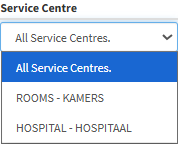
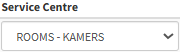
Click on the Service Centre drop-down menu to expand.
Click on the desired Service Centre.
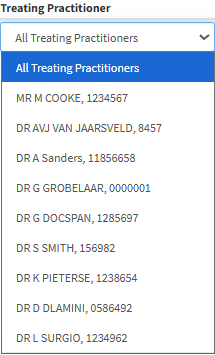
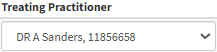
Click on the Treating Practitioner drop-down menu to expand.
Click on the desired Treating Practitioner.
Click on the Type drop-down menu to expand.
Each of these types will be explained below:
Fixed: Means the value is preset and cannot be changed. The system always uses the same predefined option.
Choose: Allows you to select from a list of available options, giving flexibility based on the specific situation.
Click on the desired Type to specify how the pricing is handled.
Invoice Line Section
This section allows you to link a diagnosis to the billing item and define its quantity and pricing details. It ensures that each billed service is accurately associated with the correct diagnosis and calculated using the correct pricing rules.
Each field will be explained below:
Diagnosis: A text field where you can enter the diagnosis linked to the billing item. This may be optional depending on your setup
Code :This field is used to enter the required medical coding value for billing purposes. Codes such as ICD-10, SNOMED, or internal practice-specific codes are captured here to ensure accurate billing and smooth claim submission when macros are used.
Description: A text field for describing the diagnosis. This helps clarify the condition linked to the billing entry.
Add by Default: When selected, this option automatically includes the item every time the macro is used, without you needing to add it manually.
Use Posting Formula: Indicates whether formula-based calculations should be applied for this item. This is used when special pricing or quantity rules apply.
Quantity: Specifies how many units of the billing item are being applied. Defaults to 1, but can be changed.
Price: The base price of the billing item.
MA Price: This field is used for MA (Medical Aid) specific pricing.
Patient Price: The price charged directly to the Patient.
Click on the Toggle button to toggle which field is used to balance the equation: Price, MA Price, or Patient Price
Click on Delete button to delete the billing item.
Click on the Add Billing Item button to add a new billing item to the current macro.
Click on the Save button to finalise your changes.