Creating Custom Privilege Groups allows you to set up specific Groups of Privileges tailored to the roles within your Practice. This ensures that each user has the appropriate level of access necessary for their role. By defining and assigning these Custom Privilege Groups, you can maintain a consistent approach to User management, making sure that permissions are aligned with the responsibilities and needs of each role.
This user manual will start on the User Setup panel of the Entity Setup screen.
For more information regarding how to navigate to the Privilege Group List screen, please refer to the user manual: User Setup.
Click on the Privilege Groups button.
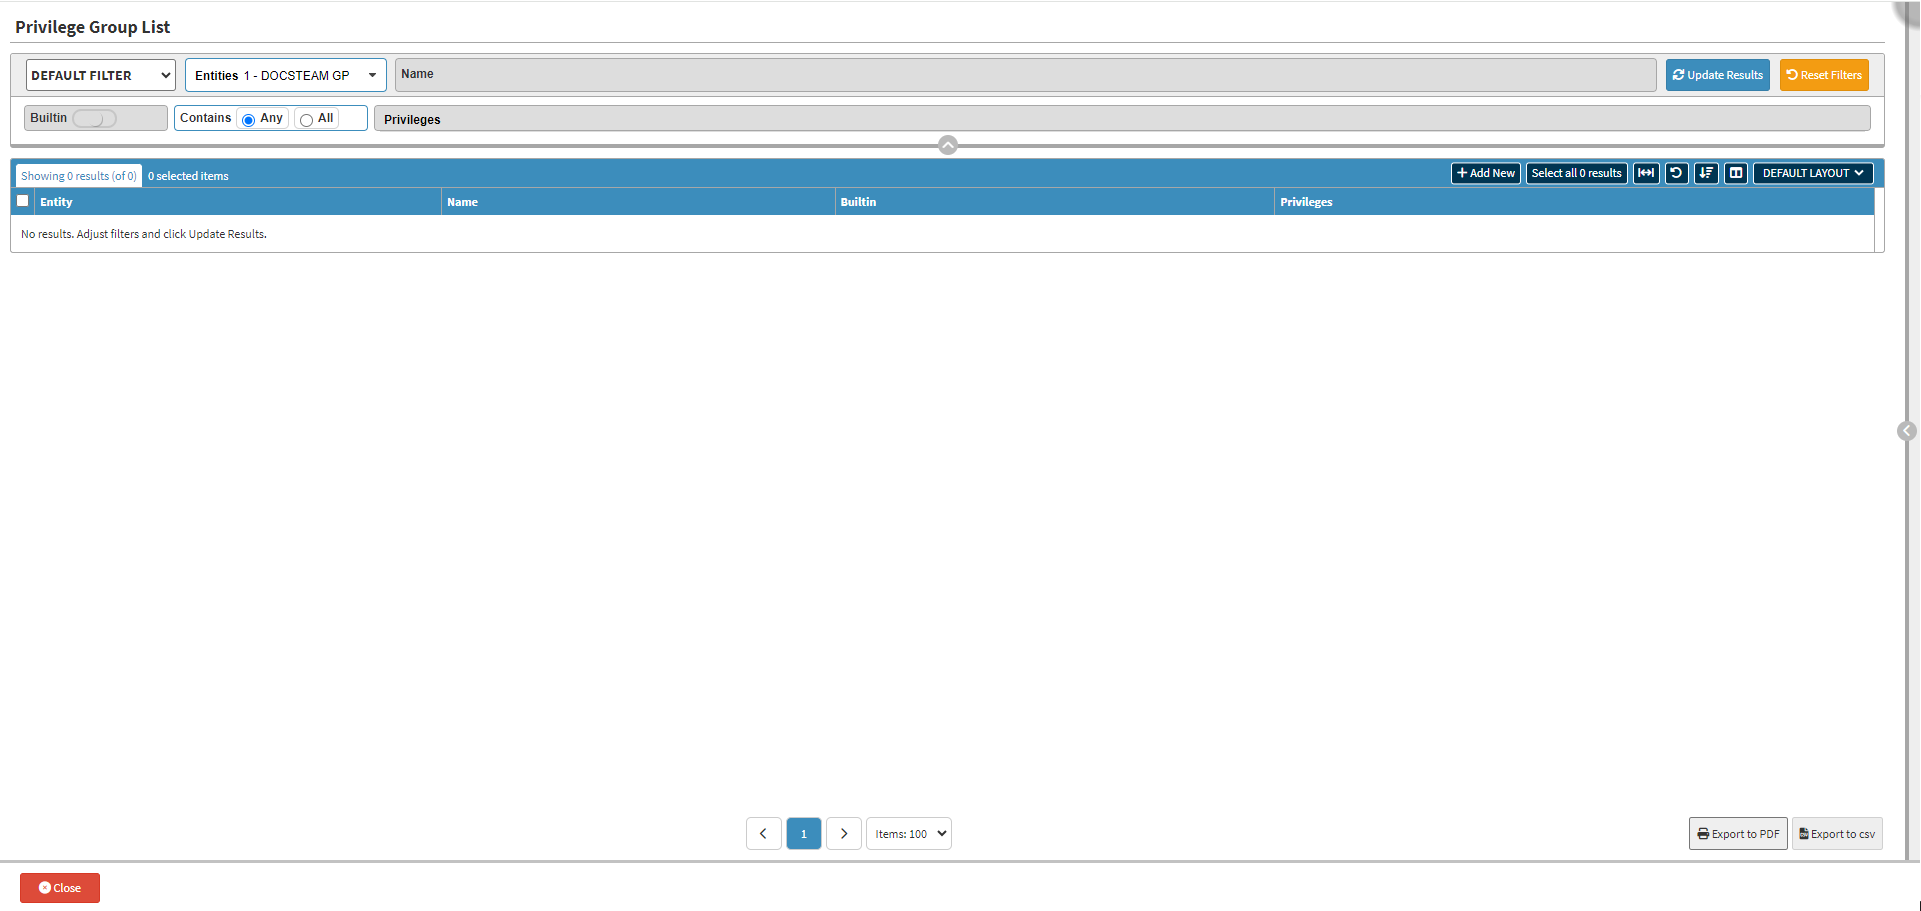
The Privilege Group List screen will open.
Click on the + Add New button.
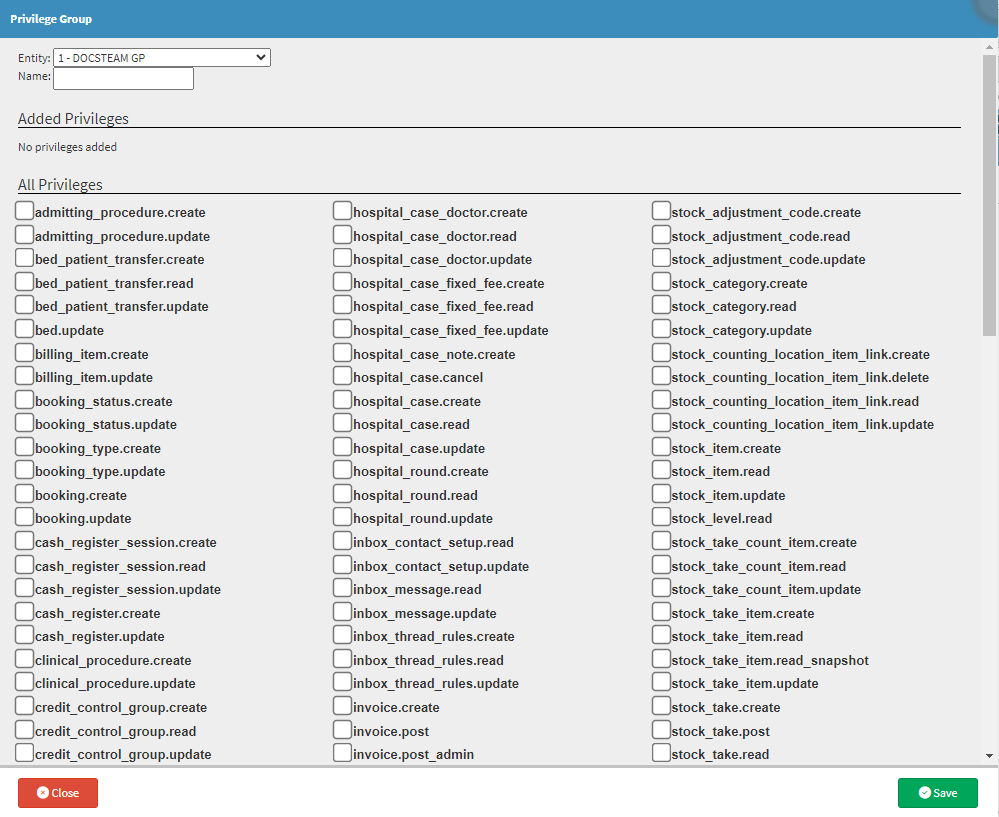
The Privilege Group screen will open.
Click on the Entity drop-down menu to select the relevant entity on which this Privilage Group will be applicable.
Please Note: The Entities on the list will depend on the ones set up for the Practice. You are not able to create a Custom Privilege Group for more than one entity, simultaneously.
Click on the Name field to add a name that will identify your Custom Privilege Group.
Tick the checkboxes of all the desired Privileges that will form part of the Custom Privilege Group.
For more information regarding each Privilege, please refer to the user manual: User Privileges.
Each selected Privilege will be listed under the Added Privileges section of the screen.
Click on the Save button to save all changes that you have made.
The new Custom Privilege Group will be listed on the Privilege Group List screen.