Booking Event Template Setup allows you to create personalised communication events using Workflow Event Templates, which can be scheduled to go out before or after a booking, or at a specific time that suits your workflow. These messages are automatically triggered when a booking is made in the diary, saving you valuable time and ensuring nothing is missed. Patients can complete necessary forms before their visit, receive surveys after appointments, or get timely reminders, all without you having to manually follow up.
This setup helps the Practice provide seamless, professional, and consistent communication, while keeping processes smooth, efficient, and truly Patient-focused.
💡Please Note: Booking Event Templates are set up on multiple levels, allowing each Practice to tailor these communications to their unique workflow, operational needs, and Patient engagement approach. For more information regarding the different levels at which they are set up, please refer to the user manual: Understanding the use of Booking Event Template Setup
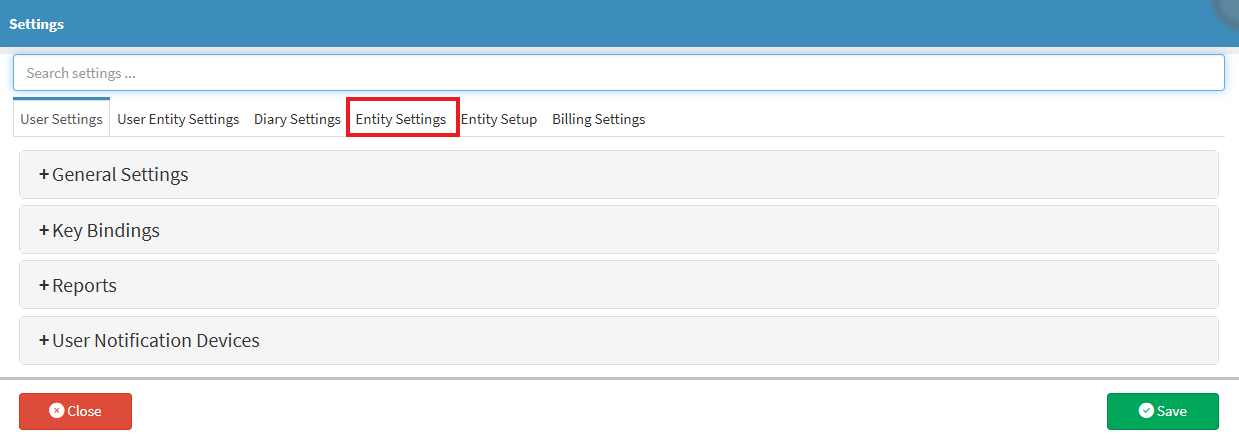
This user manual will start on the Settings screen, User Settings tab.
Click on the Entity Settings tab.
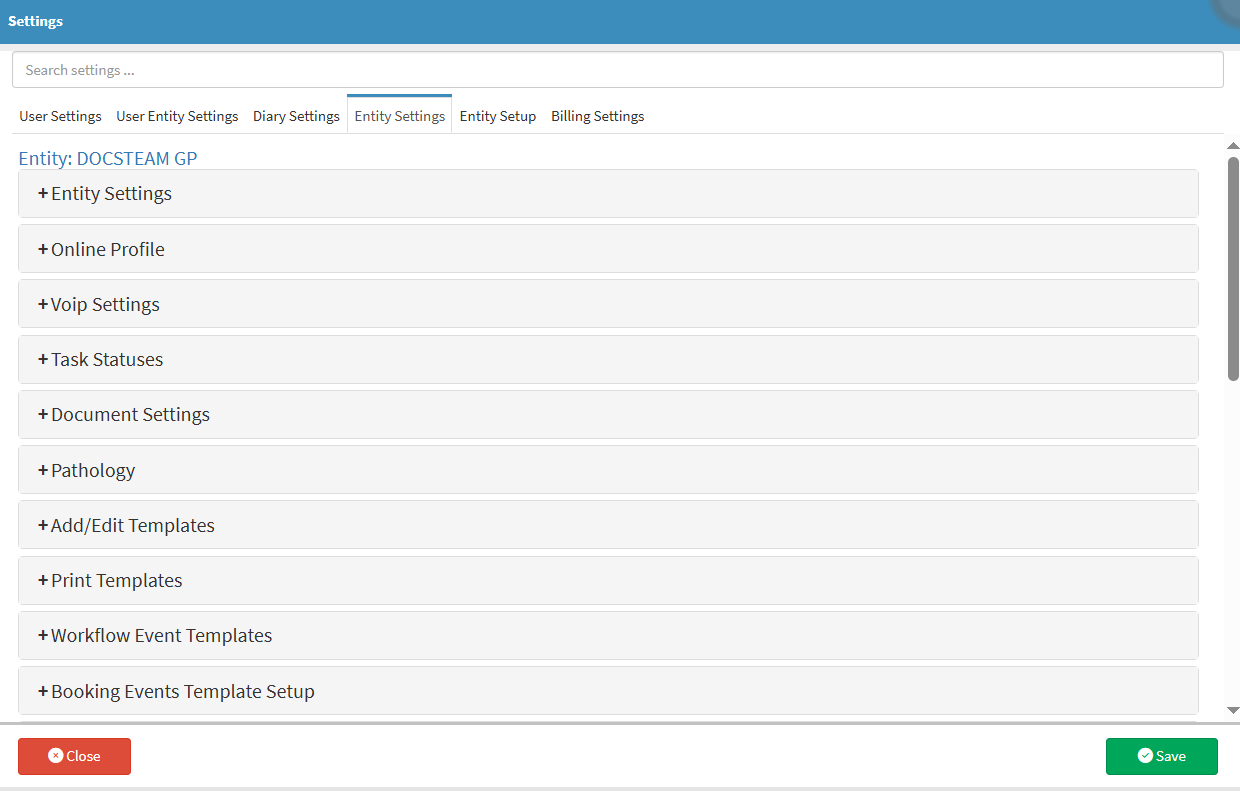
The Entity Settings tab will open.
Click on the Booking Events Template Setup panel.
The Booking Events Template Setup panel will open.
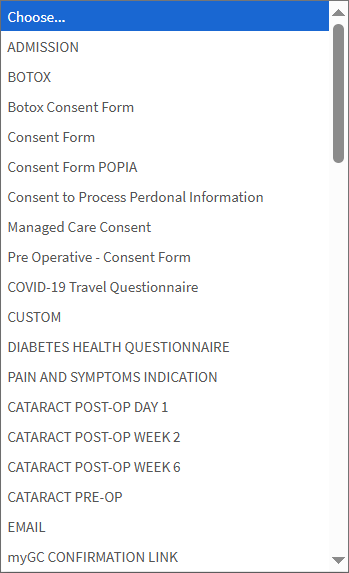
Click on the Choose... drop-down menu
The Choose... drop-down menu will open.
Select a Workflow Event Template that has been previously set up, for this explanation, the Consent Form will be used.
The template will be added to the setup.
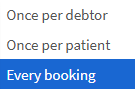
Click on the Frequency drop-down menu.
The Frequency drop-down menu will open.
An explanation will now be given of the options on the Frequency drop-down menu:
Once per Debtor: The selected communication will be sent only once to the Debtor associated with the booking. The system tracks whether the communication has already been sent, and it will not be sent again.
Once per Patient: The selected communication will be sent only once to the Patient associated with the Booking. The system tracks whether the communication has already been sent, and it will not be sent again.
Every Booking: The selected communication will be sent with every Booking made on the Dairy
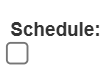
Tick on the Schedule checkbox to control exactly when the communication should be sent out.
The Schedule setup will open.
Enter the desired Days, Hours, and Minutes in the corresponding fields.
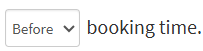
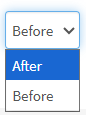
Click on the Booking Time drop-down menu.
The Booking Time drop-down menu will open.
Select when the communicationwill be sent.
Select from the drop-down menu if the communication will be sent.
Click on the Change to Specific Scheduled Time button.
The Change to Specific Scheduled Time setup will open.
Click on the Day field.
Enter the number of days in the Day field.
Click on the Timing drop-down menu.
The Timing drop-down menu will open.
Select an option from the Timing drop-down menu.
Click on the Time field.
Enter the time in the Time field.
?Please Note: Communication will be sent at 17:00 for bookings happening tomorrow. If a booking for tomorrow is created after 17:00, it will be sent immediately. Bookings made for the same day don't trigger this event unless no schedule has been set.
Click the Trashcan icon next to the Booking Event to remove the row. The Event will then be removed from the list.
Click on the Save button once you are satisfied with the setup of the Booking Event Templates.