Pathology Settings allow Practices to configure how laboratory requests and results are managed within the system. Since these settings are applied per Entity, they ensure that the configuration aligns with the specific operational needs of the Practice. They also enable you to define default preferences for handling Pathology Requests and results, helping to standardise processes across the Practice, reduce manual administration, and ensure efficient and accurate management of pathology data.
The Contents of This User Manual:
Default Pathology Settings
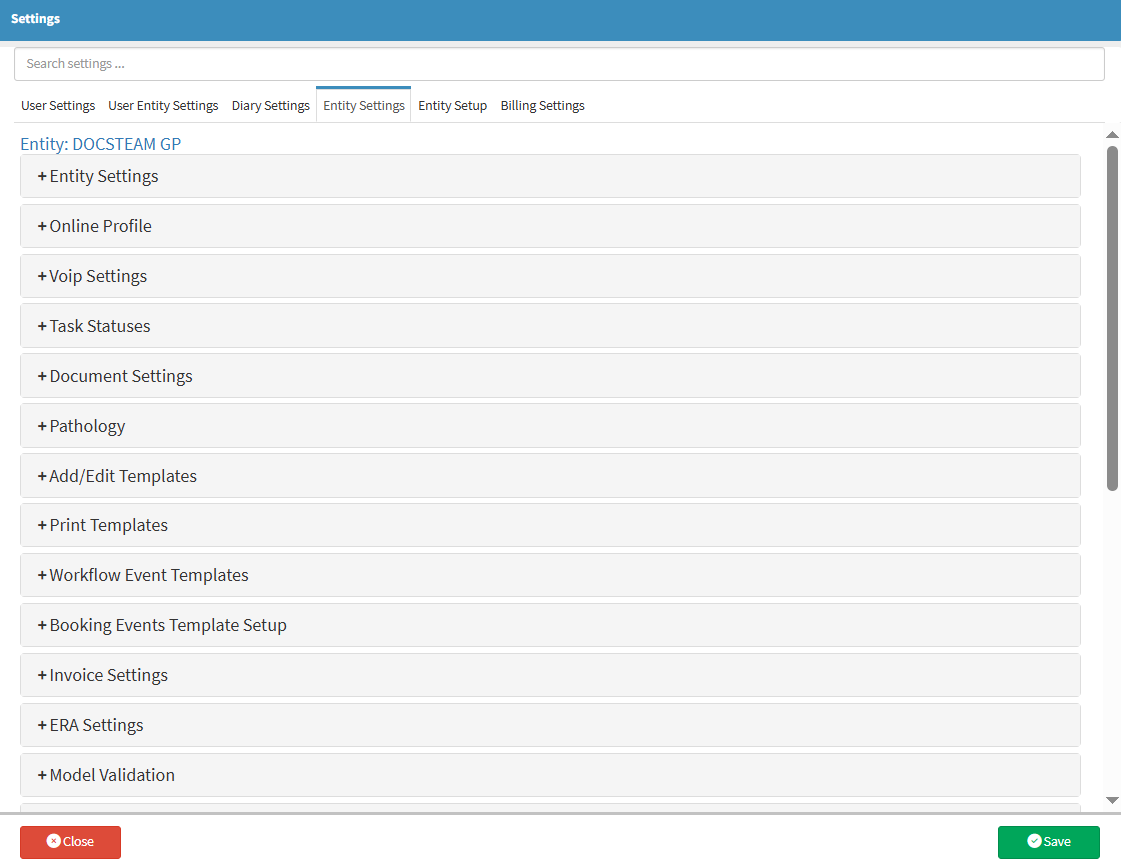
Pathology Setup
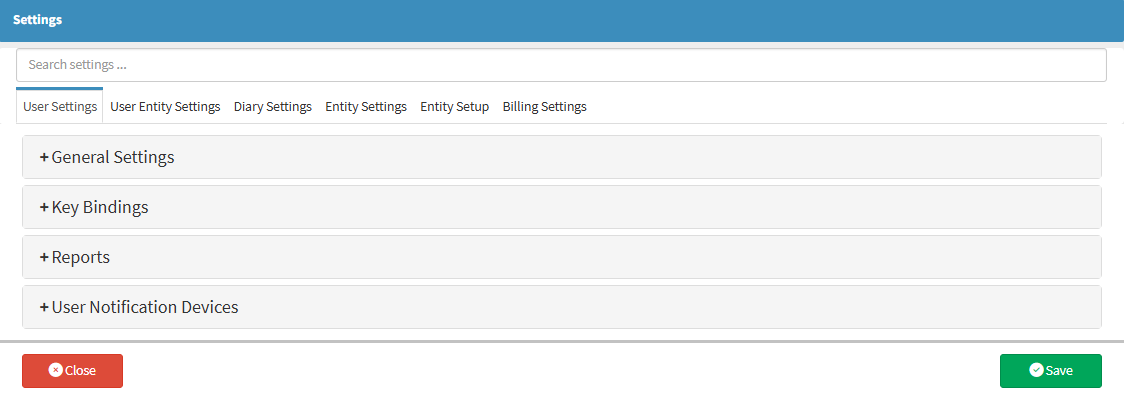
This user manual will start on the Settings screen, User Settings tab.
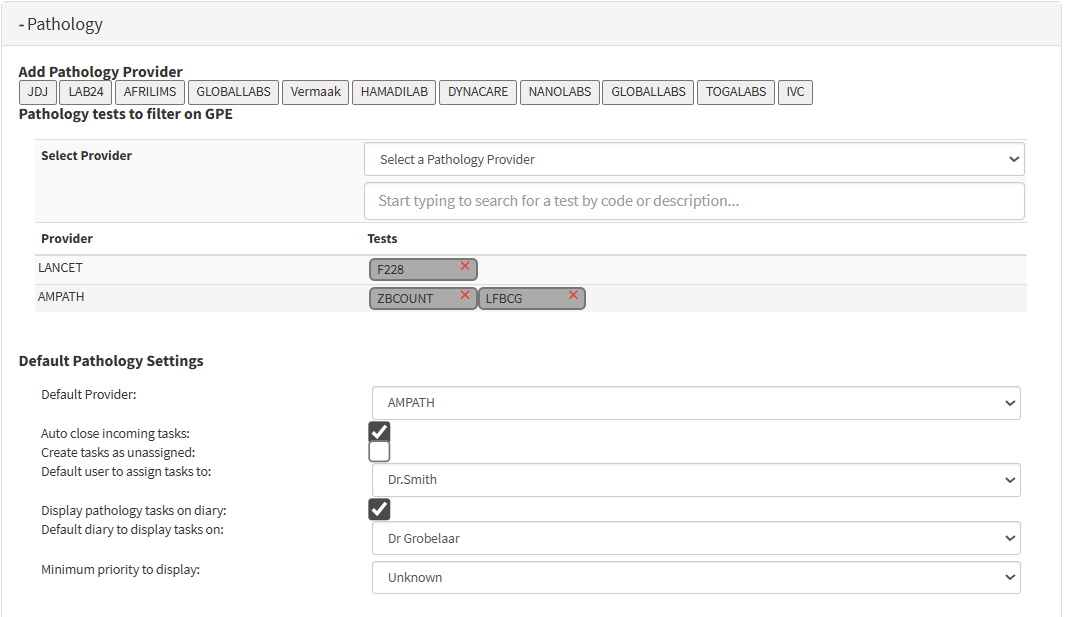
💡Please Note: The Add Pathology Provider section lists all the Pathology Providers integrated with GoodX.
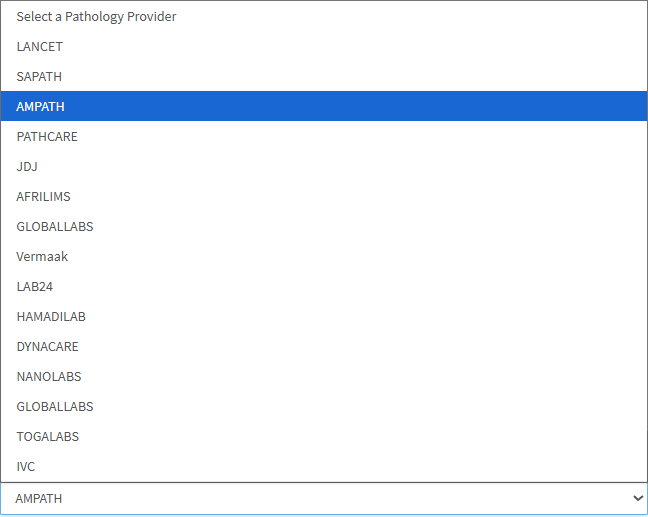
Click on the Pathology providers you would like to set up.
Once added, these providers will appear in the Select a Pathology Provider drop-down menu.
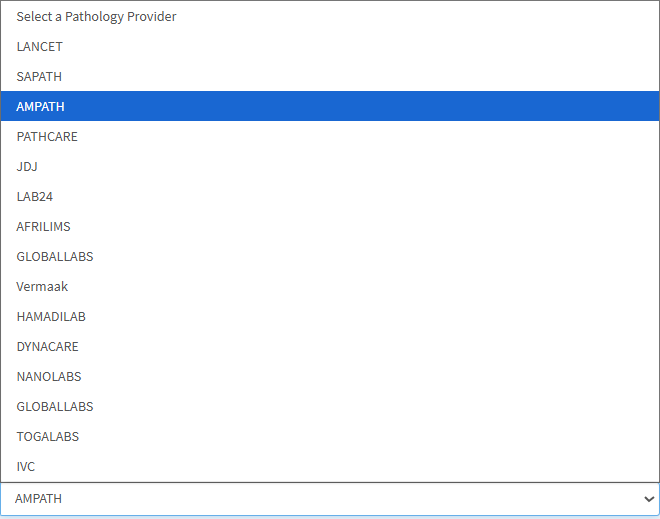
Click on the Select a Pathology Provider drop-down menu.
Select your desired Pathology Provider.
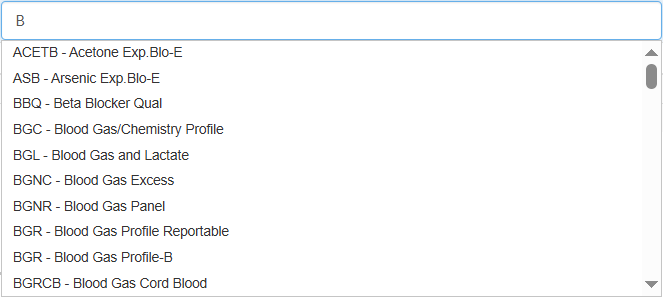
Click on the Search bar and type your desired Test code.
As soon as you start typing, the available options will appear.
Select the desired Test Code.
The Test selected will now appear below.
💡Please Note: Each Pathology lab has its own unique code for each test. Rarely will the codes be the same.
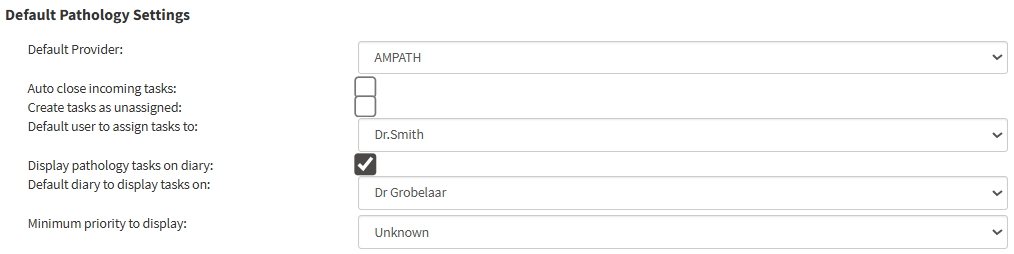
Default Pathology Settings
Click on the Default Provider drop-down menu.
The Default Provider drop-down menu will expand.
Click on the desired Pathology Provider.
Tick/Untick the Auto Close Incoming Task checkbox to enable/disable auto-closing of incoming tasks.
Tick/Untick on Create Task as Unassigned checkbox to show/hide incoming results without having it assigned to a specific user.
Click on theDefault User to Assign Tasks to drop-down menu.
The Default User to Assign the Task to drop-down menu will expand.
Click on the desired user you want to assign.
Click on the Display Pathology Tasks on Diary checkbox to enable the display of Pathology tasks on the Diary.
Click on the Display Pathology Tasks on Diary checkbox to disable the display of Pathology tasks on the Diary.
💡Please Note: When the Display Pathology Tasks on the Diary screen checkbox is Ticked, additional options become available:
Click on the Default Diary to Display Tasks On the drop-down menu.
The Default Diary to Display Tasks On the drop-down menu will expand.
Click on the desired Practitioner's Diary you want tasks to display on.
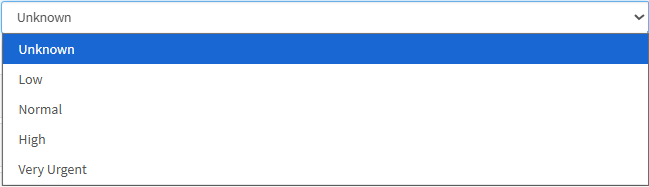
Click on the Minimum Priority to Display drop-down menu.
The Minimum Priority to Display drop-down menu will expand.
Click on the desired option to automatically set the priority of the tests.
Click on the Lancet panel.
The Lancet panel will expand.
💡Please Note: Most of the information in this section will be received from the lab, for example: Service Centre Override, Practitioner Mnemonic Code, and the Submitter Code.
Click on the Default Code textbox.
Type in the registered Practitioner or Practice Code registered at the lab.
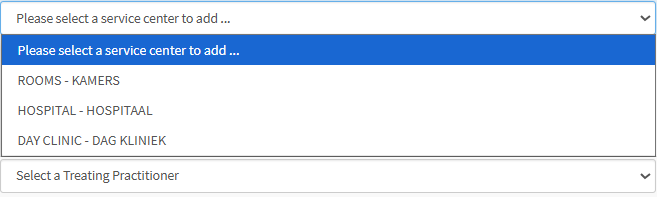
Click on the Service Centre Override drop-down menu.
The Service Centre Override drop-down menu will expand.
Select your designated Service Centre, where your consultations will be conducted.
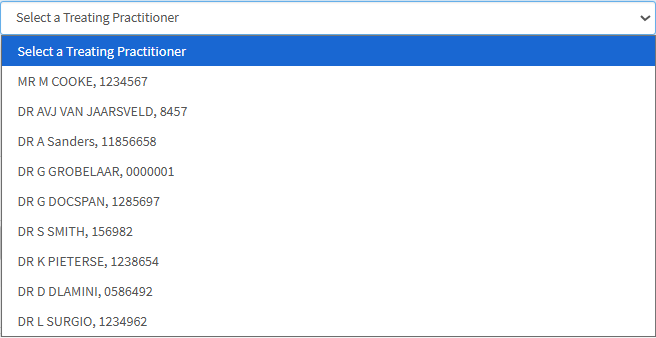
Click on the Treating Practitioner Setup drop-down menu.
The Treating Practioner Setup drop-down menu will expand.
Click on the desired Treating Practitioner.
Click on the Practitioner Mnemonic textbox.
Enter the Practitioner Mnemonic code provided by the lab.
Click on the Submitter Code textbox.
Enter the Submitter Code provided by the lab.
💡Please Note: The Additional Setup section is mainly for Hospital use.