Text size
Line height
Text spacing
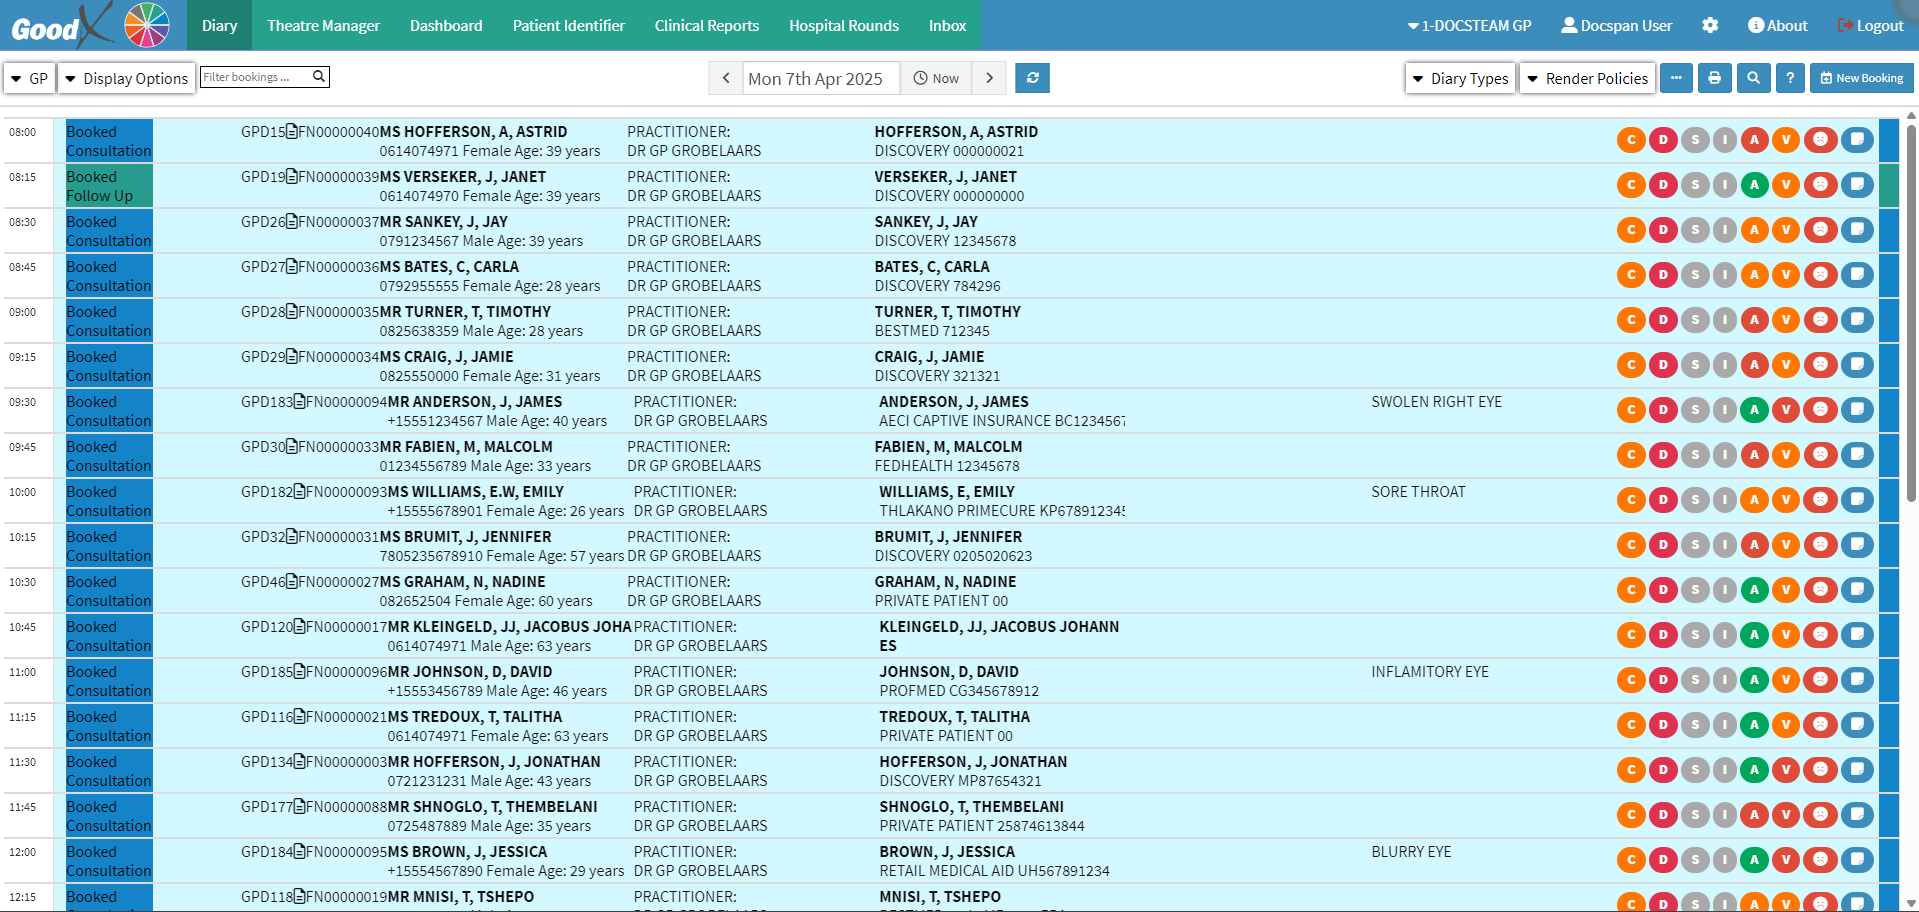
Settings are configured to customise the GoodX program according to the specific needs of each Practice. By tailoring settings such as Billing, Clinical, Diary, and User Permissions, the system becomes aligned with the workflows, medical services, and administrative preferences of the Practice. This ensures that you are able to work efficiently, comply with industry requirements, and deliver a seamless Patient experience. Proper configuration also supports accurate record-keeping, reporting, and integration between various modules in the software.

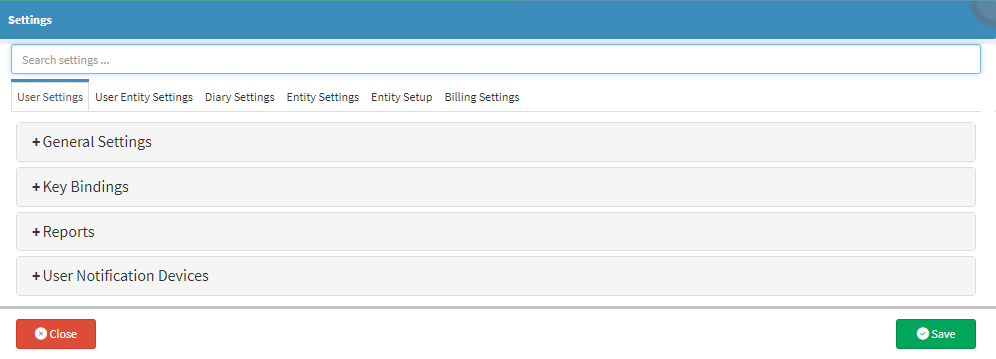
Set per User to customise the program to the specific needs of the user. The User Settings will determine how functions are set up and work or display per user.
?Please Note: User Settings always override Entity Settings.
Set per User per Entity to customise the program to the specific needs of the Practice. The User Entity Settings will determine how functions are set up and work or are displayed per User in the Entity. If a User wants to set up Custom Settings that are unique to their User, they can log in with their User credentials and change the User Entity Settings accordingly. The Settings will only change for the specific User and not all the Users.
![]()

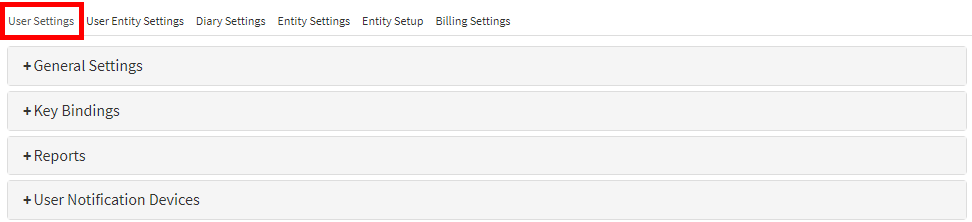
Refers to the configuration options that allow Practices to customise how their Diary will work. These settings control aspects such as consultation types and durations, Practitioner availability, Booking Intervals, recurring appointments, and rules for cancellations or double bookings. Properly configured Diary Settings help streamline appointment management, improve time utilisation, and ensure a smooth workflow for both Practitioners and administrative staff.
?Please Note: Diary Settings will need to be set up for each Diary used at the Practice.
![]()
Entity Settings allow you to configure various preferences on an Entity level, including Online Profiles, VoIP, Task, and Document settings. You are able to also set up different Templates, Forms, and Settings associated with Patient Files and Case Management.
![]()

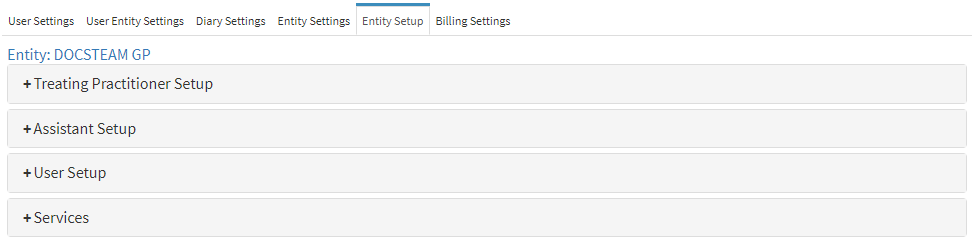
Allows you to configure the Treating Practitioners, Assistant Practitioners, System Users, and the services to which this specific Entity is subscribed. This ensures that all Users and services are correctly linked to the Entity, enabling accurate record-keeping, efficient scheduling, and seamless billing within the system.
![]()
Configured per Entity to tailor the system to the specific needs of the Practice. These settings are designed to streamline the billing process by enabling the use of preconfigured Macros, Clinical Procedures, and Script Macros, making the billing experience faster, more efficient, and user-friendly.
![]()
