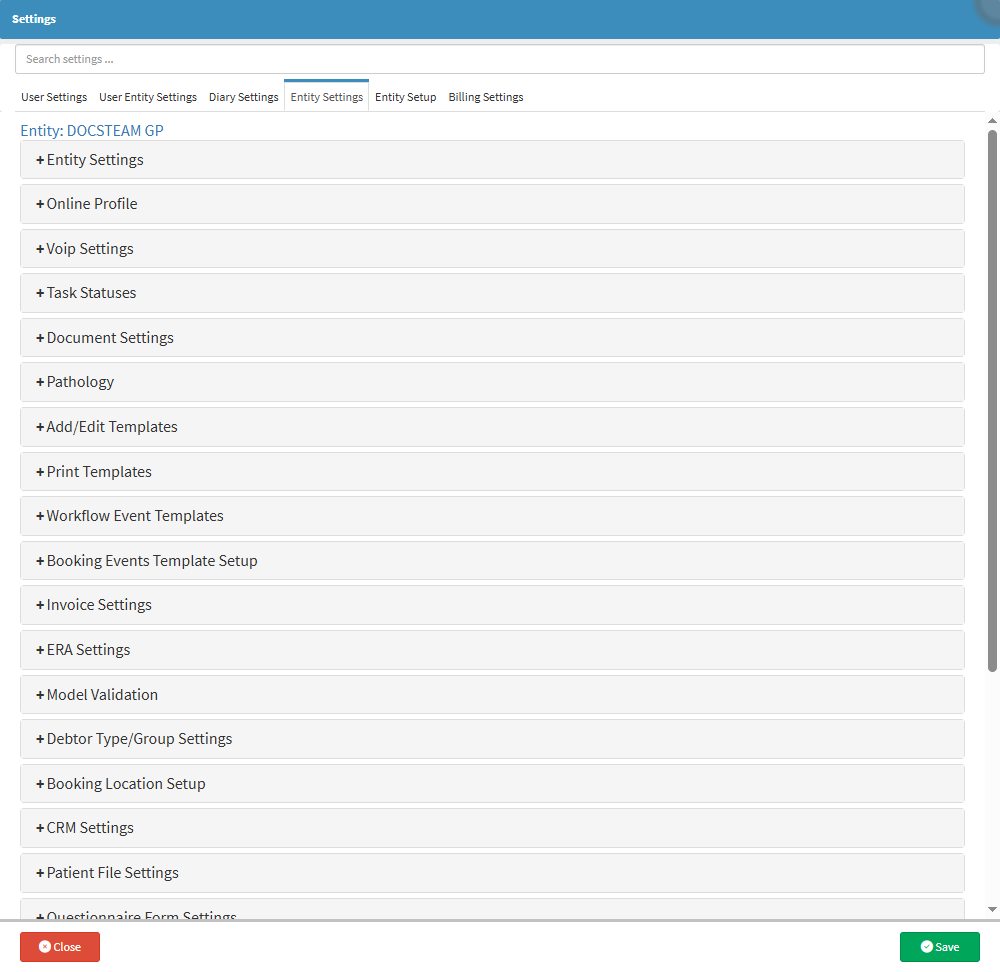
Text size
Line height
Text spacing
Patient Setup allows Practices to create and configure Patient Classifications and Tags, providing a flexible way to organise and identify Patients. Tags can be customised to suit the Practice’s needs and applied in multiple combinations to a single Patient, making it easy to highlight important information or group Patients by specific criteria. This improves visibility, enhances record management, and helps Practitioners quickly identify key details about their Patients.
![]()
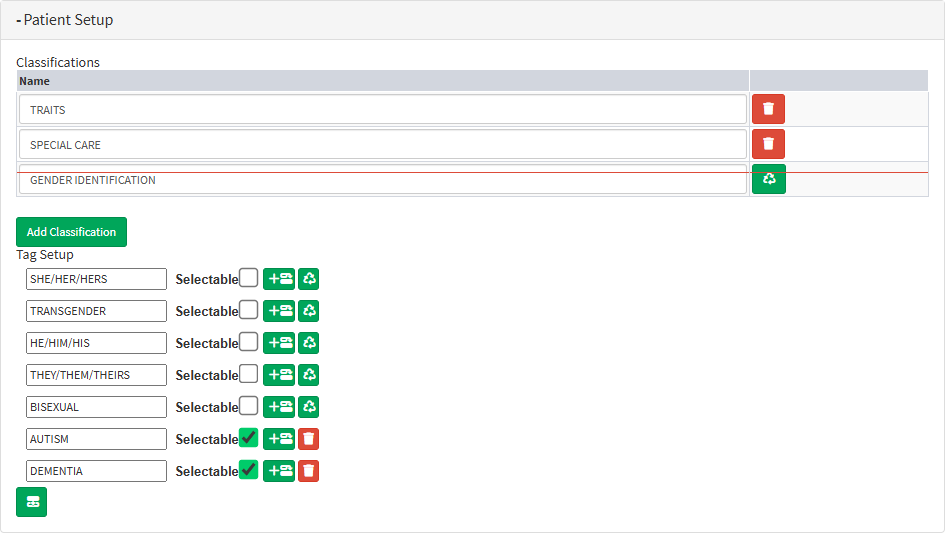
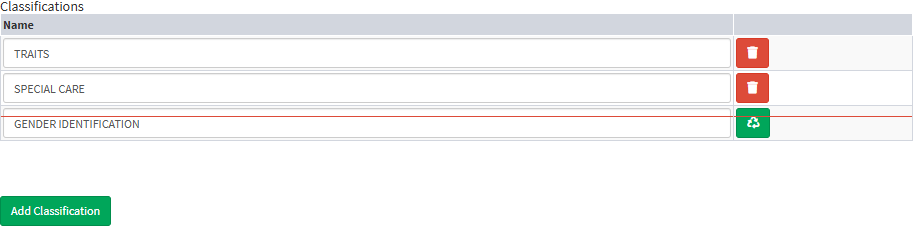
The Classification section allows you to create and manage Patient categories. These categories, such as Traits, Special Care, or Gender Identification, help group Patient Information in a structured way. This makes it easier to organise, filter, and retrieve Patient data as needed.
![]()

![]()
![]()
?Please Note: A Red Line will appear through the Classification indicating it has been disabled, and can be re-enabled.
![]()
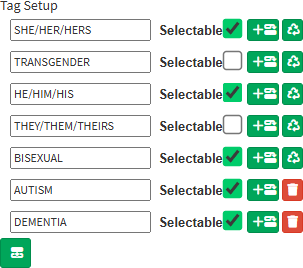
The Tag Setup section defines and manages detailed identifiers, or tags, associated with each classification. Tags provide granular information that can be assigned to a Patient within the classification framework. The Selectable checkbox determines whether a tag can be chosen when setting up or editing a Patient Profile. Proper use of tags enables precise Patient grouping, filtering, and reporting, supporting accurate data management and analysis.
![]()

![]()
![]()
![]()
?Please Note: The Child Element function will only be available after a Root Element has been saved.
![]()
?Please Note: After disabling an Element, the Trashcan button will change to a Re-enable button, which can be used to re-enable the Element.
![]()