A list with all the demographic information of the Main Members and Dependants on the system. A lot of different functions can be completed or accessed from the list.
The contents of this User Manual will comprise of the following information:
How to access the Debtor List
From the Diary
From the MedDebs Module
Main Member input Screen
Sort/Search
Advanced Search
Add a new debtor
List
Other Actions
How to access the Debtor List
The Debtor list can be accessed from various modules:
Diary
MedDebs
Log in to the GoodX Desktop using your GoodX username and password.
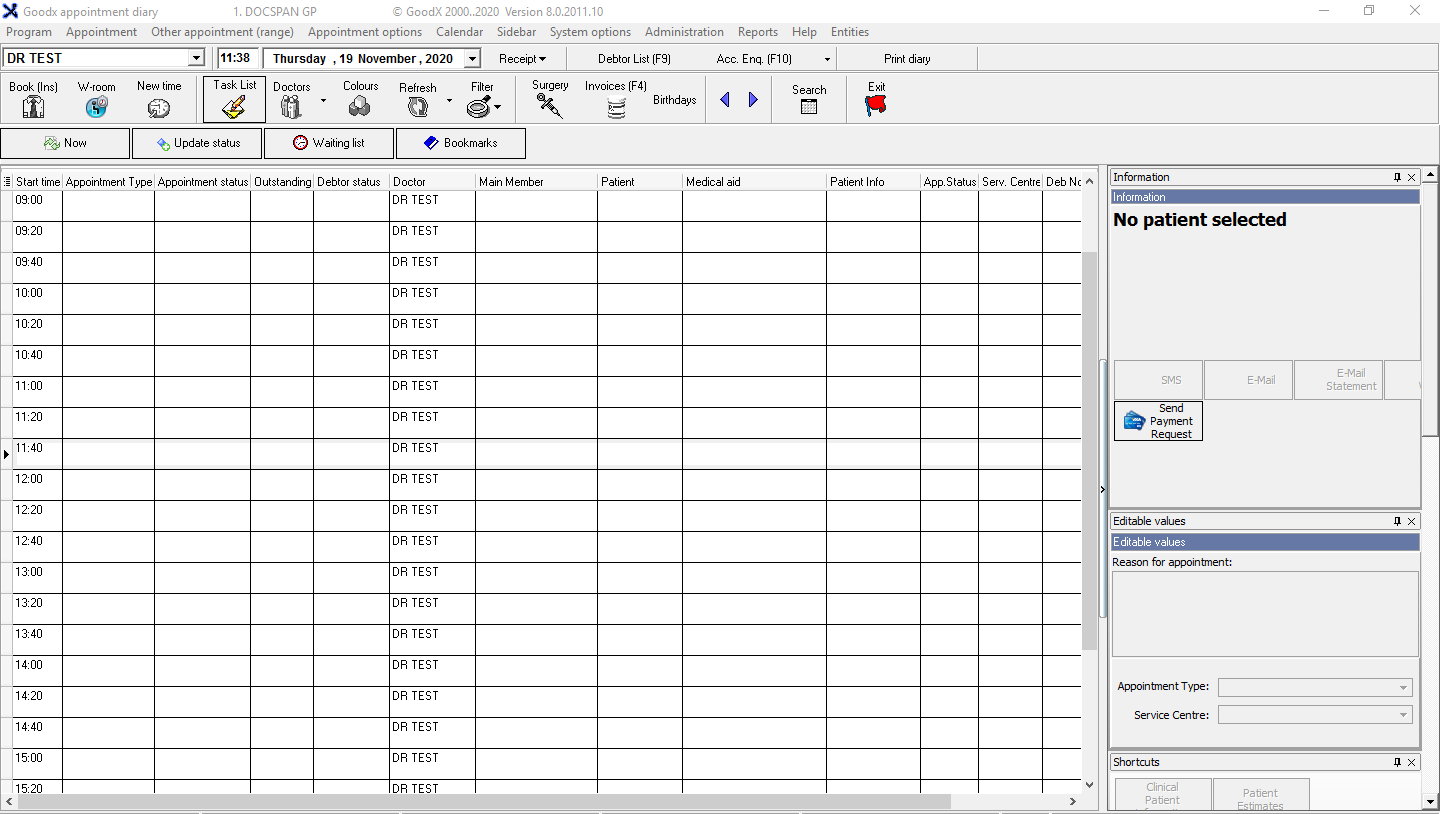
From the Diary
From the Navigator Double Click on the Diary Module.
The Diary screen will open.
Click on the Debtor List button on the taskbar.
The F9 key on the keyboard can be used as a shortcut.
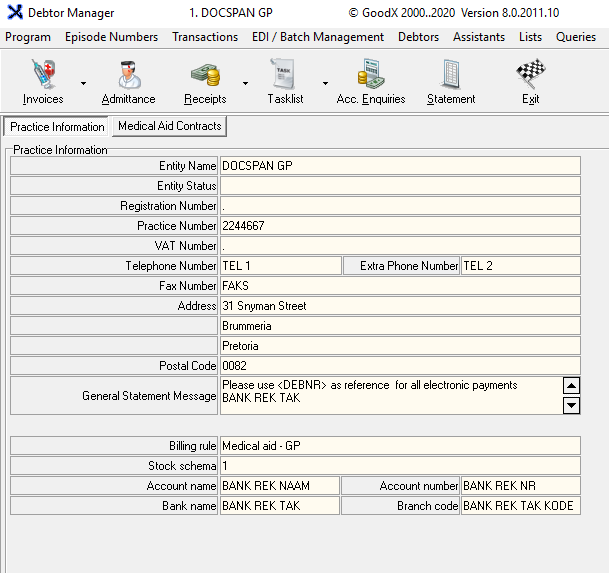
From MedDebs
From the Navigator Double click on the MedDebs Module.
The MedDebs screen will open.
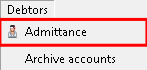
Click on Debtors on the menubar.
Click on Admittance from the sub-menu.
Click on the Admittance Icon on the toolbar.
In any instance, the Main Member Input Screen will open.
Main Member Input Screen
A list with all the information of all the debtors and patients that have been linked to them.
This gives a user access to all the Debtors and Dependants information.
A debtors dependants information can be viewed by selecting the debtor whose dependant information would like to be viewed.
For an extensive explanation of how the list populates based on the selected settings please refer to the user manual: User Preferences: General Tab
Sort/Search
Allows the user to search for a debtor.
From the Sorted/Search selection box it is possible to search for a Debtor by clicking on the desired search method:
Click on the desired option to make a selection.
Acc No.: Patients Debtor Number.
Surname: The surname of the Debtor.
File Number: The file number as allocated by the practice (usually linked to a hard copy file number)
Medical Aid: If the patient belongs to a medical aid the name of the medical aid will appear here.
Med Aid Number: the membership number associated with the patient's medical aid plan.
ID: The debtors' South African Identification number or the passport number for non-citizens.
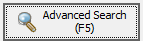
Advanced Search Allows the user to search for patients and debtors using specific search criteria.
Click on the Advanced Search (F5) button.
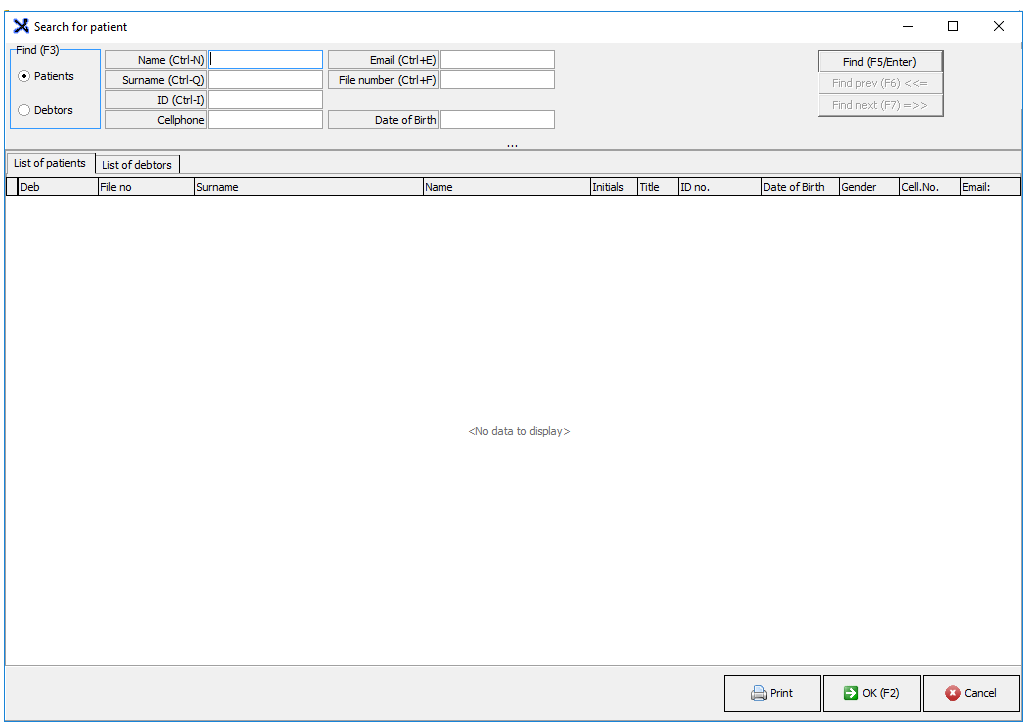
The Search for Patient screen will open, this will allow a broader search using different search criteria.
Find(F3)
Select whether to search for Patients/Debtors' Information.
The following criteria can be used to search for a Patient/Debtor by inputting information in the text boxes provided.
Name: The patient/debtor name.
Surname: The surname of the patient /debtor.
ID: The ID number associated with the patient/debtor.
Cellphone: The cellphone number associated with the patient/debtor.
Email: The email address associated with the patient/debtor.
File Number: The file number of the patient/debtor if one has been allocated.
Date of Birth: The date of birth associated with the patient/debtor.
Click on the Find(Enter/F5) button to perform the search.
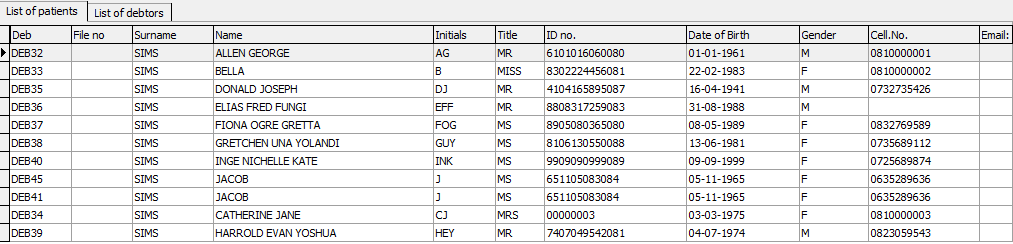
The outcome of the search will appear in the list below the search fields.
Click on Print to print the outcome of the list
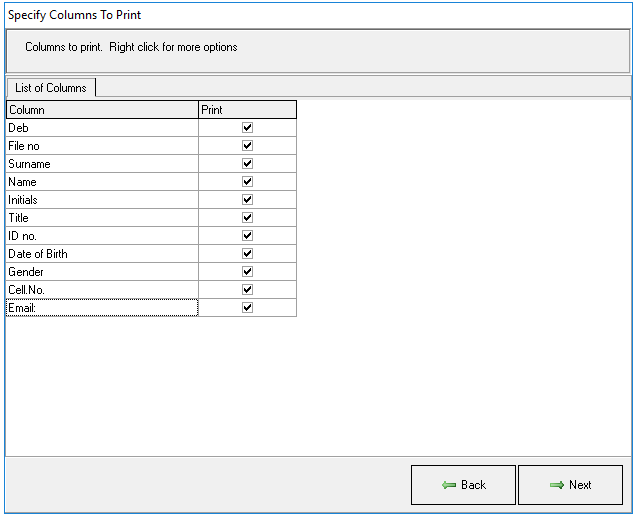
The Specify Columns To Print screen will appear.
Select the columns by ticking the checkboxes in the print column.
Click on Next when satisfied with the selected columns.
The printed list will appear on the screen :
The following options will be available for the report :
Email PDF: Attaches the report in a .pdf format to the email.
Email HTML: Sends the email with an HTML link.
Print Preview: Preview how the list will look when a hard copy is printed.
Save: Save a digital copy to the computer.
Page Setup: Opens the page setup screen.
Print: Prints a hard copy to the Setup printer.
Close: Closes the screen and returns to the Search for patient screen.
Click on Ok to close the Search for Patient screenand return to the Main Debtor Input screen.
Add a new Debtor
Allows the user to add new debtors to the system.
Click on the +icon or press the F3 on the keyboard as a shortcut to add a Debtor.
For an extensive explanation on how to add a new debtor please refer to the user manual: Create New Normal Debtors.
List
An explanation of the details that appear on the list.
It is possible to see the following information (the order can be changed by selecting and dragging the column to where the user wants it ) :
Account Number: The account number associated with the Debtor Number.
Surname: The surname of the Debtor.
Initials: The Debtors Initials-the first letter of their name.
Name: The Debtors Name.
ID Number: The debtors' South African Identification number or the passport number for non-citizens.
Medical Aid Nr: The membership number associated with the patient's medical aid plan.
Postal Address: Mailing Address where the Debtor receives their mail.
Probability: Depending on the user preference set up, for an explanation of this please refer to the user manual:
Balance: The total outstanding balance owed by the debtor.
Type: The type of debtor - Normal/Insurance/IOD/Assistant/Non-Medical.
File Number: The file number as allocated by the practice (usually linked to a hard copy file number)
Language: TheLanguage of Preference of the debtor - English/Afrikaans.
Cellphone Number: The debtors' cellphone number where they can be reached.
E-Mail: The debtors' email address where they would like email communication to go to.
Street Adress: The address where their residence/home is located.
Full Name: All the names of the debtor as on their ID as registered with the Dept. of Home Affairs.
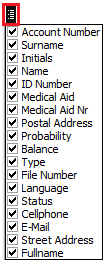
Click on the Filter selectionbutton indicatedbelow to select which information will display on the list by ticking the checkbox next to the option.
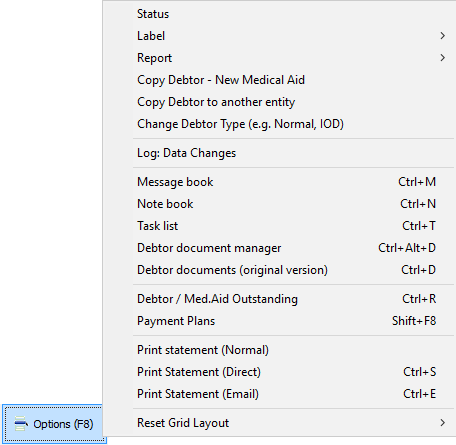
Other Actions
At the bottom of the screen, the are many options of actions that can be performed from the Debtor List.
Click on an option to access the function.
Payment Request: Sends a request for payment to the patient.
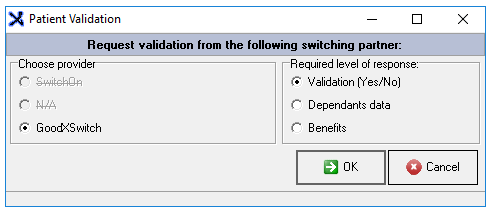
Validation: Brings up the Patient Validation pop-up where validation information can be requested from a switching partner.
Opens the Patient Validation screen.
Options (F8): Options can also be accessed by selecting a debtor and Right Clicking on the mouse.