Theatre / Surgery
Surgery is when a patient goes for an operation. In the system, the practitioner can build a theatre/surgery/operation list with all the patient information who needs to undergo the operation/surgery.
- The contents of this user manual will consist of the following information:
- Set-up of the Theatre List
- Staff types
- Risk
- Hospital
- Instruments
- Operation
- Set-up of the Theatre View
- Booking of Operations
- Debtor / Patient Information
- Procedure Information
- Additional Doctors
- ICD-10
- Authorization
- Operation Notes
- Options (On the Operation list)
- Log in to the GoodX Desktop using your GoodX username and password
- From the Navigator Double Click on the GoodX Manager Module.
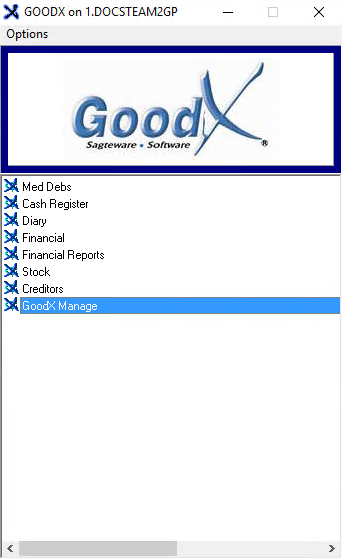
- The GoodX Manager screen will open.

Set-up of the Theatre List
- Select Diary from the drop-down Menu under Global lists on the Menu bar.
- Click on Diary Lists.

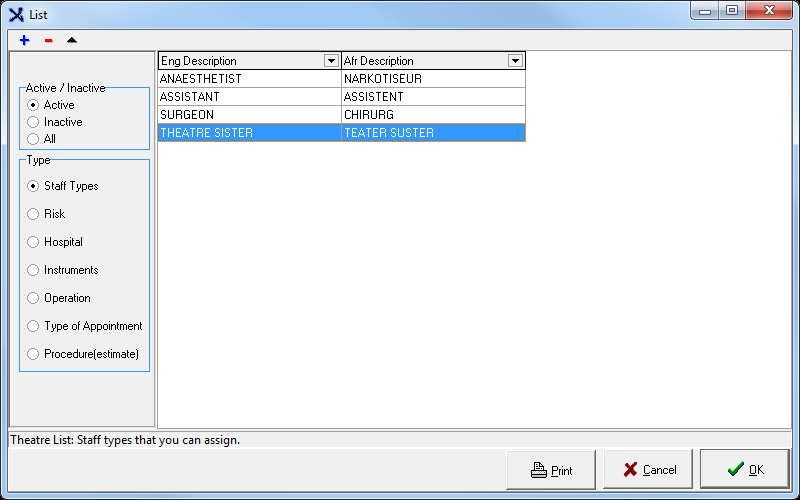
- The List screen will open.

Staff types
- Click on the Staff Types radio button in the Type section.

- Click on the (+)Add button to add a Staff Type.
![]()
- Enter the Information in the required fields and Click on the OK button.
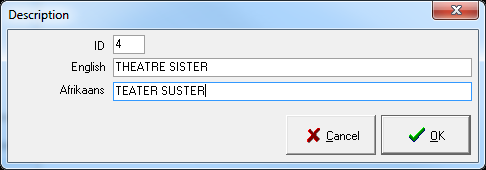
- The Staff Type is added to the list.
Risk
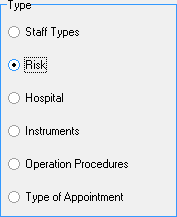
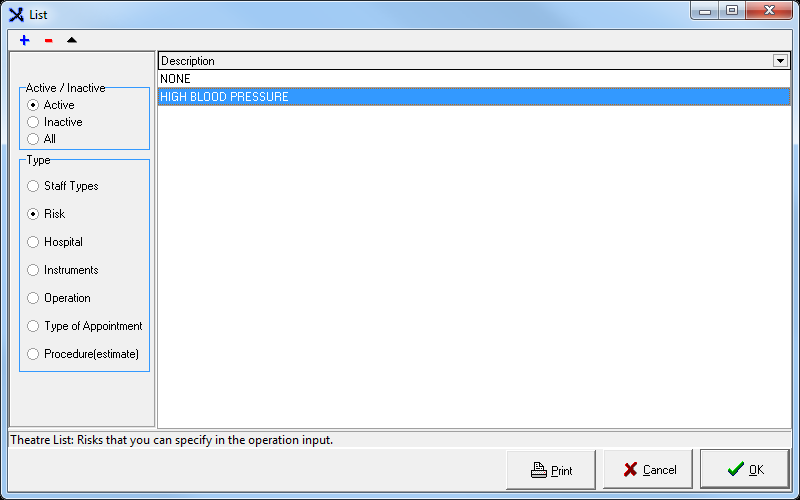
- Click on the Risk radio button in the Type section.
- Click on the (+)Add button to add a Risk.
![]()
- Enter the Risk Factors and Click on the OK button.

- The Risk is added to the list.
Hospital
- These are the names of the Hospitals that are shown on the Theatre List.
- Click on the Hospital radio button in the Type section.
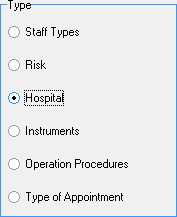
- Click on the (+)Add button to add a Hospital.
- Enter the Name of the Hospital in the field provided and Click on the OK button.
- The Hospital is added to the list.
Instruments
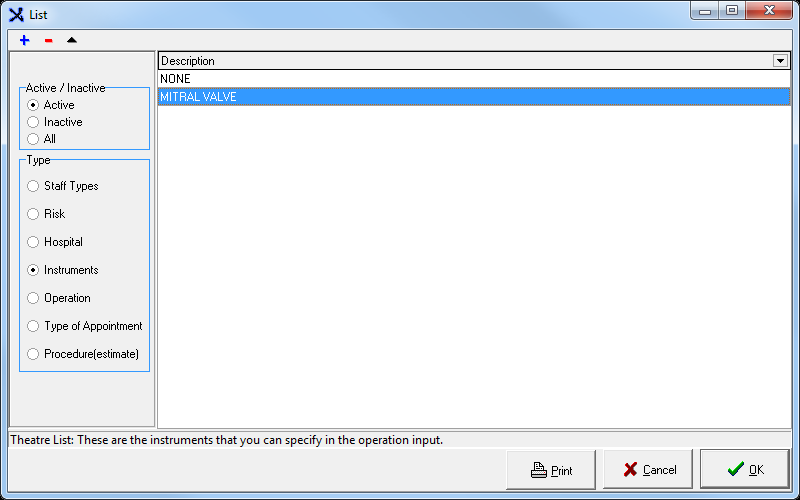
- You can specify these Instruments in the operation input.
- Click on the Instruments radio button in the Type section.
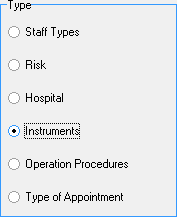
- Click on the (+)Add button to add a Instrument.
- Enter the Instrumentation / Prosthesis and click on OK.
- The Instrument(s) is added to the list.
Operation
- These are the names of the Procedures shown on the theatre list.
- Click on the Operation Procedures radio button in the Type section.
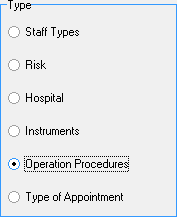
- Click on the (+)Add button to add an Instrument.
- Enter the name of the Procedure.
- Select the Length of the Procedure by clicking on the arrows (the length is displayed in minutes).
- The Operation is added to the list.
Set-up of the Theatre View
- Select Diary from the drop-down Menu under Global lists on the Menu bar.
- Click on Theatre View.

- Select the current Year.
- Select each of the radio buttons and click on Build separately.
- Printing tab: Make a selection by marking the tick box.
- Click on OK when done.
Booking of Operations
- In the Diary Module, click on the Surgery Icon.
![]()
- The Operation list is displayed.
- Select the Date from the Calendar by clicking on the drop-down arrow.
- Select the Session: This is a certain time frame that can be booked for the doctor per Theatre / Hospital / Time of day.
- Select the Hospital from the list by clicking on the drop-down arrow.
- Right click on the open field and select + Add.
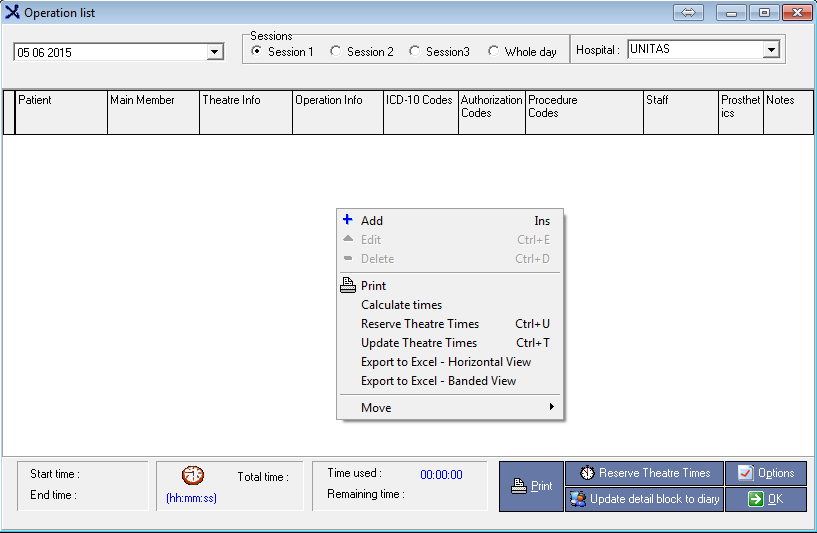
Debtor / Patient Information
- Click on ...(F3) or press the shortcut key F3 to add a Patient.
- Select the patient from the Debtor list.
- Select the Service Centre from the list by clicking on the drop-down arrow.
Procedure Information
- Select the Admission date and Time.
- Select the Theatre Date.
- Click on + Procedure.
- Select the Procedure from the list.
- Click on OK.
- The time can be edited by clicking on the Edit Time button and entering the new time.
- Another procedure can be added by following the same steps.
- Click on Estimate Procedure only if there is an Estimate for the Patient.

- Click on the ellipse button next to Instruments.
- Select the Instrument from the list and press OK.
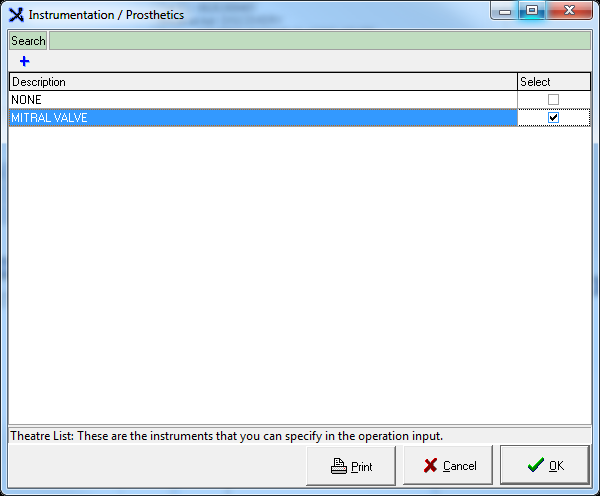
- Click on the ellipse button next to Risk.
- Select the Risk and press OK.
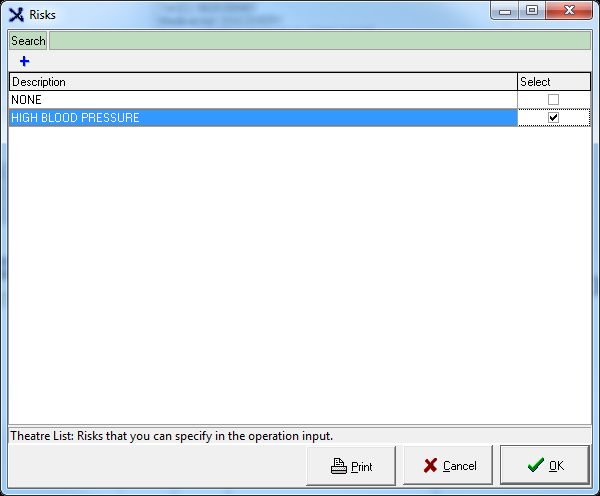
- A Code can also be added to the Procedure.
- Enter the Code in the field provided and click on Add.
- The screen is displayed as follows when finished with above-mentioned steps.
Additional Doctors
- Click on the ellipsis (...) button.

- Click on the + in the Operation Edit List.

- Select the Doctor from the list and click on Exit.
- Click on the drop-down arrow next to Role and click on the Role of the selected Doctor.
- Add another Doctor by following the same steps.
- Click on Done (F2).

- When done, the Additional Doctors screen displays as follows.
ICD-10
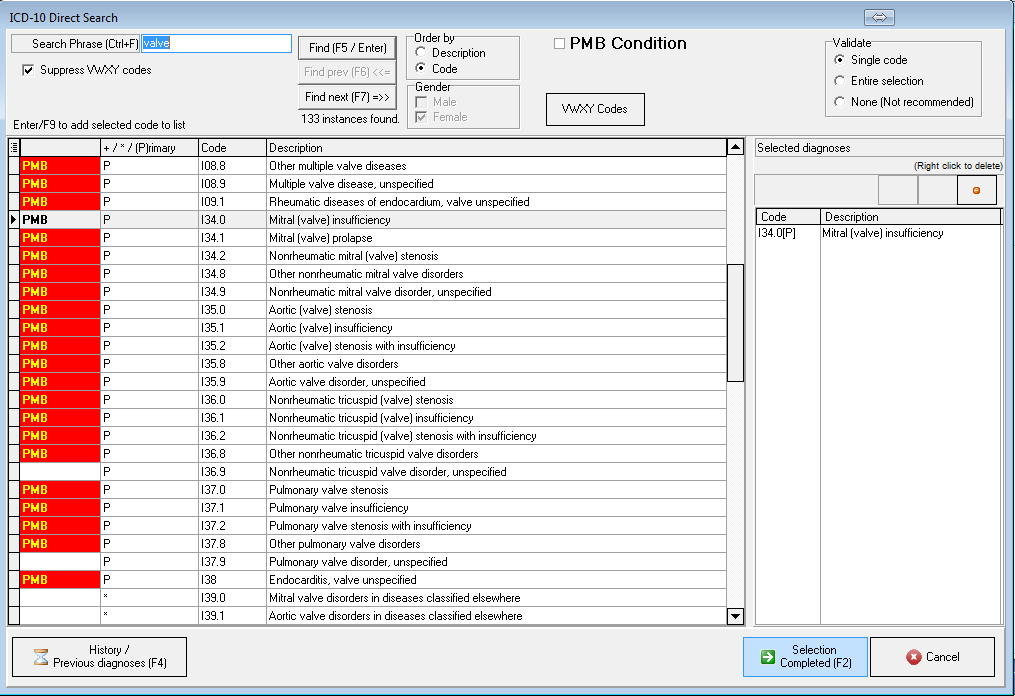
- To add a Code to the Procedure, click on the ellipsis button.
- Enter the ICD-10 code or the Description.
- Press Enter or click on Find (F5 / Enter) to search for the ICD-10 code.
- Press Enter to select the code or Double click on the selected code.
- The code will be added to the Diagnosis selected window.
- Repeat the process for additional, Multiple ICD-10 codes.
- If the incorrect code was selected, right click on the code and click on Delete Item.
- Click on Selection Complete (F2) or press F2.
- Use the Previous diagnosis (F4) button to browse to the previous diagnosis that was used on the same dependant.
- The ICD-10 list is based on International Standards. Spelling is important in the search for the correct code.
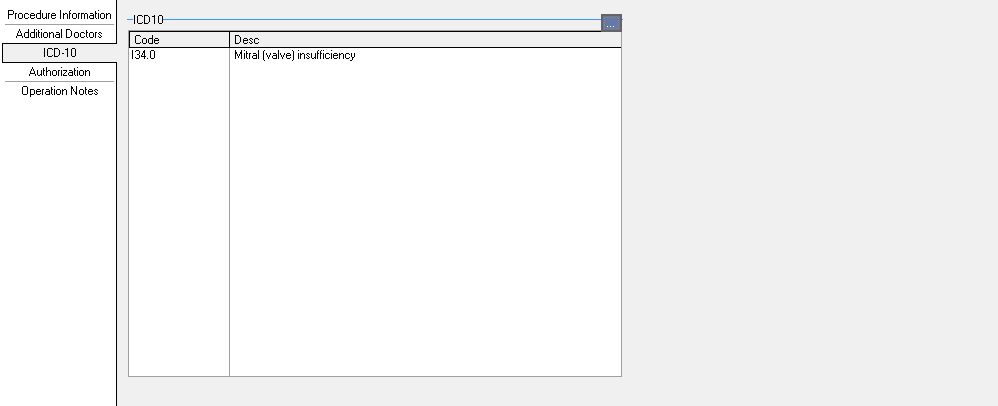
- The ICD-10 code is added to the screen.
Authorization
- Enter an Authorization Code, Authorization Contact and Authorization Limit.
- Click on the Add button.
Operation Notes
- You can use this screen to add notes for the Doctor regarding the Operation / Procedure.
- Enter any relevant Information.
- Click on Save (F2) when finished.
- Another Patient can be added by following the same steps.
- The Operations / Procedure for Session 1 at Unitas Hospital is displayed on the Operation list.
- Click on Reserve Theatre Times to book the Theatre booking.
- Enter the Start and End times of Session 1 on the Time Input screen.
- Click on OK.
- The times in the following blocks will be updated.
- The Start Time and End Time in this block indicates the Theatre Time reserved for the Doctor.
- This block indicates the Total time used for the Theatre.
- In this block, the Time used is the actual time used for the Theatre.
- It also shows the time Remaining.
- Click on Update detail block to diary to book the time slots in the Diary.
- Again enter the Start and End times.
- Click on OK.
- This bar indicates the progress of the update.
- When finished, click on OK.

The time slots in the Diary for the Operation day will be updated with the Theatre Info.
- You will notice that the extra time slots between the start and end time of a procedure have fallen away.
- The next time slot available for the Doctor is 14:00 although the Theatre has been booked until 14:00.
- The Heart icon in the Appointment status column indicates that this time slot has been booked for Theatre.
Options (On the Operation list)
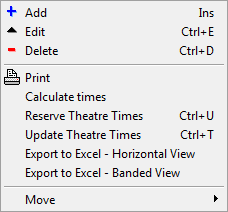
- Add (Ins) : Add a patient.
- Edit (Ctrl+E) : Edit the Procedure.
- Delete (Ctrl+D): Delete the Procedure from the list.
- Print: Print the Operation list.
- Calculate times: Calculate the total time of the Procedures.
- Reserve Theatre times (Ctrl+U): Reserve the Procedure times to the theatre.
- Update Theatre Times (Ctrl+T): Update the times of the theatre.
- Export to Excel - Horizontal View: Export the Operation List to Excel in Horizontal view.
- Export to Excel - Banded View: Export the Operation List to Excel in the Banded view.
- Move:
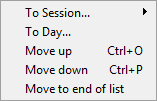
- To Session: Move a Procedure to another session.
- To Day: Move a Procedure to another day.
- Move up (Ctrl+O): Move a Procedure up the Operation list.
- Move down (Ctrl+P): Move a Procedure down the Operation list.
- Move to the end of the list: Move a Procedure to the end of the Operation list.
Last modified: Tuesday, 25 October 2022, 8:49 AM