Linking a Debtor to a Transaction Group allows the Practice to allocate a Debtor to a group that determines what settlement discount the Debtor qualifies for.
Debtor Transaction Groups need to be created before the user is able to allocate users to a group. For more information regarding how to Add and Edit Debtor Transactions Groups, please refer to the user manual: Debtor Transaction Groups.
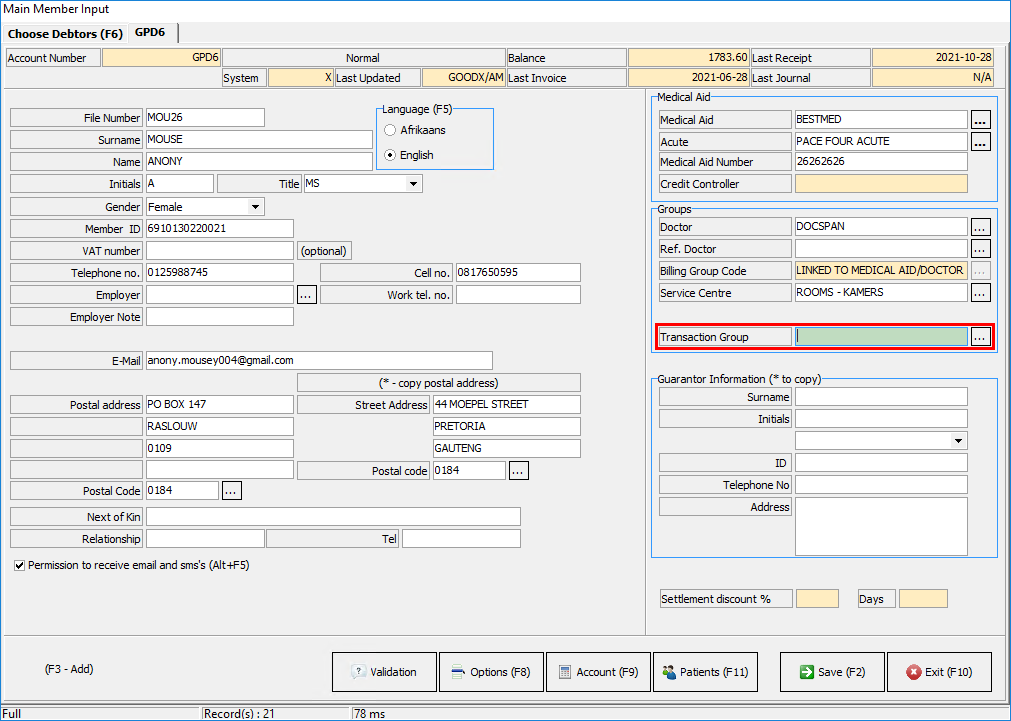
This user will start on the Main Member Input screen.
For more information regarding how to navigate to the Main Member Input screen and all the options available, please refer to the user manual: Create New Normal Debtors.
Navigate to the Transaction Group field in the Groups Section.
Click on the ... (ellipse) button to access the Transaction Groups.
The Debtor Transaction group screen will open.
Click on the desired group that the user would like to allocate the Debtor to.
Click on the Cancel button to close the screen without linking the Debtor to a Transaction Group and return to the Main Member Input screen.
Click on the OK button to link the debtor to the selected Transaction Group and return to the Main Member Input screen.
The linked Trancation Group will now be filled into the Transaction Group field.
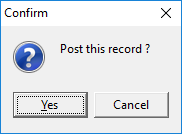
Click on the Save (F2) button or press the F2 key on the keyboard to post the changes that have been made to the system.
A Confirm pop-up will appear to ask the user if they would like to Post this record.
Click on the Cancel button to ignore the request and close the pop-up.
Click on the Yes button to save all the changes that have been made. The pop-up will close.
Click on the Exit button or press the F10 key on the keyboard to close the Main Member Input screen and return to the Debtor Manager screen.