Before a Statement can be printed, it must first be downloaded, which saves a digital copy of the Statement to your device for easy access and record-keeping. This also allows you to have a copy of all transactions on the Debtor’s account, summarising the financial activity within a defined period. The Statement serves as an official record, providing detailed information about posted Invoices, payments, Journals, and outstanding balances, ensuring both the Practice and the Patient have a clear and accurate overview of the account. ? Please Note:You can download and email Statements from multiple locations within the system, namely the Diary screen sidebar and the Account Details screen sidebar.
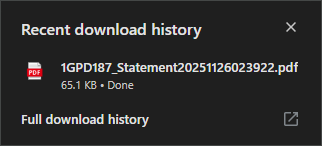
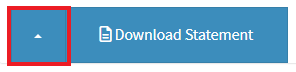
Click the Download Statement button.
The Statement will automatically download to your device in a PDF format.
The downloaded Statement will display as shown below, depending on its setup and customisation.
?Please Note:At the bottom of the statement, a QR Code will be found for Patients to make online payments via a payment link.
For more information regarding how to make a payment with the QR Code, please refer to the following user manual: QR Code on Statement.
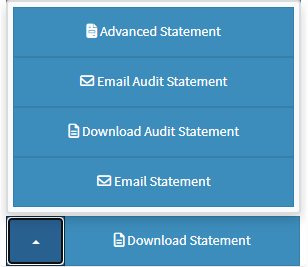
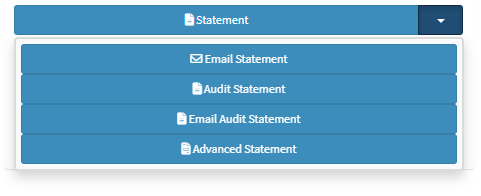
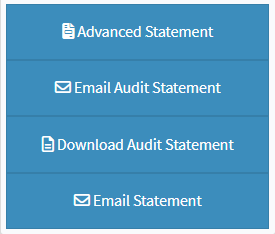
Click on the Download Statement popover menu.
The Download Statement popover menu will expand.
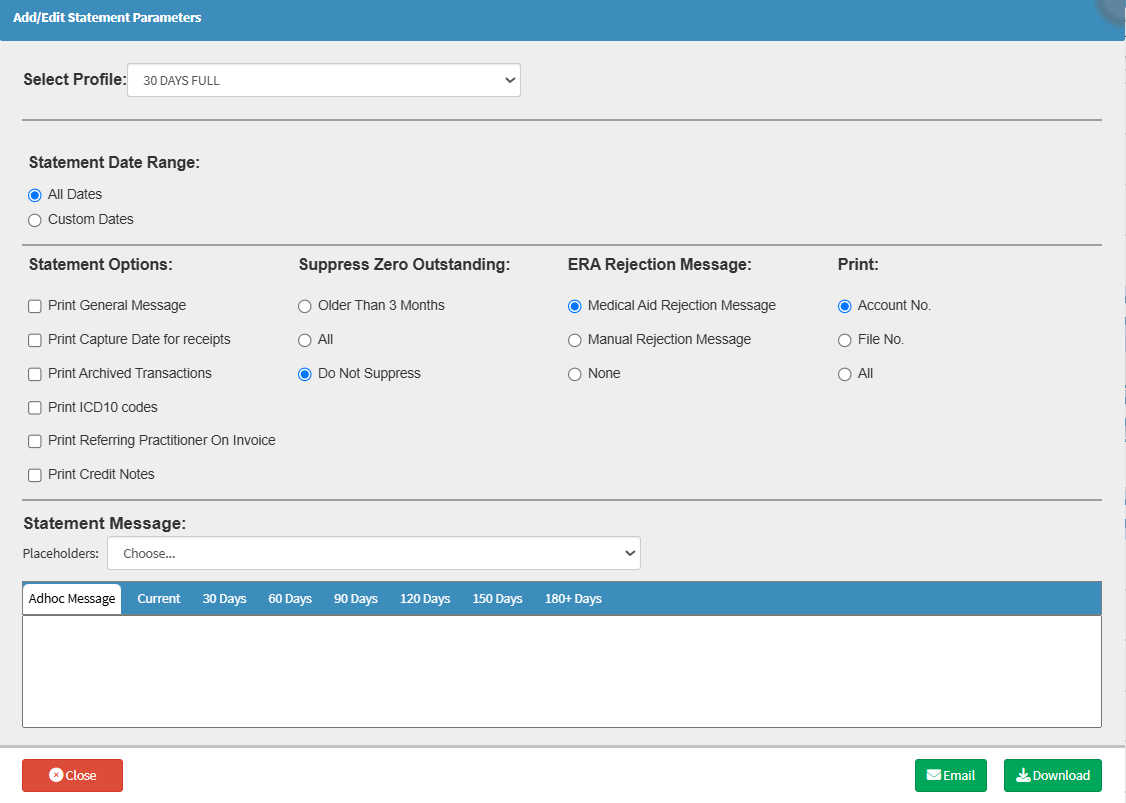
Click on the Advance Statement button.
The Add/Edit Statement Parameters screen will open.
For more information regarding the Add/Edit Statement Parameters screen, please refer to the user manual: Statement Parameters.
Click on the Download button.
The Advanced Statement will automatically be downloaded.
Click on the Email Audit Statement button.
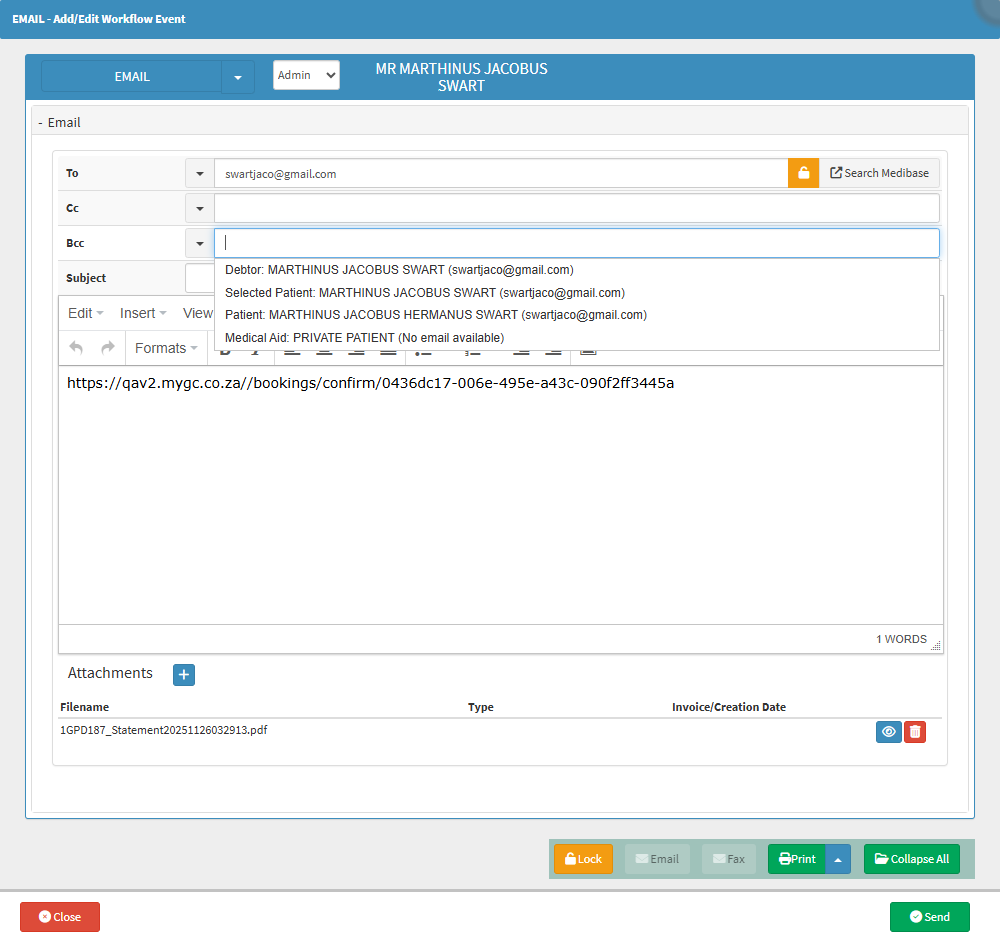
The Email - Add/Edit Workflow Event screen will open.
For more information regarding the Email - Add/Edit Workflow Event sceen, please refer to the user manual: Send an Email.
? Please Note:The Statement will be displayed as an attachment in the email.
Click on the Download Audit Statement button.
The Audit Statement will automatically be downloaded.
Click on the Email Statement button.
The Email - Add/Edit Workflow Event screen will open.
? Please Note:The Statement will be displayed as an attachment to the email.